Why Your Candle Wick Keeps Going Out
You’ve melted your wax, added your fragrance oil, poured everything perfectly into that lovely little vessel you found at a car boot sale in Cheshire, and let it cure for 48 hours. You light it with great ceremony, watch the flame catch – and then, ten minutes later, it’s out. Again. You relight it. Out again. Sound familiar?
A wick that keeps extinguishing itself is one of the most common and most frustrating problems in candle making, and the good news is that it’s almost always fixable. The even better news is that once you understand why it’s happening, you’ll find it difficult to make the same mistake twice. This guide walks you through every likely cause, what to look for, and exactly how to put it right – whether you’re working with soy wax from a UK supplier or paraffin you picked up at your local craft shop.
Understanding How a Candle Wick Actually Works
Before we can fix the problem, it helps to understand what a wick is supposed to do. A candle wick isn’t simply something you set on fire. It functions as a fuel delivery system. The heat from the flame melts the wax directly around the wick, and that liquid wax is then drawn upward through the wick by capillary action – the same process that pulls water up through a plant stem. The wax vapourises at the tip of the wick and combusts, which keeps the flame burning.
When that process is interrupted at any point – too little liquid wax, too much liquid wax, a wick that’s too thin, a wick that’s drowning – the flame goes out. It’s not random. It’s the candle telling you something specific is wrong, and once you learn to read those signs, troubleshooting becomes a lot more straightforward.
The Most Common Culprits
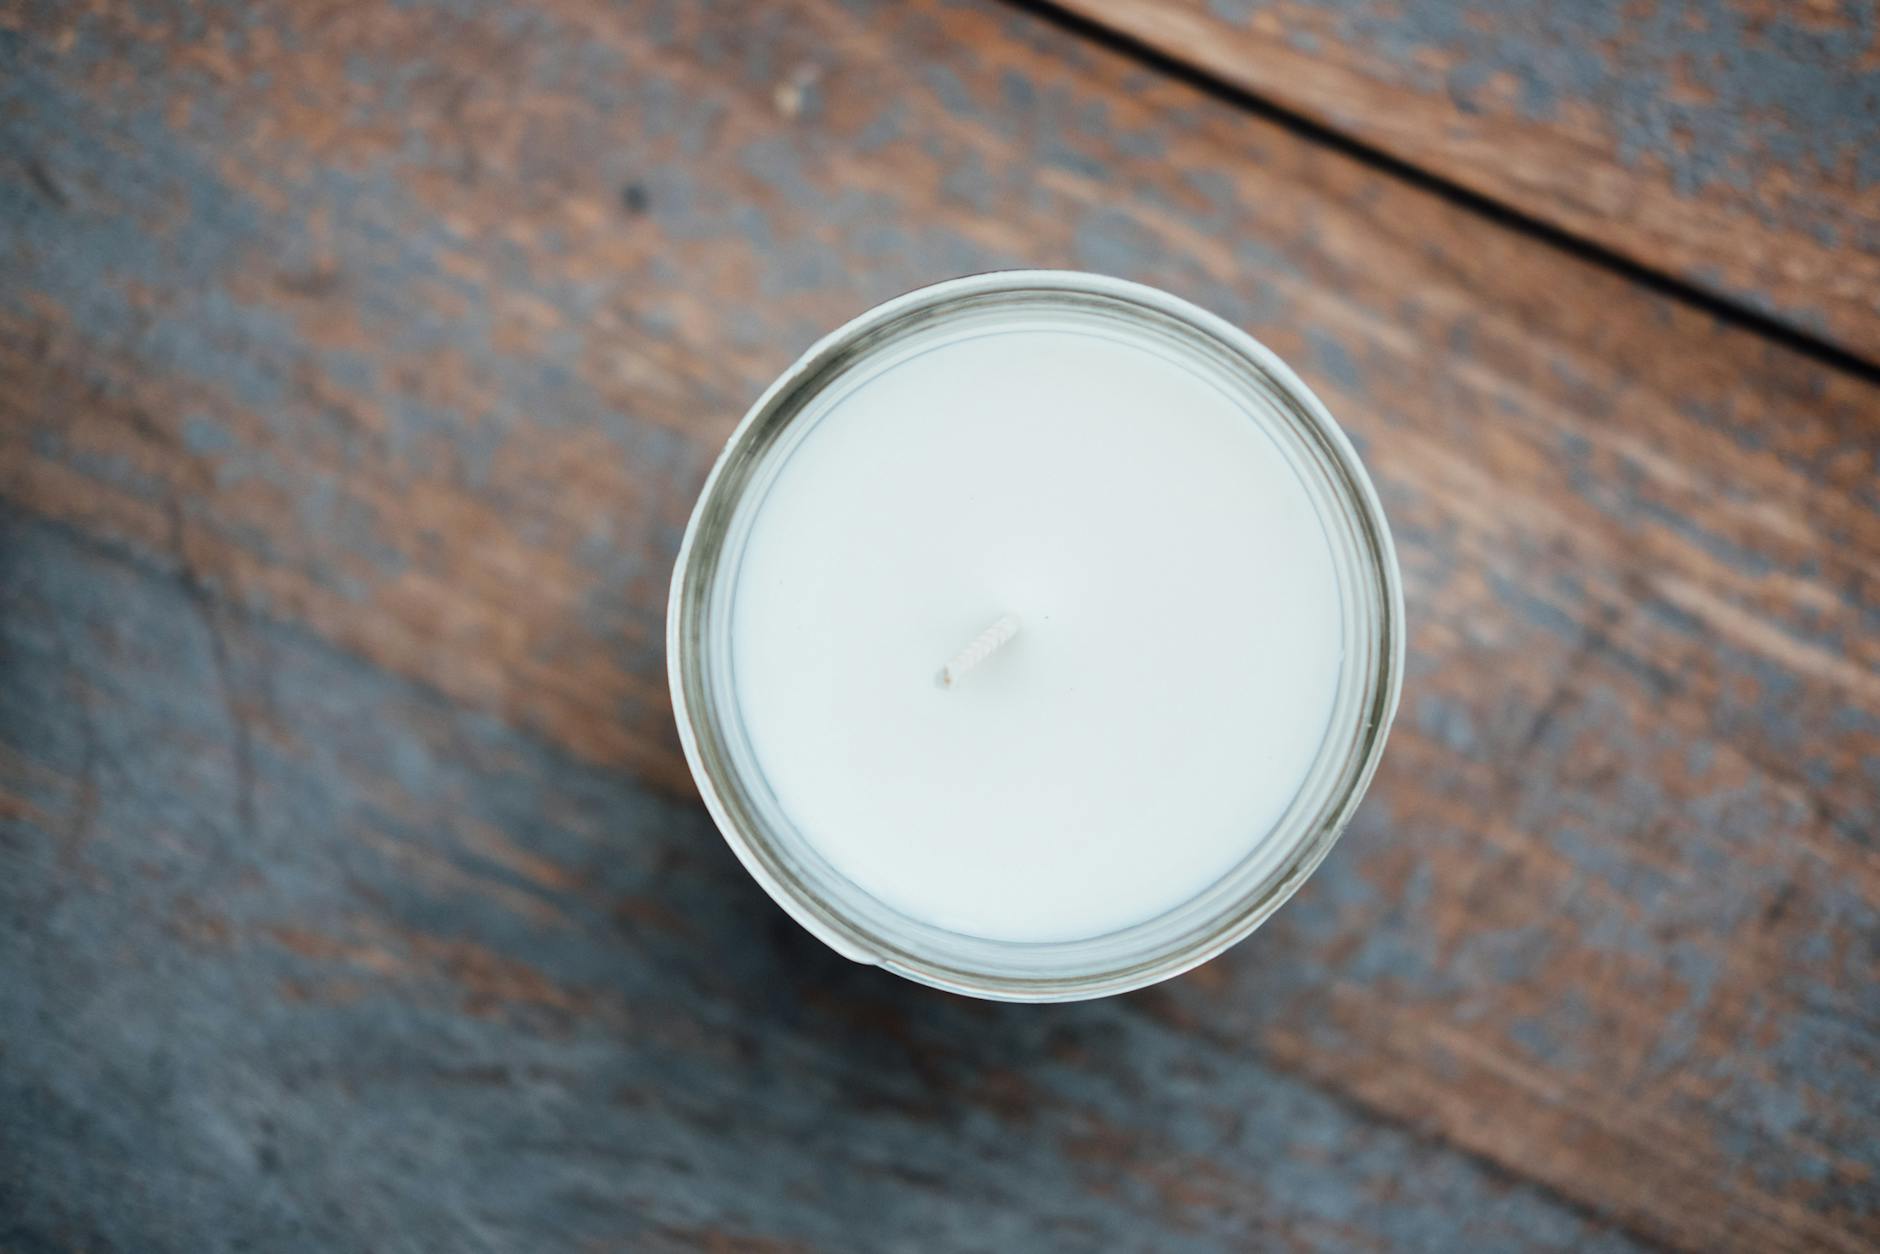
1. Your Wick Is Too Small for Your Vessel
This is the number one reason candles self-extinguish, and it catches out beginners constantly. If your wick is too small in diameter relative to your container, it simply cannot melt enough wax to sustain itself. The flame burns down into a narrow tunnel – a process called “tunnelling” – and eventually drowns in the pool of its own liquid wax.
Every wax type, every fragrance load, and every vessel diameter requires a specific wick size. A wick that works beautifully in a 5cm diameter glass tumbler will fail completely in an 8cm wide tin. Most UK candle suppliers – Candle Shack, The Candle Making Shop, and Cosy Owl are popular choices – provide wick recommendation guides based on vessel diameter and wax type. These are starting points, not guarantees. You will always need to test.
2. Fragrance Oil Overload
We all want a strong-smelling candle. But adding too much fragrance oil to your wax is one of the most reliable ways to kill your flame. Fragrance oil that hasn’t properly bonded with the wax sits in the melt pool as a separate liquid, and when that excess oil is drawn up the wick, it can clog the fibres or flood the flame with unburnable material.
Most soy waxes have a maximum fragrance load of around 10%, and some paraffin blends can take up to 12%. Going beyond that percentage rarely improves scent throw – in fact it often makes it worse – and it will almost certainly cause performance problems, including a wick that drowns and dies. Always weigh your fragrance oil precisely using digital scales rather than measuring by volume or guessing. A decent set of digital scales is one of the best investments you’ll make as a beginner.
3. The Wick Isn’t Centred
This one sounds almost too simple, but a wick that’s even slightly off-centre will burn unevenly. On one side, the wax pool will be shallow and hot; on the other, the cooler, deeper wax will creep up and flood the wick. A flooded wick extinguishes. Always use a wick centring tool (or two pencils held together with rubber bands – genuinely works) when pouring, and check it again before the wax sets.
4. Mushrooming and Carbon Buildup
After burning for a while, you might notice a small black ball or hook forming at the tip of your wick. This is called “mushrooming,” and it’s caused by carbon buildup from incomplete combustion. A mushroomed wick has reduced airflow and a compromised structure, which makes it far more likely to extinguish – especially in draught-prone rooms, which is most rooms in the average British home, let’s be honest.
The fix is simple: always trim your wick to approximately 5-6mm before each burn. A proper wick trimmer makes this easy, though nail scissors work fine. Never burn a candle with an untrimmed wick. It’s one of those habits that seems unnecessary until you understand why it matters, and then you’ll never skip it again.
5. Draughts and Air Circulation
A candle flame is surprisingly vulnerable. Even a gentle draught – from an open window, a nearby radiator switching on, someone walking briskly past – can disrupt the combustion process enough to extinguish the flame, particularly if the wick is already marginal in size. If you’re testing candles at home and they keep going out, rule out environmental factors first. Test in a still room away from windows, doors, and vents before concluding that the wick itself is the problem.
6. Wax Type and Wick Compatibility
Different waxes have dramatically different properties. Soy wax is softer and burns cooler than paraffin. Coconut wax burns even cooler. Beeswax burns hotter and harder. A wick sized for a paraffin candle will often be too large for a soy candle of the same diameter, and vice versa. If you’ve switched wax suppliers or wax types without re-doing your wick testing, that’s very likely your problem. Always treat a change in wax as a reason to start your wick testing process from the beginning.
How to Actually Test Your Wicks Properly
Proper wick testing is non-negotiable in candle making, and yet it’s the step most beginners skip because they’re excited to get to the finished product. Resist that urge. Here is a structured approach to testing:
- Make a test batch. Pour three to five identical candles using the same wax, fragrance load, vessel, and pour temperature. Give each one a different wick size – for example, CD 12, CD 14, and CD 16 if you’re using cotton wicks in a soy container candle.
- Allow a full cure. Soy wax in particular benefits from a cure time of at least 48 hours, and some makers recommend up to two weeks for optimal scent throw. For wick testing purposes, 48 hours is usually sufficient.
- Trim all wicks to 5-6mm before the first burn.
- Burn for one hour per inch of vessel diameter. A 7cm diameter jar should burn for approximately 2.5 to 3 hours on its first burn. This is the “first burn” or “memory burn” and it sets the melt pool pattern for all future burns.
- Observe throughout. Note whether the flame is strong and consistent, whether it self-extinguishes, whether the melt pool reaches the edges, whether mushrooming occurs, and whether there’s any soot.
- Record everything. A simple notebook works perfectly. Write down the wick type and size, wax type and supplier, fragrance oil percentage, vessel dimensions, and your observations at 30 minutes, 1 hour, and at extinguishing.
- Repeat over multiple burns. A candle that performs well on its first burn might fail on its fourth. Test across the full life of the candle before committing to a wick choice.
Wick Types Available in the UK – A Quick Overview
The UK candle making market stocks several major wick series, and understanding the differences helps you make smarter decisions when selecting what to test.