Choosing Candle Moulds: Silicone, Metal and Plastic
When you first start making candles at home, the sheer number of choices can feel a little daunting. Wax types, fragrance loads, wick sizes – and then, before you have even poured a single drop, you need to decide what shape your candle is going to take. Moulds are one of the most exciting parts of candle making, and also one of the areas where beginners tend to get stuck. Should you buy silicone? Is metal worth the investment? What about plastic? The good news is that there is no single correct answer, and once you understand what each material does well – and where it falls short – you will find it much easier to make confident decisions.
This guide is written specifically for those just starting out with candle making in the UK. We will walk through all three main mould types, explain what each one is best suited for, and give you practical advice on where to source them, how to care for them, and how to get the best results from your very first pour.
Why the Right Mould Matters More Than You Think
A mould is not just a container. It determines the final shape of your candle, influences how the wax sets, affects whether you get a smooth or textured surface finish, and plays a role in how easy the finished candle is to remove without damage. Choose the wrong mould for the wrong wax, and you could end up with a candle stuck fast inside it, a cracked surface, or a misshapen result that ends up in the bin rather than on a shelf.
The three most common mould materials used in hobby and small-batch candle making in the UK are silicone, metal, and plastic. Each has its own character, and each suits different waxes, different styles, and different levels of experience. Understanding those differences is the foundation of good candle making.
Silicone Moulds: The Beginner’s Best Friend
If you are completely new to candle making, silicone moulds are almost certainly where you should start. They are flexible, forgiving, and widely available across the UK – from dedicated candle supply shops like Candle Shack and The Candle Making Shop to craft retailers and online marketplaces such as Etsy and Amazon UK.
The biggest advantage of silicone is its flexibility. Once your wax has fully set and cooled, you simply peel the mould back from the candle rather than trying to force a rigid candle out of a rigid container. This means the risk of damaging your finished candle is significantly reduced, which matters enormously when you are still building your confidence. Silicone also picks up surface detail beautifully – if the mould has a pattern, a texture, or an intricate botanical design, the wax will replicate it with impressive accuracy.
Silicone moulds are also the go-to choice for pillar candles, shaped candles, and novelty designs. You will find them in everything from simple cylinder and taper shapes through to geometric prisms, flowers, fruits, animals, and abstract sculptural forms. The UK craft market has seen a huge surge in decorative candle moulds over recent years, and silicone is the material driving most of that creativity.
There are, however, a few things to bear in mind. Silicone can be prone to wobbling when filled with hot liquid wax, particularly with larger moulds. Placing the mould on a flat baking tray or inside a supportive box before you pour will solve this immediately. Some cheaper silicone moulds – particularly those imported without quality certification – may not be heat-rated highly enough for candle wax, which can reach temperatures of 70-85°C during pouring. Always check that any silicone mould you purchase is rated to at least 230°C to ensure safe, consistent use. UK-based suppliers are generally reliable on this front, but it is worth double-checking if you are buying from an unknown source.
Silicone moulds also last extremely well with proper care. Wash them gently with warm soapy water, avoid sharp implements, and store them flat or loosely rolled rather than folded. Treated kindly, a good silicone mould will give you dozens – sometimes hundreds – of pours without losing its shape.
Metal Moulds: Precision, Longevity, and Professional Results
Metal moulds have been used in traditional candle making for generations, and for good reason. They are robust, dimensionally stable, and capable of producing exceptionally clean, sharp-edged candles with smooth, professional finishes. If you have ever admired a perfectly formed taper or a crisp pillar candle in a craft shop, there is a strong chance it was made in a metal mould.
In the UK, aluminium and tin moulds are the most commonly available types. They come in a wide range of standard shapes – cylinders, cones, stars, hexagons, and tapers being among the most popular – and are sold by suppliers including Candle Supplies UK, Just Candles, and many of the larger craft wholesalers. Metal moulds tend to be more of an investment upfront compared to silicone or plastic, but they are extremely durable and, with proper maintenance, can last for years even with regular use.
The key benefit of metal over silicone is rigidity. Metal moulds hold their shape perfectly during pouring, which means you will get consistent results every single time, provided your technique stays the same. This consistency is particularly valuable if you are planning to sell candles, as customers expect each product to look uniform. Metal also conducts and dissipates heat efficiently, which can help wax set with a smooth outer surface – especially important with paraffin and paraffin-blend waxes.
The trade-off is that removing a candle from a metal mould requires a little more patience than simply peeling away silicone. Most candle makers use a mould release spray – widely available from UK suppliers – applied lightly to the interior before pouring. After the candle has set fully, a brief chill in the refrigerator (around 15-20 minutes) can cause the wax to contract very slightly, making release much easier. Never force a candle out of a metal mould; if it will not come out easily, give it more time or another brief chill, and it will release cleanly.
Metal moulds do require a little more cleaning effort than silicone. Excess wax can be removed by placing the mould in a warm oven (around 80°C) for a few minutes until the residue melts out, then wiping with a paper towel. Avoid washing metal moulds under running water if possible, as moisture trapped inside a seam can eventually cause rust. A dry wipe followed by a light application of mould release before storage will keep them in excellent condition.
Plastic Moulds: Affordable, Versatile, and Widely Available
Plastic moulds occupy an interesting middle ground. They are generally the most affordable option, extremely lightweight, and available in a huge variety of shapes. For beginners working to a tight budget, plastic moulds offer a low-cost way to experiment with different forms before committing to more expensive silicone or metal versions.
Acrylic and PVC plastic moulds are the most common types found in the UK candle making market. They are rigid like metal but transparent, which is genuinely useful – you can watch the wax as it sets and assess whether you need to top up any sinkholes without having to remove the candle prematurely. This transparency makes plastic moulds particularly good for learning, because you can actually see what is happening inside.
The main limitation of plastic moulds is temperature sensitivity. Standard plastic moulds are not suited to very high pouring temperatures, and some waxes – particularly paraffin – may need to be poured at temperatures that risk warping cheaper plastic. As a general rule, allow your wax to cool to the lower end of its recommended pouring range before using a plastic mould, and never exceed the manufacturer’s stated temperature rating for the mould itself.
Plastic moulds are also more prone to scratching than metal, and deep scratches can transfer to the surface of your finished candles over time. Handle them with care, store them away from sharp objects, and clean them by soaking in hot (not boiling) water to melt residue rather than scraping. Treated gently, a good quality acrylic mould will still give you many successful pours.
Matching Your Mould to Your Wax
One of the most important things beginners overlook is the relationship between mould material and wax type. Not every mould works well with every wax, and getting this pairing right will save you a great deal of frustration.
- Soy wax – Works well with silicone and plastic moulds. Soy has a lower melting point and is generally poured at cooler temperatures, making it compatible with a wider range of mould materials. It can sometimes stick in metal moulds without a release agent, so always use a spray.
- Paraffin wax – Best suited to metal moulds for clean, sharp results. Its higher pouring temperature and tendency to contract significantly as it cools make it ideal for metal, though silicone also works well. Exercise caution with plastic moulds and ensure pouring temperatures are kept within safe limits.
- Beeswax – Particularly well suited to metal moulds. Beeswax can be sticky and is poured hot, so the combination of good heat tolerance and easy release (with mould release spray) that metal provides makes it the preferred choice for many traditional beeswax pillar candles.
- Coconut wax and coconut-blend waxes – Generally best in silicone moulds. These softer waxes benefit from the easy-release properties of silicone and their lower pouring temperatures mean there is little risk of heat damage.
- Gel wax – Requires clear heat-resistant glass containers rather than traditional moulds. Standard silicone, metal, and plastic moulds are not appropriate for gel wax projects.
A Step-by-Step Approach to Your First Moulded Candle
Whether you choose silicone, metal, or plastic, the basic process for making a moulded pillar candle follows the same logical sequence. Here is a straightforward set of steps to guide you through your first attempt.
- Prepare your workspace. Cover your surface with newspaper or a silicone mat. Have all your equipment to hand – scales, thermometer, pouring jug, mould, wick, and wax – before you begin heating anything.
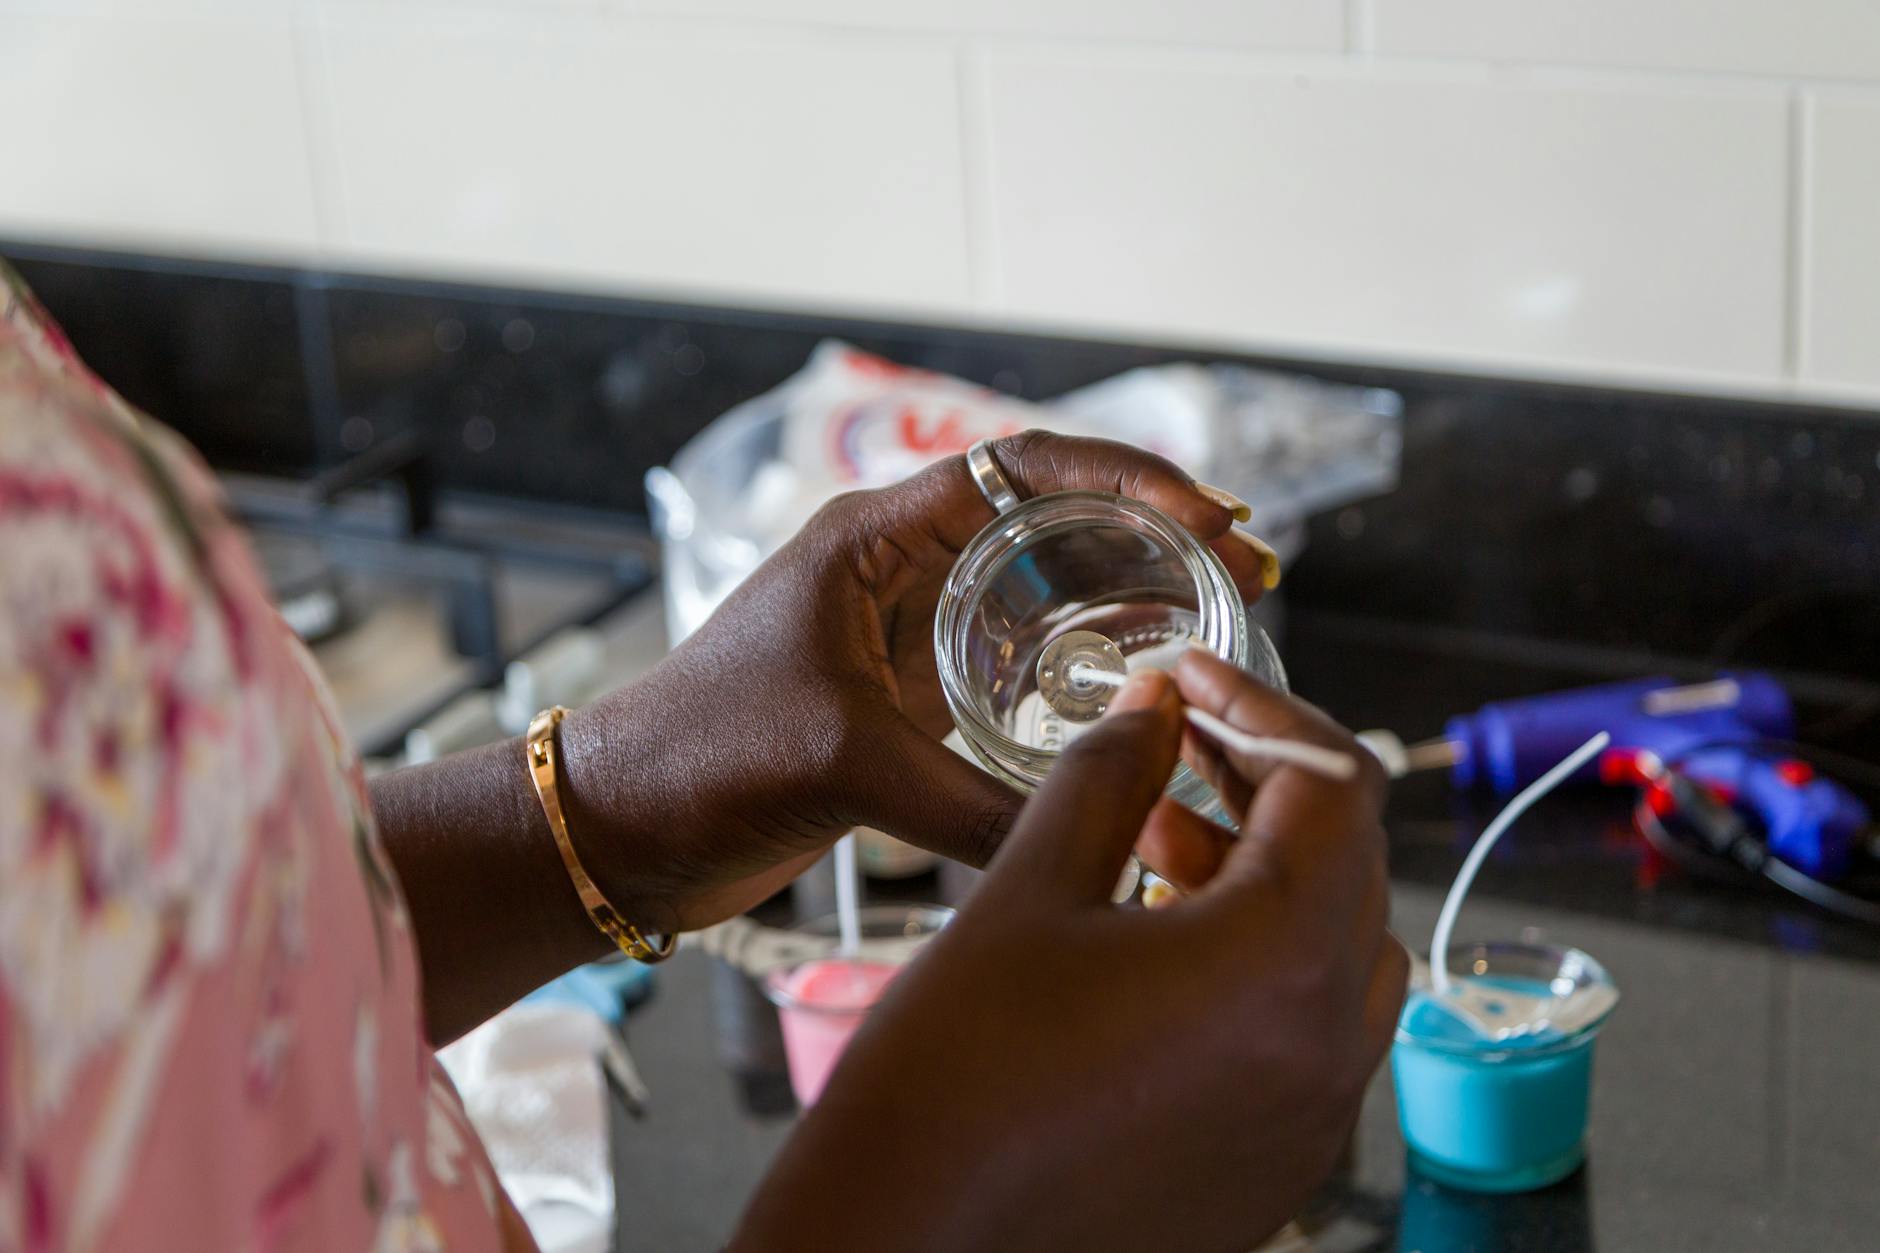
- Prepare your mould. Thread your pre-waxed wick through the base of the mould (most moulds have a small hole at the bottom for this purpose). Secure it with a wick pin or a small ball of mould sealer putty to prevent wax leaking out. Stretch the top of
Good mould maintenance extends their working life considerably. Remove residual wax whilst it is still slightly warm and pliable by wiping the interior with a dry paper towel — never use water on metal moulds, as this encourages rust. For stubborn wax deposits, place the mould briefly in a warm oven (no higher than 80°C) so the wax softens, then wipe clean. Silicone moulds can be washed in warm soapy water and are dishwasher safe, though hand-washing is gentler over time. Store all moulds away from direct sunlight, which can warp plastic and degrade silicone over prolonged exposure.
It is also worth keeping a dedicated notebook or spreadsheet to log each pour: the mould used, wax type, fragrance load, pouring temperature, and any issues encountered. Candle making involves a great number of variables, and keeping records allows you to repeat successful batches precisely and troubleshoot problems methodically rather than guessing at what went wrong.
Conclusion
Choosing the right mould is not a single decision made once at the start of your candle making journey — it is something you will revisit as your skills develop and your ambitions grow. Silicone offers flexibility and intricate detail with minimal effort; metal delivers the clean, classic pillars that serious candle makers return to again and again; plastic sits neatly in between as an affordable, practical starting point. Build your collection gradually, learn the particular behaviour of each mould you own, and you will find that the mould itself becomes less of a limitation and more of a creative tool. With the right preparation and a little patience, consistently well-finished candles are well within reach.