How to Use Mason Jars for Candle Making
Mason jars have become one of the most popular choices for beginner candle makers across the UK, and it is not hard to understand why. They are widely available, relatively inexpensive, heat-resistant, and produce a finished candle that looks polished and professional without requiring expensive specialist equipment. Whether you are buying supplies from a craft supplier in Birmingham or sourcing jars from a car boot sale in Cornwall, mason jars offer a forgiving and versatile starting point for anyone new to candle making.
This guide will walk you through everything you need to know – from choosing the right jar and wax to pouring your first candle safely and confidently. By the end, you will have a solid understanding of the process, the materials involved, and the common pitfalls to avoid.
What Is a Mason Jar and Why Is It Good for Candle Making?
A mason jar – sometimes called a Ball jar after the American manufacturer – is a glass jar with a threaded neck designed to accept a two-part metal lid. Originally developed for home preserving and canning, these jars are made from thicker glass than standard food jars, which makes them better suited to withstand the sustained heat of a burning candle.
In the UK, true mason jars are sold by brands such as Ball, Kilner, and Le Parfait. Kilner jars in particular are extremely easy to find in British shops, stocked in everything from Lakeland and Dunelm to your local Wilko or garden centre. They come in a range of sizes – from dainty 125ml versions to generous 1-litre wide-mouth jars – giving you genuine flexibility depending on the type of candle you want to make.
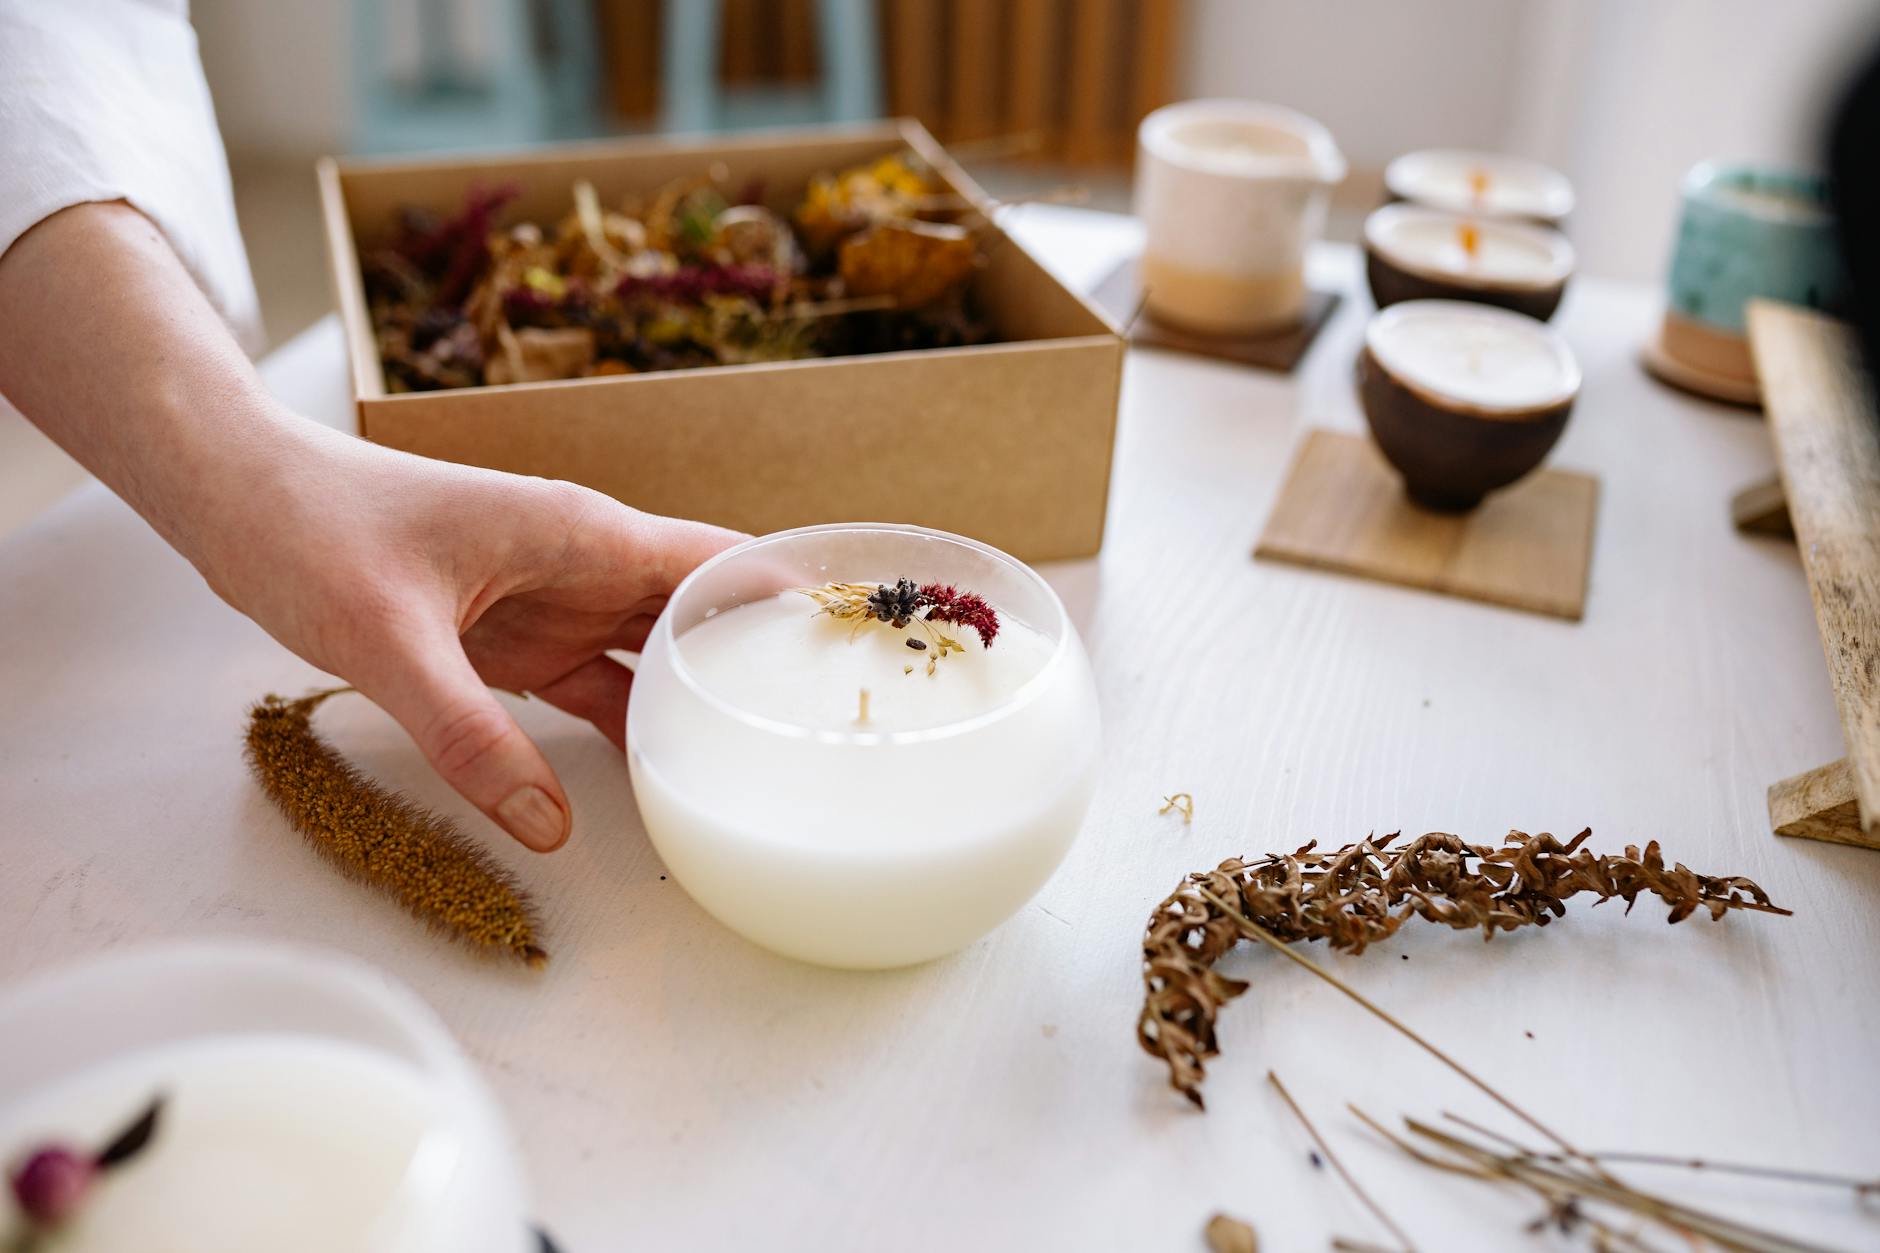
Glass is an excellent container material for candle making because it does not absorb fragrance, does not warp under heat, and allows the glow of the flame to shine through attractively. The wide mouth of a standard mason jar also makes it easy to pour wax cleanly and to position your wick without fiddling around with narrow openings.
Understanding UK Candle Safety Regulations
Before you buy a single gram of wax, it is worth familiarising yourself with the legal framework around candle making in the UK. If you intend to sell your candles – even informally via Etsy, at a craft fair, or to friends and family – you have legal obligations under the General Product Safety Regulations 2005 and, where applicable, the Classification, Labelling and Packaging (CLP) Regulation.
The CLP Regulation requires that any candle sold to the public carries a label including hazard pictograms, signal words, and precautionary statements relevant to the fragrance oils used. Many fragrance suppliers, including Candle Shack (based in Scotland) and The Fragrance Shop’s trade arm, provide CLP-compliant data sheets for their fragrance oils, which makes it considerably easier to label your products correctly.
For personal use at home, the legal requirements are less stringent, but good safety practices remain essential. Always conduct a burn test on every new candle you make, keep burning candles away from draughts and flammable materials, and never leave a candle unattended. Place clear warning labels on all candles regardless of whether you plan to sell them – it is simply good practice.
Choosing the Right Wax for Mason Jar Candles
Not all waxes are suitable for container candles, and choosing the wrong type can lead to cracking, poor scent throw, or an uneven burn. Container waxes are specifically formulated to adhere to the sides of the jar as they cool, creating a clean finish with minimal wet spots.
The most popular options for UK beginners are soy wax, paraffin container wax, and coconut wax. Soy wax is widely favoured because it is derived from a renewable source, has a lower melting point (making it easier to work with), and produces a cleaner, longer burn than standard paraffin. Good UK suppliers of soy wax include Candle Shack, NI Candle Supplies (based in Northern Ireland), and Cosy Owl.
Coconut wax is a premium option that blends beautifully with fragrance and produces an exceptionally smooth finish, though it is more expensive and can be trickier to source in the UK. Paraffin container wax remains a reliable, budget-friendly choice that gives a strong hot scent throw – important if you want your candles to fill a room with fragrance when lit.
Equipment and Materials You Will Need
One of the great advantages of starting with mason jars is that the initial outlay for equipment is modest. You almost certainly own several of the items already, and the specialist supplies are readily available online.
- Mason jars – Kilner wide-mouth jars in 250ml or 500ml sizes are ideal for beginners
- Container wax – soy wax (such as Golden Brands 464 or EcoSoya CB-Advanced) or a blended container paraffin
- Pre-tabbed wicks – cotton or wood wicks sized to your jar diameter; most UK suppliers provide a wick guide
- Wick stickers or low-temperature glue gun – to secure the wick tab to the bottom of the jar
- Wick centring tool or two pencils and an elastic band – to hold the wick upright during pouring
- Fragrance oil or essential oils – choose fragrance oils rated for candle use; not all essential oils perform well in wax
- Digital kitchen scales – accurate measuring is essential for consistent results
- A pouring jug – a stainless steel or heat-resistant plastic jug with a handle and spout
- A double boiler or large saucepan with a heatproof bowl – for melting wax safely
- A digital thermometer – a probe thermometer or infrared gun thermometer
- Fragrance measuring pipettes or syringes – for precise fragrance measurement
- Isopropyl alcohol – for cleaning equipment and wiping down jars before use
How to Calculate How Much Wax You Need
A useful rule of thumb is that 1ml of water equals approximately 1g in weight. Since wax is less dense than water, you can fill your jar with water up to where you want the wax level to finish, pour that water into your scales, and note the weight in grams. Multiply that figure by 0.85 to get an approximate wax weight – because wax is roughly 85% as dense as water.
For example, if your mason jar holds 280ml of water to the desired fill level, you would need approximately 238g of wax. Always round up slightly and have a small amount of extra melted wax in reserve, as most container candles benefit from a second pour to fill any sinkholes that form around the wick during cooling.
When it comes to fragrance load, most container soy waxes can hold between 6% and 10% fragrance oil by weight. For a beginner, starting at 8% is a sensible middle ground. For 238g of wax, that means approximately 19g of fragrance oil. Always check your wax supplier’s recommended maximum fragrance load, as exceeding it can cause the fragrance to pool on the surface of the candle or seep from the wax entirely.
Step-by-Step Instructions for Making a Mason Jar Candle
- Prepare your workspace. Cover your work surface with newspaper or a silicone mat. Wipe the inside of your mason jar with a clean cloth dampened with isopropyl alcohol and allow it to dry completely. A clean jar ensures better adhesion between the wax and glass.
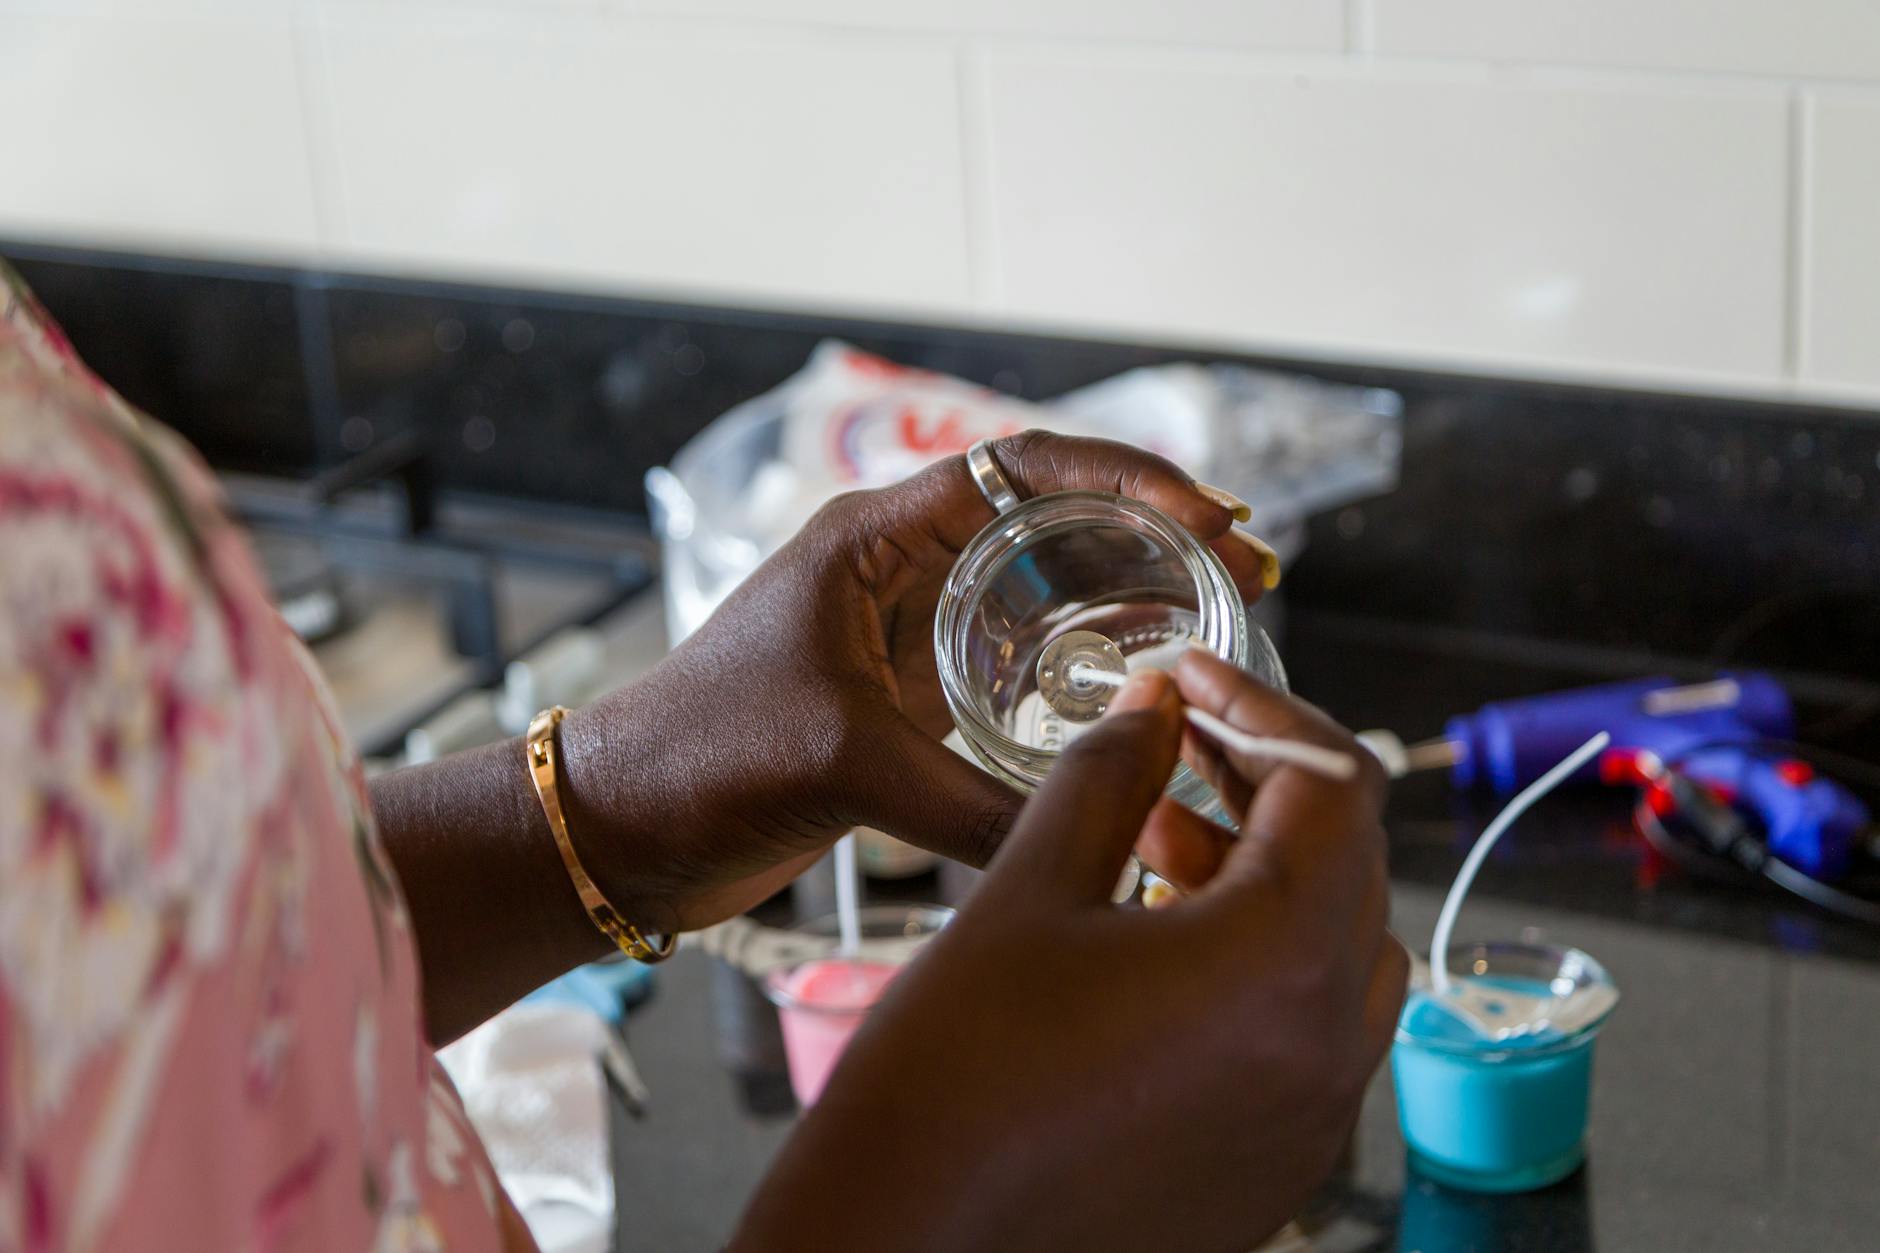
- Secure the wick. Press a wick sticker firmly onto the metal tab at the base of your pre-tabbed wick. Lower the wick into the centre of the jar and press the tab firmly to the bottom. Allow a few seconds for the adhesive to set before handling the jar. Thread the wick through your centring tool and rest it across the top of the jar so the wick stands upright.
- Melt the wax. Weigh your wax into a pouring jug or heatproof bowl. Heat it over a double boiler – a saucepan of simmering water with the bowl resting above, not touching, the water. Stir occasionally and monitor the temperature with your thermometer. Most container soy waxes should be melted to around 75-80°C. Never leave melting wax unattended, and never melt it directly over an open flame or on a direct electric hob without a water bath.
- Remove from heat and cool slightly. Once fully melted, remove the jug from the heat. Allow the wax to cool to between 60-65°C before adding fragrance. Adding fragrance at too high a temperature can cause the scent to flash off, reducing your candle’s fragrance throw.
- Add fragrance oil. Weigh your fragrance oil separately and add it to the wax. Stir slowly and continuously for at least two minutes, working the fragrance thoroughly through the wax. Rushing this step is one of the most common causes of poor scent throw in finished candles.
- Pour the wax. Pour steadily into the centre of the prepared jar, being careful not to disturb the wick. Leave approximately 1cm headspace at the top. Pour slowly – pouring too quickly can trap air bubbles in the wax.
- Allow the first pour to set. Leave the candle undisturbed at room temperature for at least four hours. Do not move it to the fridge or a cold windowsill; rapid cooling can cause the wax to crack or pull away from the glass. You will likely notice a small sinkhole forming around the wick as the wax contracts while setting.
- Top up with a second pour. Reheat a small amount of reserved wax to the same temperature as your first pour. Fill the sinkhole to level the surface, pouring carefully around the wick. Allow to set fully for a further two to four hours.
- Trim the wick. Once
Working with molten wax requires sensible precautions. Always melt wax in a double boiler rather than directly on a hob, and never leave it unattended on the heat. Keep a fire blanket or dry powder extinguisher nearby, and do not attempt to extinguish a wax fire with water. Work in a well-ventilated room, particularly when adding fragrance oils, and protect your work surface with newspaper or a silicone mat to catch any spills. Mason jars are generally heat-resistant, but always use tempered glass jars that are specifically rated for candle use, and inspect each jar for chips or cracks before filling. A compromised jar can shatter under sustained heat.
When burning your finished candles, follow the standard guidelines: keep the wick trimmed to 5 mm before every burn, never leave a burning candle unattended, and keep it away from draughts, soft furnishings, and curious children or pets. On the first burn, allow the wax to melt all the way to the edge of the jar — this prevents tunnelling and ensures you get the full life out of your candle.
Troubleshooting Common Problems
Even with careful preparation, you may encounter a few common issues. Frosting — a white, powdery bloom on the surface — is a natural characteristic of soy wax and does not affect burn quality, though choosing a wax blend specifically formulated to reduce frosting can help. Wet spots, which appear as patches where the wax has pulled away from the glass, are caused by temperature fluctuations during cooling; pouring at a slightly lower temperature and avoiding draughts while the candles set will reduce their appearance. If your candle is producing black soot or a flickering flame, the wick is almost certainly too large for the diameter of the jar, and you should test a smaller size in your next batch.
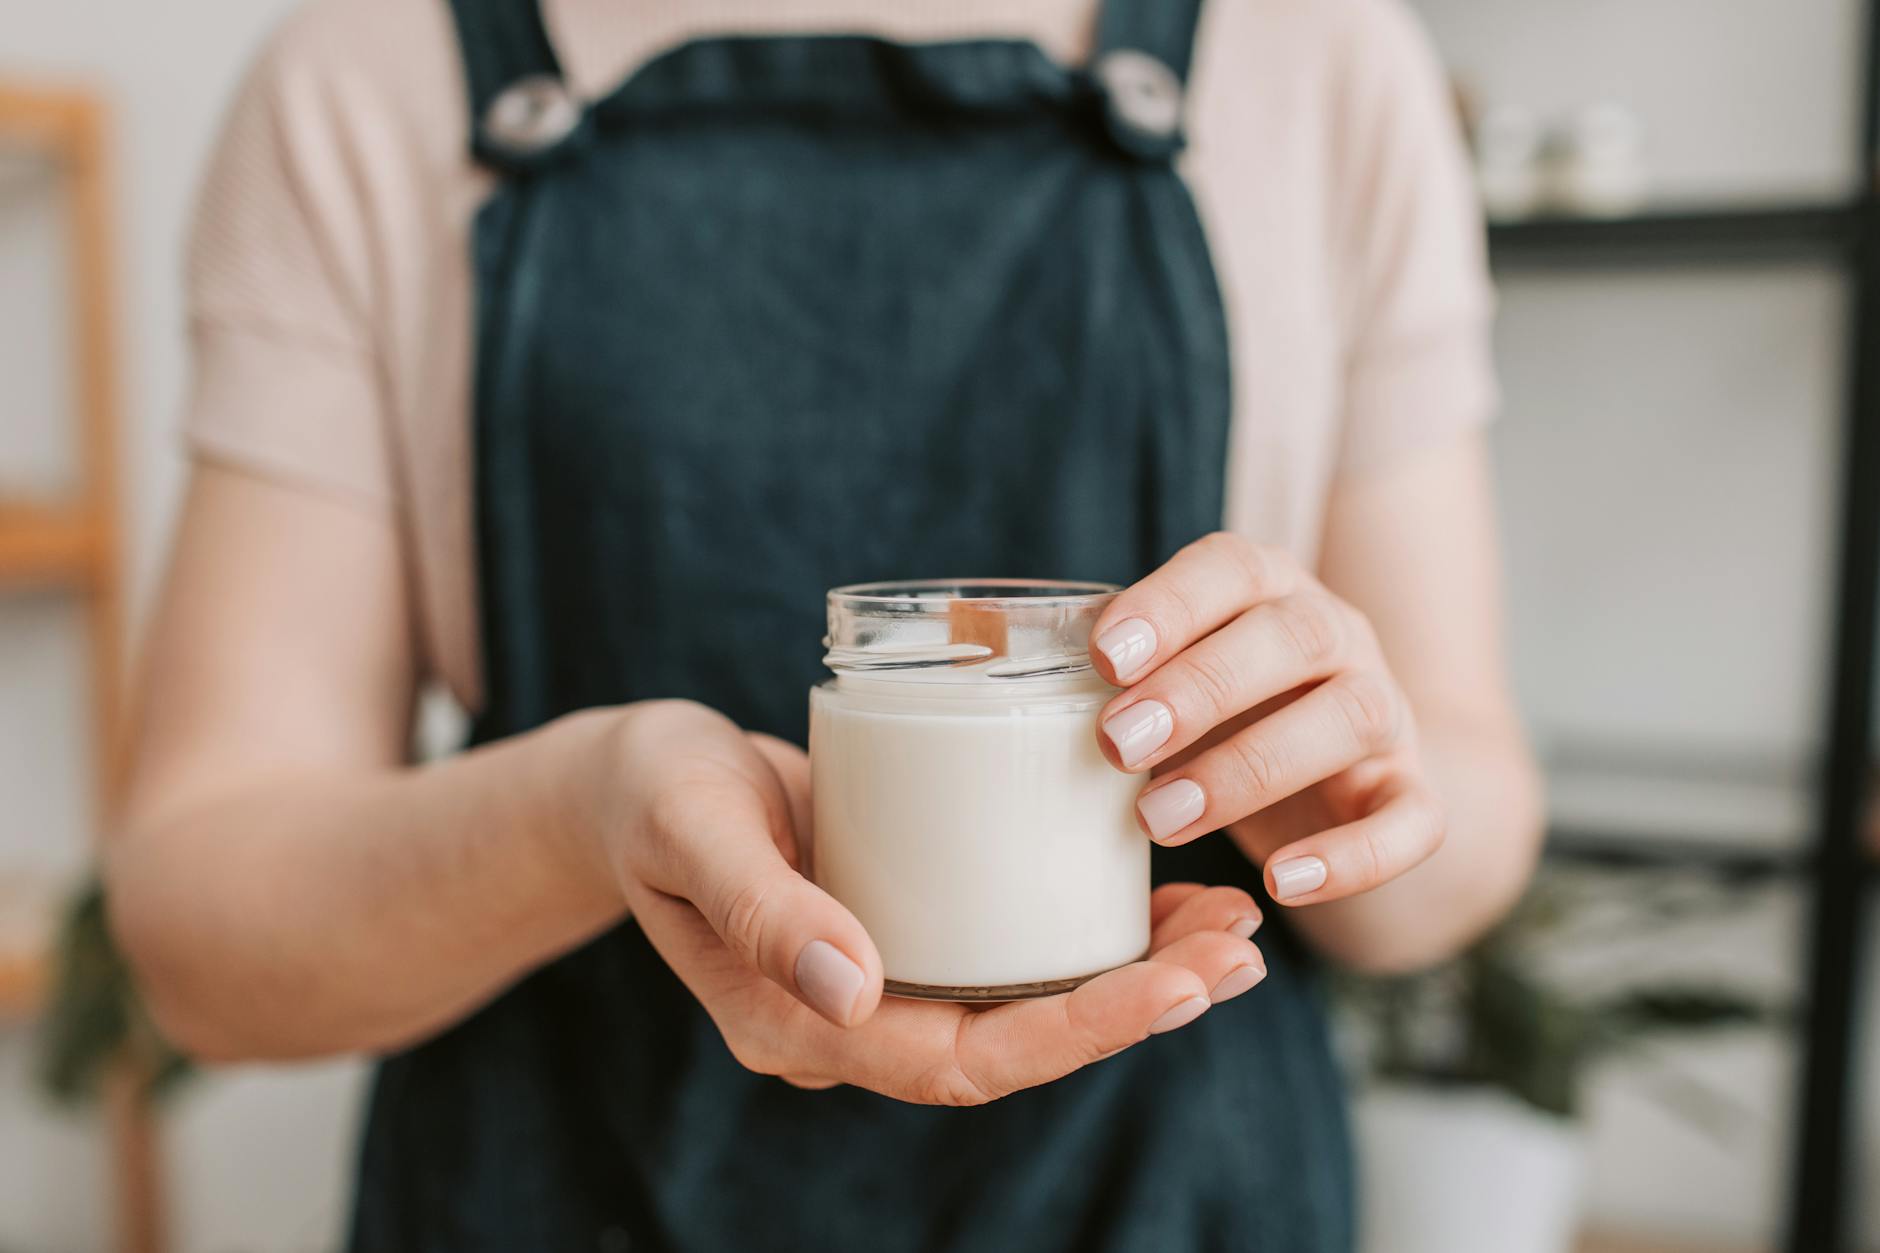
Candle making in mason jars is a straightforward and satisfying craft once you understand the basic principles behind wax behaviour, wick sizing, and fragrance loading. With a modest initial outlay on supplies, you can produce candles that are genuinely comparable in quality to those sold in high street homeware shops. Whether you are making them for your own home, as gifts, or as the start of a small business, working methodically and keeping accurate notes on each batch will help you refine your technique and achieve consistent, professional-looking results every time.