Repurposing Vintage Vessels for Candle Making
There is something genuinely satisfying about turning an old teacup into a softly glowing candle, or transforming a chipped jam jar you found at a car boot sale into something you would happily display on a mantlepiece. Repurposing vintage vessels for candle making is one of those crafts that sits perfectly at the crossroads of sustainability, creativity, and practicality. You get to rescue something beautiful from ending up in landfill, save money on containers, and end up with a candle that looks far more interesting than anything bought off a supermarket shelf.
This guide is aimed at complete beginners who want to give it a go properly, without cutting corners that could cause problems later. We will cover everything from choosing the right vessels and testing them for safety, through to the wax, wicks, and fragrance options available to you here in the UK. By the end, you should feel confident enough to pick up something at your next visit to a charity shop and know exactly what to do with it.
Why Vintage Vessels Are Worth the Extra Effort
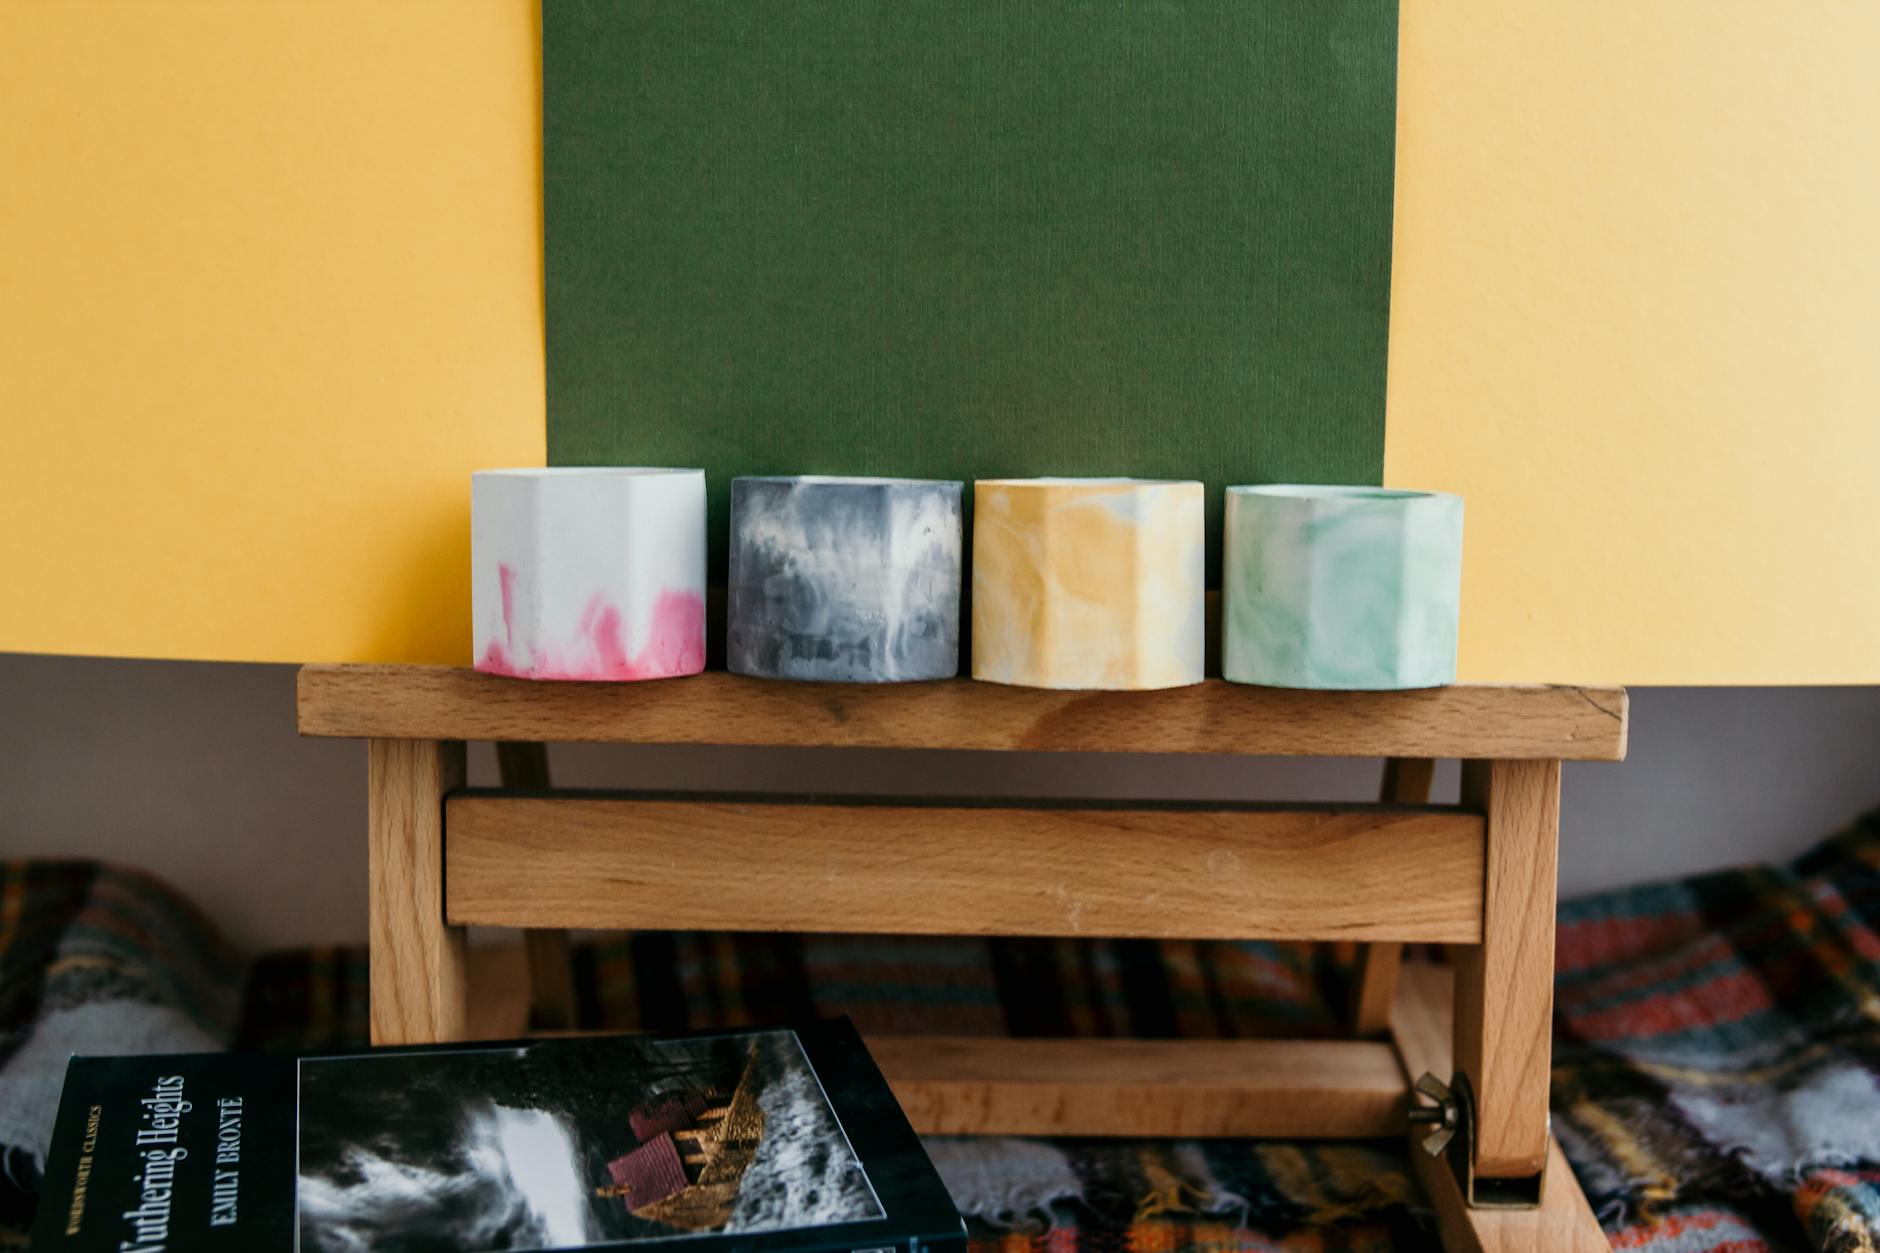
Modern candle containers are perfectly fine. Glass jars designed specifically for candle making are heat-resistant, consistently sized, and easy to work with. But they do all look rather similar. Browse any craft fair in the country, from Portobello Market in London to the Grassington Festival in the Yorkshire Dales, and the most eye-catching candles are almost always the ones sitting in something unexpected – a ceramic mug with a William Morris print, a small stone crock, a ribbed vintage drinking glass.
The character that comes with age is something you simply cannot replicate with a brand-new container. An old Clarice Cliff-style teacup carries visual weight and history that makes the finished candle feel genuinely special. Vintage vessels also tend to be thicker and more substantial than modern equivalents, which can actually work in your favour when it comes to heat distribution – though this is not always the case, and testing is always essential.
From a cost perspective, you can build up a lovely collection of containers for almost nothing. Charity shops across the UK – Oxfam, British Heart Foundation, Sue Ryder, your local hospice shop – are full of orphaned cups, mismatched bowls, and old glass bottles at prices that rarely exceed a couple of pounds. Car boot sales and jumble sales are even cheaper. Once you start looking, you will find candidates everywhere.
What Makes a Good Vintage Vessel
Not everything old and pretty is suitable for holding a burning candle. Before you get excited about a particular find, you need to assess it honestly against a few practical criteria.
Heat resistance is the single most important factor. When a candle burns, the container gets warm – sometimes very warm if you are using a larger wick or a vessel with a narrow opening that traps heat. Thin glass, fine bone china, and delicate ceramics can crack under sustained heat. Thick-walled pottery, stoneware, solid glass, and most enamelware cope much better. If in doubt, do not use it.
The shape of the opening matters more than people realise. A vessel with a wide mouth is easiest to work with – you can centre your wick properly, pour wax without spilling, and the candle will burn more evenly. Very narrow-necked bottles are essentially unusable for candle making unless you are making a reed diffuser or an oil lamp instead. Anything with an opening smaller than about 4-5 centimetres across is going to cause you difficulty.
A flat base keeps your candle stable while it sets and while it burns. Vessels that taper to a rounded bottom, or anything that wobbles on a flat surface, are safety risks. If a container tips over with molten wax inside, you have a mess at best and a fire risk at worst.
No cracks, chips on the interior, or previous repairs. A small chip on the rim of an old mug might be purely cosmetic if it is on the outside, but any damage to the interior surface – particularly at the base – is a reason to put that vessel back on the shelf. Cracks that are invisible to the eye can spread under repeated heating and cooling cycles.
Testing Your Vessels Before You Pour
Even a vessel that looks ideal needs to be tested before you commit wax to it. The process is simple and saves a lot of wasted materials and disappointment.
- Clean the vessel thoroughly. Wash it in hot soapy water, rinse it completely, and allow it to dry for at least 24 hours. Any moisture inside the vessel when you pour hot wax can cause the wax to bubble, spit, or crack as it sets.
- Check for leaks. Fill the vessel with water and leave it sitting on a piece of kitchen roll for an hour. Any seepage will show up immediately. Some old pottery has hairline cracks that are invisible until water finds them.
- Do a heat test. Place the empty vessel in a cold oven, set the temperature to 100°C, and allow it to heat slowly alongside the oven. Once at temperature, turn the oven off and allow the vessel to cool completely inside the oven without opening the door. Sudden temperature changes are what cause cracking, so this gradual method mimics the gentler heat of a burning candle. If the vessel survives this test intact, it is a good sign – though not an absolute guarantee.
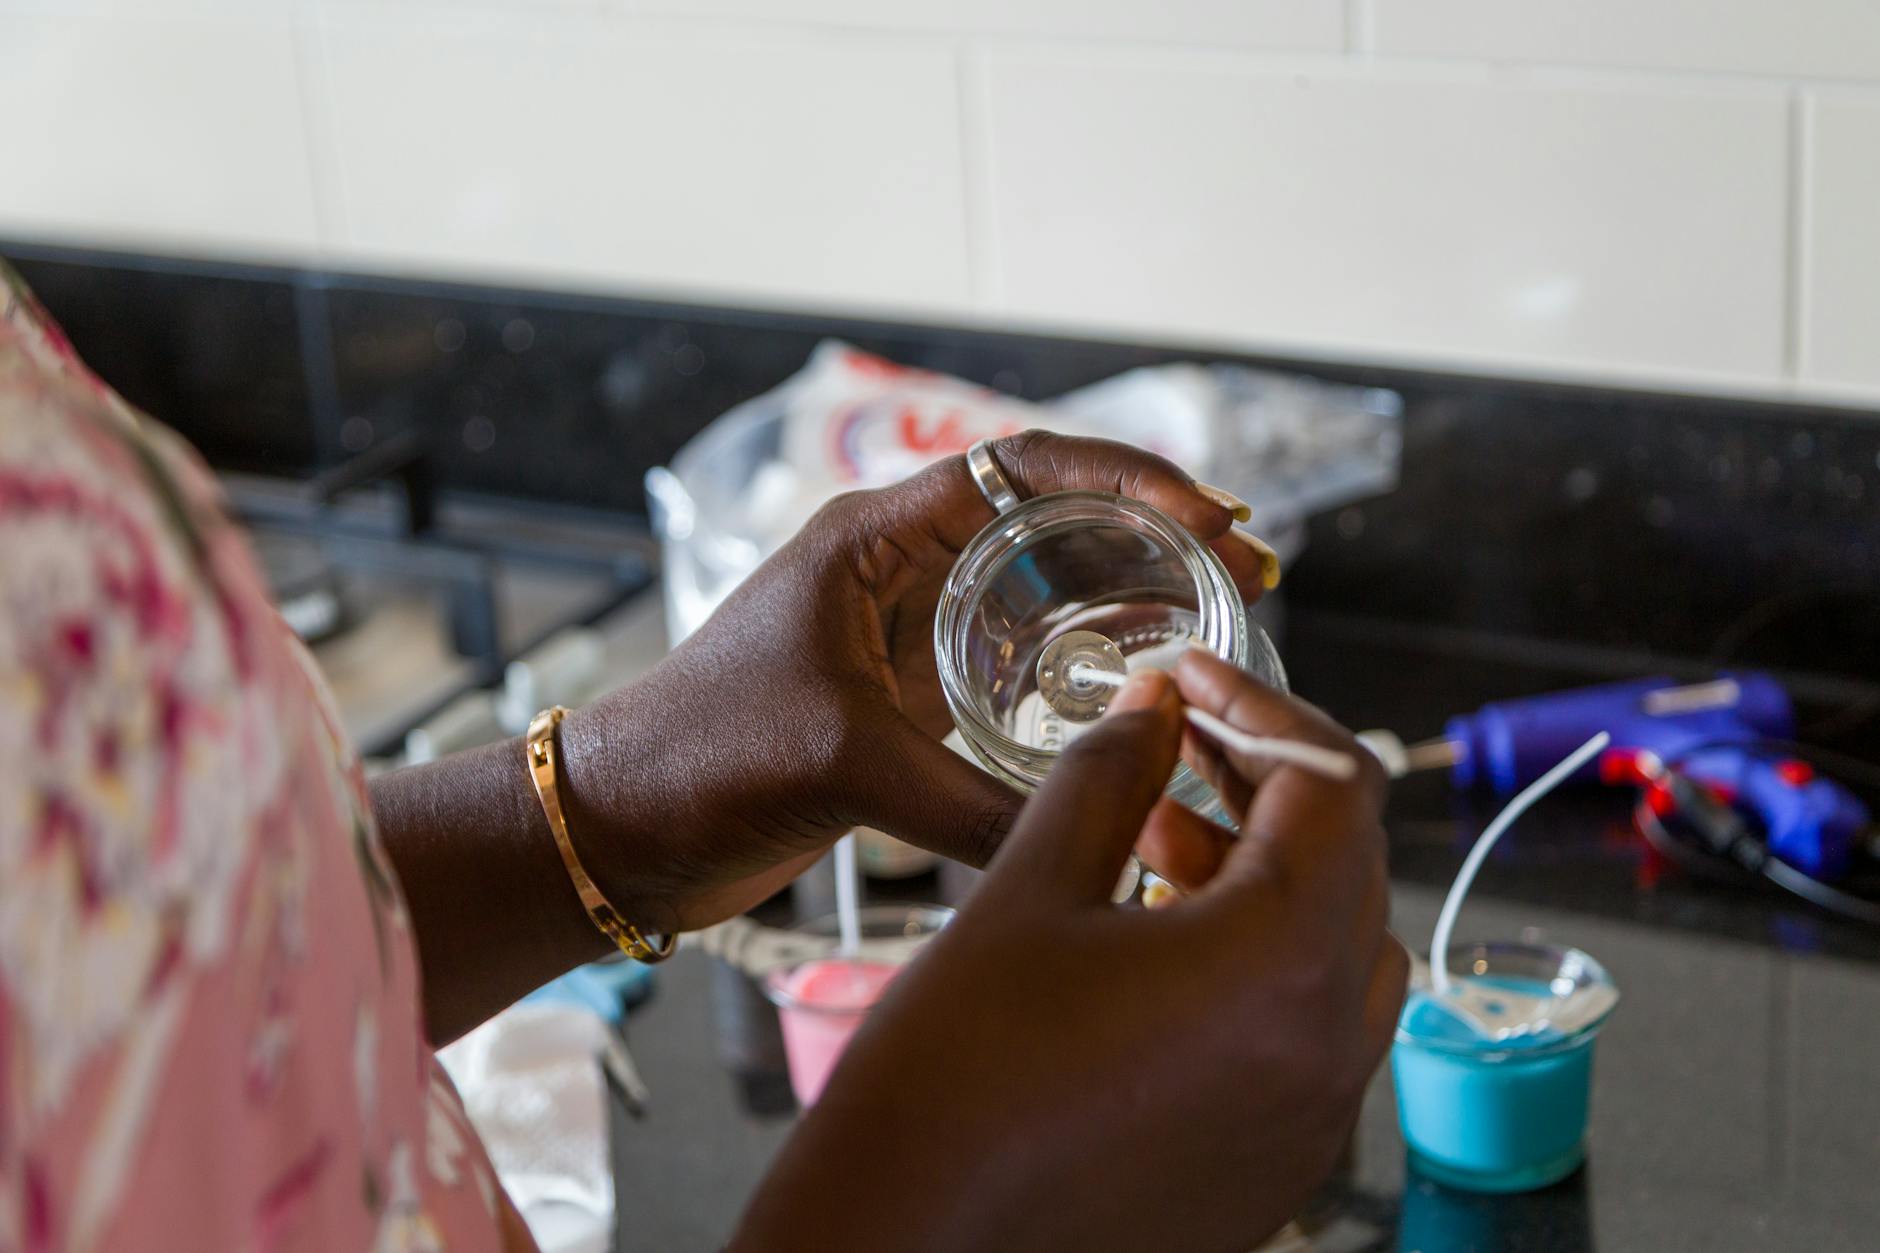
- Check the wick tab fits. Drop a wick sustainer tab into the base of the vessel and make sure it sits flat. If the base is uneven, the wick will not sit centred and the candle will burn unevenly or the flame will lean toward one side.
Wax Choices for Repurposed Containers
Container candles – which is what you are making when you pour wax into a vessel you intend to keep – require a softer wax than, say, pillar candles. You want a wax that adheres well to the sides of the container as it cools, burns cleanly, and holds fragrance reasonably well.
Soy wax is the most popular choice among UK hobby candle makers right now, and for good reason. It is relatively affordable, widely available, burns cleanly, and is biodegradable. Suppliers like The Candle Making Shop (based in Edinburgh), Candle Shack (in Bristol), and Supplies for Candles (also UK-based) all stock several grades of soy wax suitable for containers. Coconut wax is a slightly pricier alternative that gives a creamy, smooth finish and excellent scent throw – worth trying once you are comfortable with the basics.
Paraffin wax, which was the standard for decades, is still perfectly usable in containers and is often the cheapest option. It holds colour and fragrance brilliantly. Some makers object to it on environmental grounds, which is a reasonable position, but it is worth knowing that it remains a legal and widely used material. Beeswax is another option, particularly appealing if you want a natural, honey-scented candle, but it is expensive and has specific characteristics – it needs a larger wick than soy, for instance – that make it slightly trickier for beginners.
Avoid candle wax blends you cannot identify. If you have old leftover wax from a previous project or a mystery block picked up at a market, test a small amount on its own before combining it with anything else.
Choosing the Right Wick
Wicking is where many beginners make their first serious mistake, and it is entirely understandable because the options are confusing at first. Too small a wick and your candle will tunnel down the centre, leaving a ring of unmelted wax around the edges. Too large a wick and you risk overheating the container, a dangerously large flame, sooting, and excessive fragrance throw.
Wick size is influenced by the diameter of the container, the type of wax you are using, and whether you have added fragrance oils. Most UK suppliers provide wick guides that match their specific wax products to container diameters, and these are worth following closely when you are starting out. Candle Shack’s wick guide, for example, is freely available on their website and is one of the most comprehensive available to UK makers.
Cotton wicks are the standard choice for soy and paraffin container candles. Wooden wicks are becoming increasingly popular and give a pleasant crackling sound when burning, which many people love – they also work well in wider-mouthed vessels like shallow bowls and old ramekins. Whatever wick you choose, buy a selection of sizes and plan to test each one properly before deciding on a final version.
Fragrance Oils, Essential Oils, and UK Regulations
This is an area where UK regulations are genuinely important and worth understanding, particularly if you ever plan to sell your candles rather than just make them for personal use or gifts.
Fragrance oils designed specifically for candle making are your safest option. They are formulated to withstand the temperatures involved in wax pouring and burning, and reputable UK suppliers will provide IFRA (International Fragrance Association) compliance documents for their oils. This matters because some fragrance compounds are restricted or prohibited under IFRA guidelines due to skin sensitisation or other safety concerns.
Essential oils can be used in candles, but they behave differently to fragrance oils – many have low flash points, meaning they can ignite or evaporate at lower temperatures, which affects both safety and scent throw. If you want to use essential oils, research the specific flash point of each oil you intend to use and never add them to wax that is above their flash point temperature.
If you intend to sell candles – even casually at a craft fair – you are required under UK law to comply with the Candle Safety Standard (BS EN 15493, 15494, and 15495,
Vintage vessels add an additional layer of consideration when it comes to selling. Because the container is not a standardised, purpose-made candle vessel, you will need to demonstrate that it is fit for purpose — that it can withstand the heat of a burning candle without cracking, leaking, or posing a fire risk. Keep records of your testing process, including the wax type, wick size, fragrance load, and burn times you assessed. Photographing each stage of your burn tests is a sensible habit, particularly if you intend to scale up production or sell through online marketplaces, where platform policies may require evidence of safety testing.
Labelling requirements are worth taking seriously even if you are selling only a handful of candles at a local market. At minimum, your label should include the net weight of the candle, a list of hazardous fragrance components where required under CLP, appropriate hazard pictograms, your name and address as the responsible person, and burn safety instructions — such as keeping the wick trimmed, never leaving the candle unattended, and keeping it away from draughts and children. For vintage vessels with irregular shapes, adhesive labels may not sit flat, so many makers opt for a swing tag attached with twine, which also complements the aesthetic of a repurposed piece.
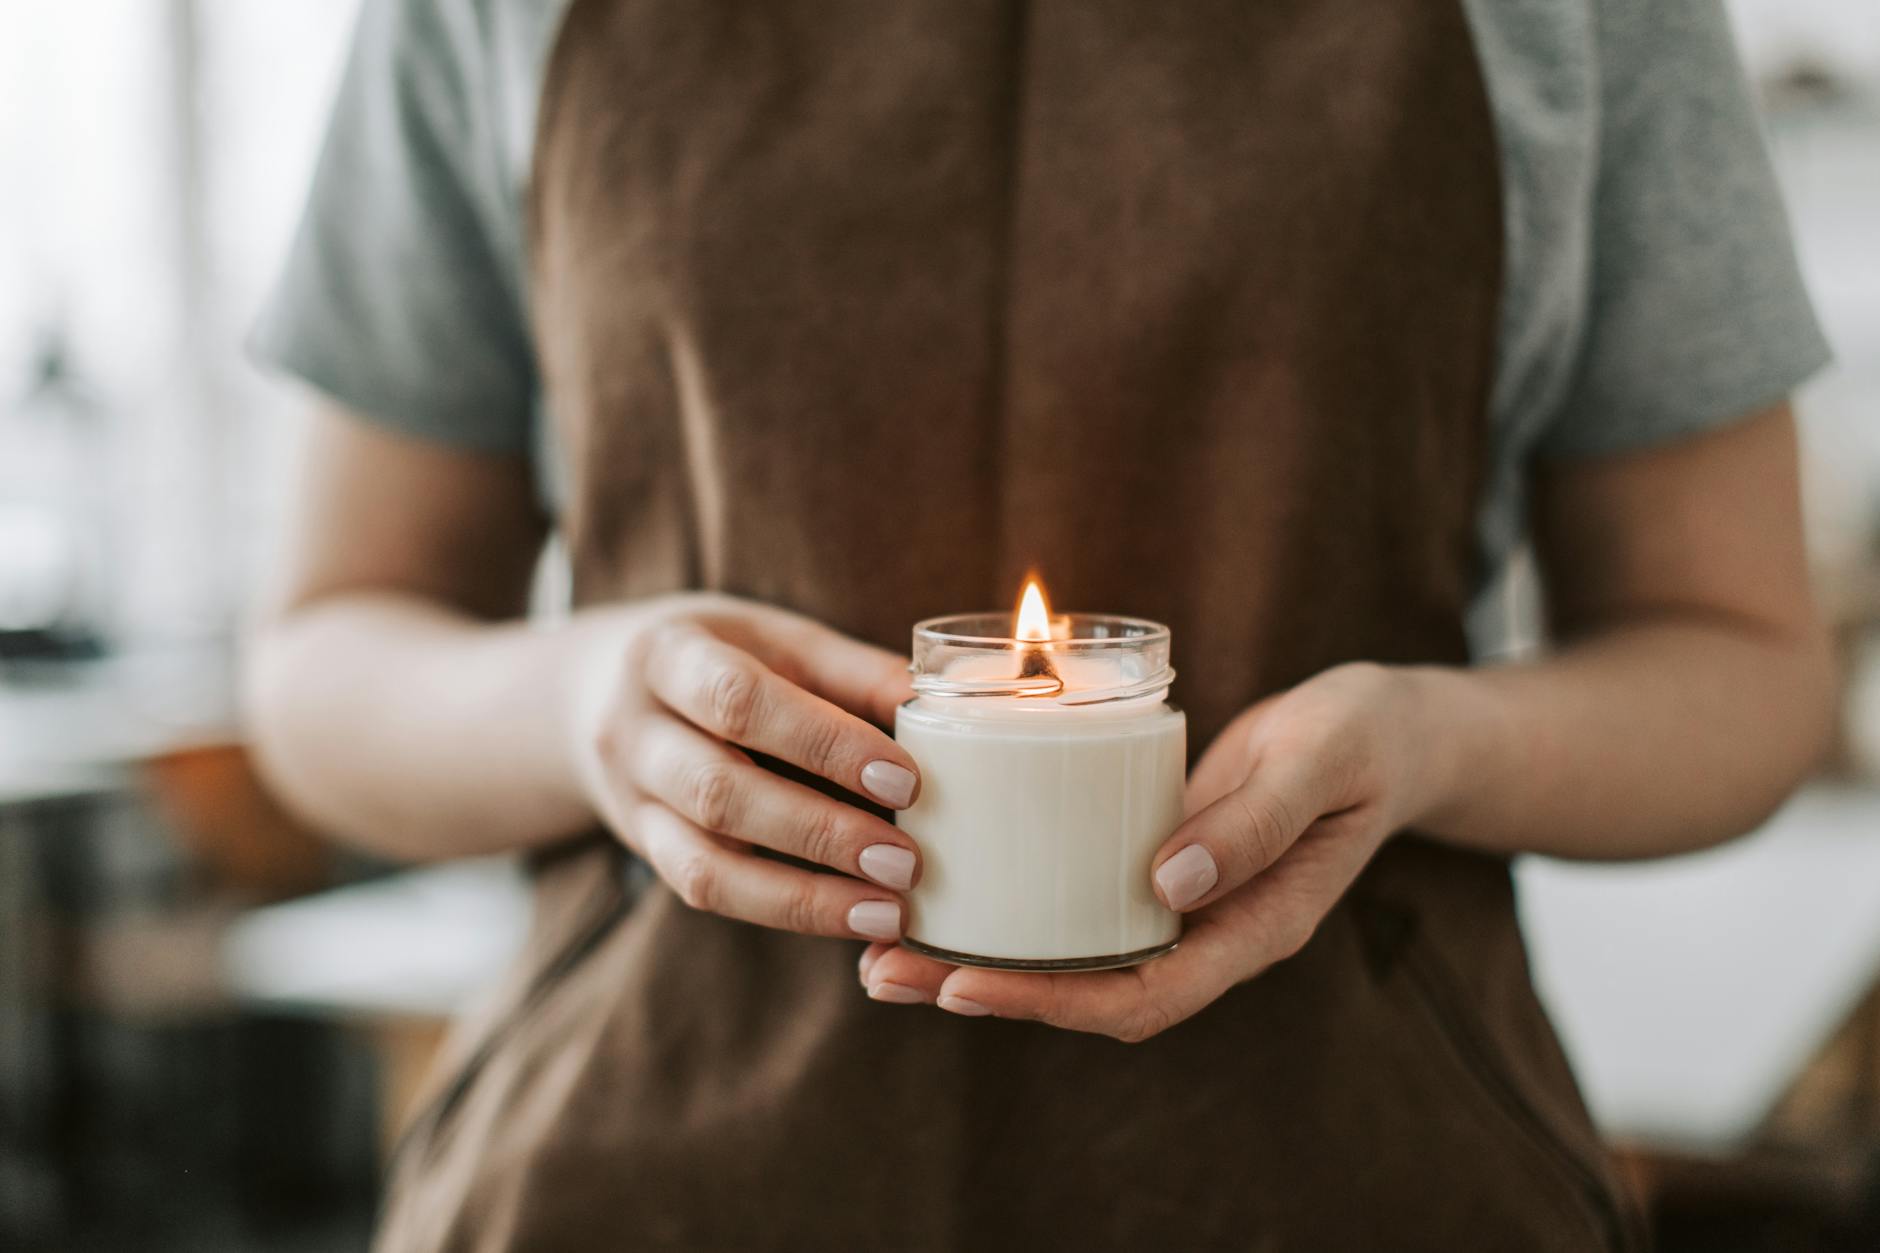
Working with vintage vessels is as much about patience and curiosity as it is about candle making itself. Hunting through car boot sales, estate clearances, and charity shops for the right piece, then preparing it carefully and pairing it with the correct wax and wick, produces a finished candle that is genuinely individual. No two will ever be quite the same, which is precisely the appeal. Whether you are making them as gifts, for your own home, or to sell, the process rewards careful attention — and the results are far more characterful than anything you could find on a supermarket shelf.