How to Make Wax Sachets and Embeds
Wax sachets and embeds are one of those happy corners of candle making where the craft gets genuinely creative. They sit somewhere between candle making and decorative art, and once you get the hang of them, you’ll find yourself making batches for gifts, markets, and your own home without a second thought. Whether you’re a complete newcomer to working with wax or you’ve already made a few container candles and want to try something different, this guide will walk you through everything you need to know to get started confidently.
Let’s start with the basics: what actually are wax sachets and embeds? Wax sachets are flat, often decorative wax shapes – think pressed flower designs, geometric tiles, or simple botanical discs – that release fragrance without needing a flame. They’re brilliant for wardrobes, drawers, car interiors, and bathrooms. Embeds, on the other hand, are small decorative wax shapes that are made separately and then pressed into, or placed on top of, a finished candle to add visual interest. The two techniques overlap considerably, which is why they’re so often discussed together. Learn one and you’re halfway to mastering the other.
What You’ll Need to Get Started
One of the best things about making wax sachets and embeds is that you don’t need a huge amount of kit. The barrier to entry is genuinely low, which makes this a wonderful starting point if you’re new to the craft or working with a limited budget.
Here’s a solid starter list of supplies:
- Wax – Paraffin wax (a harder grade, typically around 140-145°F melt point) is the traditional choice for embeds because it holds detail beautifully and sets firm. Many makers in the UK also use a hard soy wax blend. Brands like CandleScience UK, Cosy Owl, and The Soap Kitchen stock a good range and offer helpful guidance on which wax suits which project.
- Moulds – Silicone moulds are your best friend here. They’re flexible, easy to demould, and available in an extraordinary range of shapes. Craft shops like Hobbycraft stock them, and you’ll find hundreds of options on Amazon UK or Etsy from UK-based sellers. Look for cake decoration moulds, soap moulds, and resin moulds – they all work perfectly with wax.
- Fragrance or essential oils – Choose fragrance oils specifically designed for candle or wax melt use. These have been tested for use in wax and carry the correct safety classifications. Essential oils can be used but require careful attention to flash points.
- Wax dye or colourant – Liquid dye, dye chips, or dye blocks all work well. Avoid using candle dye meant purely for container candles if you want sharp, opaque colour in sachets.
- A pouring jug and thermometer – A digital thermometer takes the guesswork out of temperatures and is worth every penny. Stainless steel or heat-resistant plastic pouring jugs are ideal.
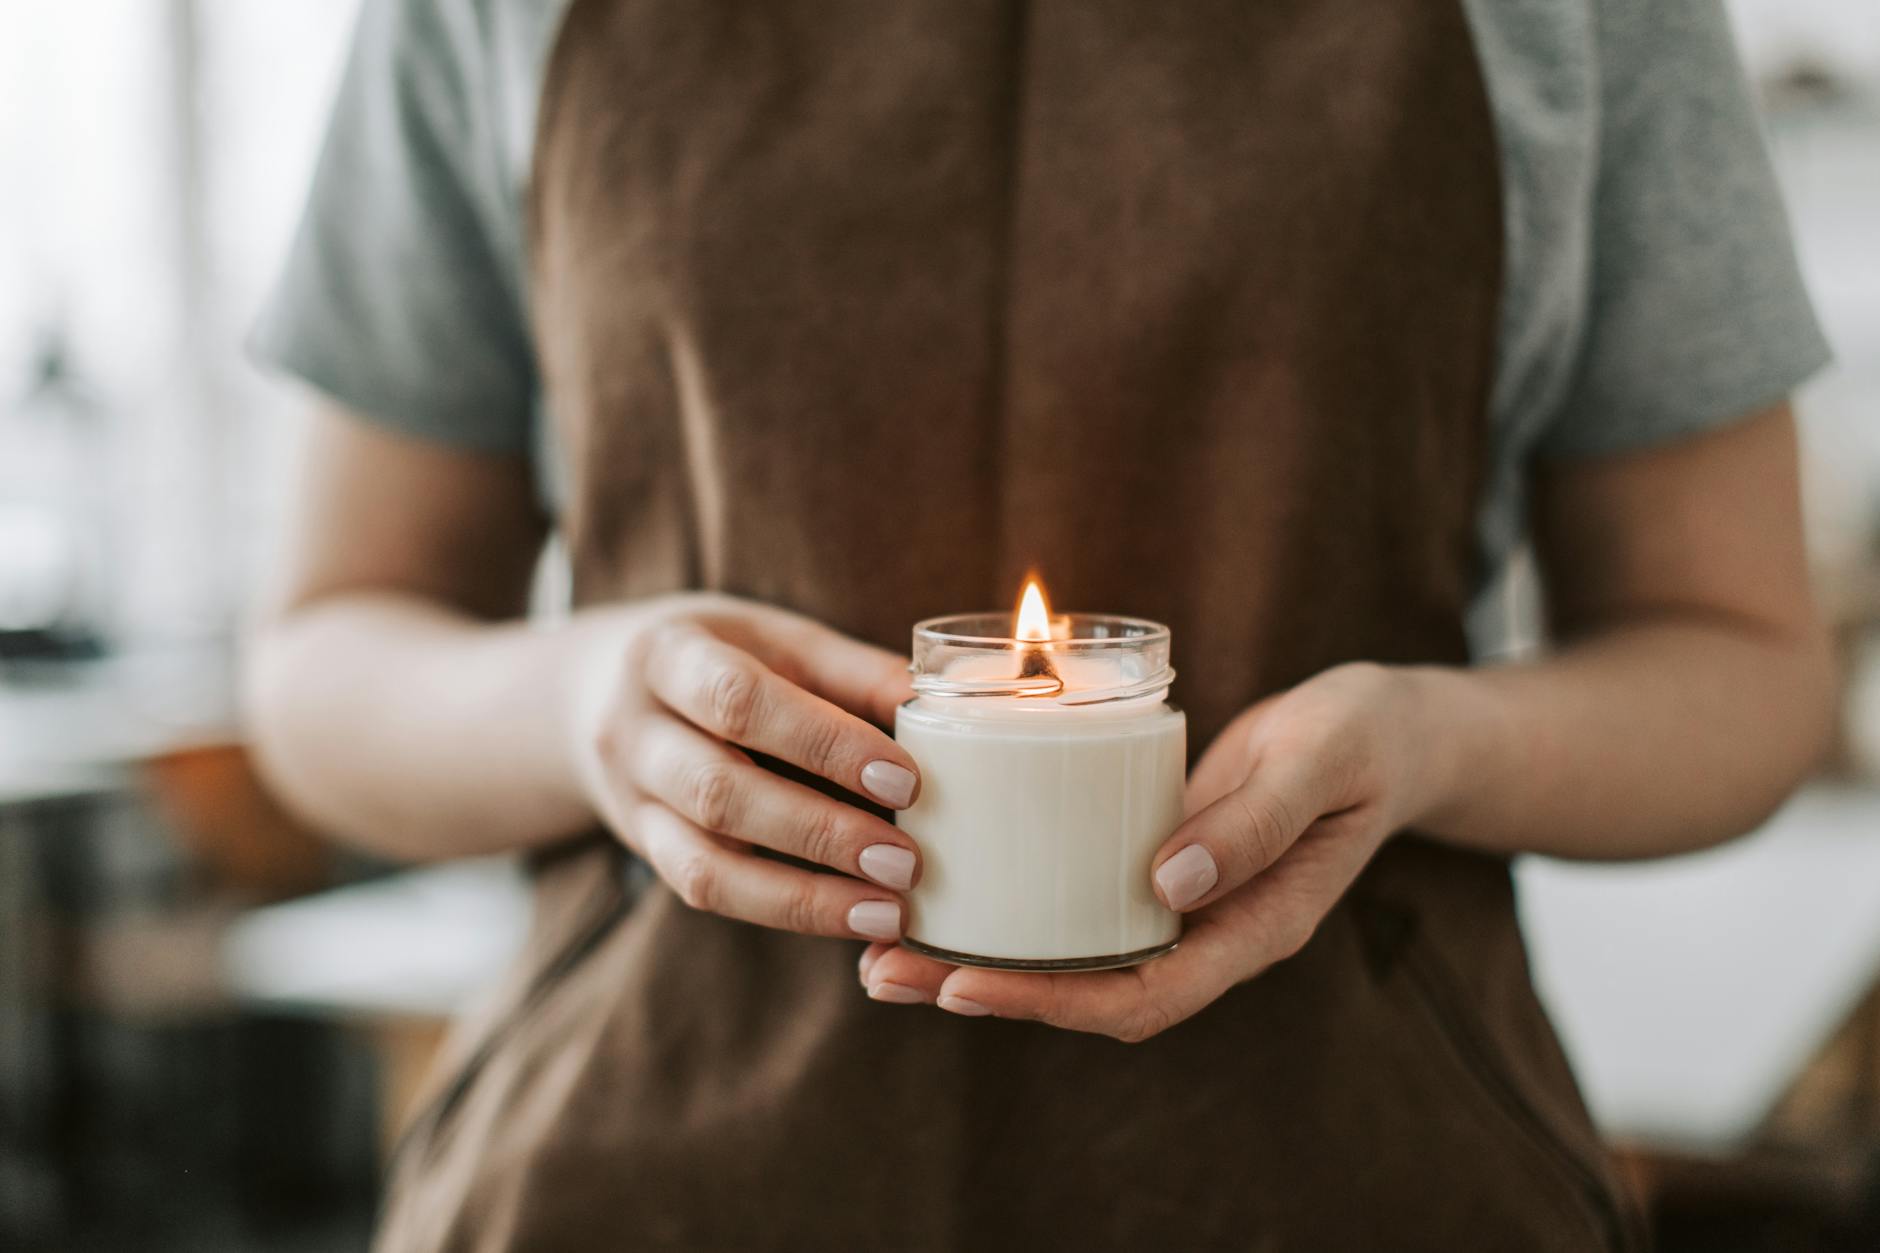
- A double boiler or dedicated wax melting pot – Never melt wax directly on a hob. A bain-marie setup (a jug in a pan of hot water) or a dedicated wax melter keeps temperatures controlled and reduces fire risk.
- Hole punch tool or skewer – For sachets, you’ll want to create a hanging hole before the wax fully sets.
- Ribbon or twine – For finishing sachets ready to hang or gift.
- Dried botanicals, glitter, or mica powder – Entirely optional, but these additions can make your sachets look stunning.
You don’t need to buy everything at once. Start with a basic paraffin wax, one or two silicone moulds, a fragrance oil you love, and some dye chips. You can build your collection as you go.
Choosing the Right Wax
The wax you choose will have a significant impact on how your sachets and embeds look and perform, so it’s worth spending a moment on this before you start mixing and pouring.
Paraffin wax remains the most popular choice for embeds and sachets among experienced makers, and with good reason. It takes colour vibrantly, holds fine detail from moulds exceptionally well, and sets hard enough to handle without denting or smudging. A harder grade paraffin – sometimes labelled as pillar wax or embed wax by UK suppliers – is what you’re after. Avoid soft container paraffin blends for this purpose, as they’ll feel tacky and won’t demould cleanly.
Hard soy wax blends are a popular alternative, particularly among makers who prefer to work with plant-based materials. Pure soy wax alone tends to be too soft and can crack, but blended hard soy waxes – specifically formulated for melts and shapes – work very well for sachets. Brands like NatureWax C-3 are widely available from UK suppliers. Colour payoff can be slightly less vivid with soy, but the natural, off-white base has its own appeal, especially with botanical embeds.
Beeswax is another option worth mentioning. It produces beautiful, naturally golden sachets with a subtle honey scent even without added fragrance. It can be a little pricier, but a bag goes a long way and the finished results are gorgeous. UK-based beekeeping suppliers and candle specialists like Candles & Supplies often stock it.
Safety First
Working with hot wax is perfectly safe when you follow sensible precautions, but it does require respect. Wax behaves a bit like hot oil – it’s flammable, it retains heat for longer than you might expect, and a spill can cause a burn before you realise what’s happened.
A few non-negotiable safety habits:
- Never leave melting wax unattended on a heat source.
- Keep a fire blanket nearby – not water, which makes a wax fire dramatically worse.
- Always use a thermometer. Overheated wax can flash and ignite.
- Work on a heat-resistant surface and keep children and pets out of your workspace while pouring.
- Use fragrance oils that comply with IFRA (International Fragrance Association) guidelines. Reputable UK suppliers will list IFRA compliance on their product pages.
If you’re planning to sell your wax sachets, there are regulatory considerations to keep in mind. In the UK, cosmetic products (including items that contact skin) and products that release fragrance into the air may require safety assessments under UK REACH and the UK Cosmetics Regulation. For non-cosmetic scented sachets, you’ll want to ensure your fragrance oils are used within recommended usage rates and that your products are labelled in line with UK CLP (Classification, Labelling and Packaging) regulations. The British Candlemakers Federation is a useful resource if you’re planning to move into selling, and many UK fragrance suppliers provide pre-written CLP labels as part of their service.
How to Make Wax Sachets: Step by Step
Right, let’s get into the actual making. This method works for fragrant hanging sachets – the kind you’d put in a wardrobe, a gift bag, or a bathroom.
- Set up your workspace. Lay down newspaper or a silicone mat to protect your surface. Have your moulds, fragrance, dye, and tools within easy reach before you start. Once the wax is melted, things move quickly.
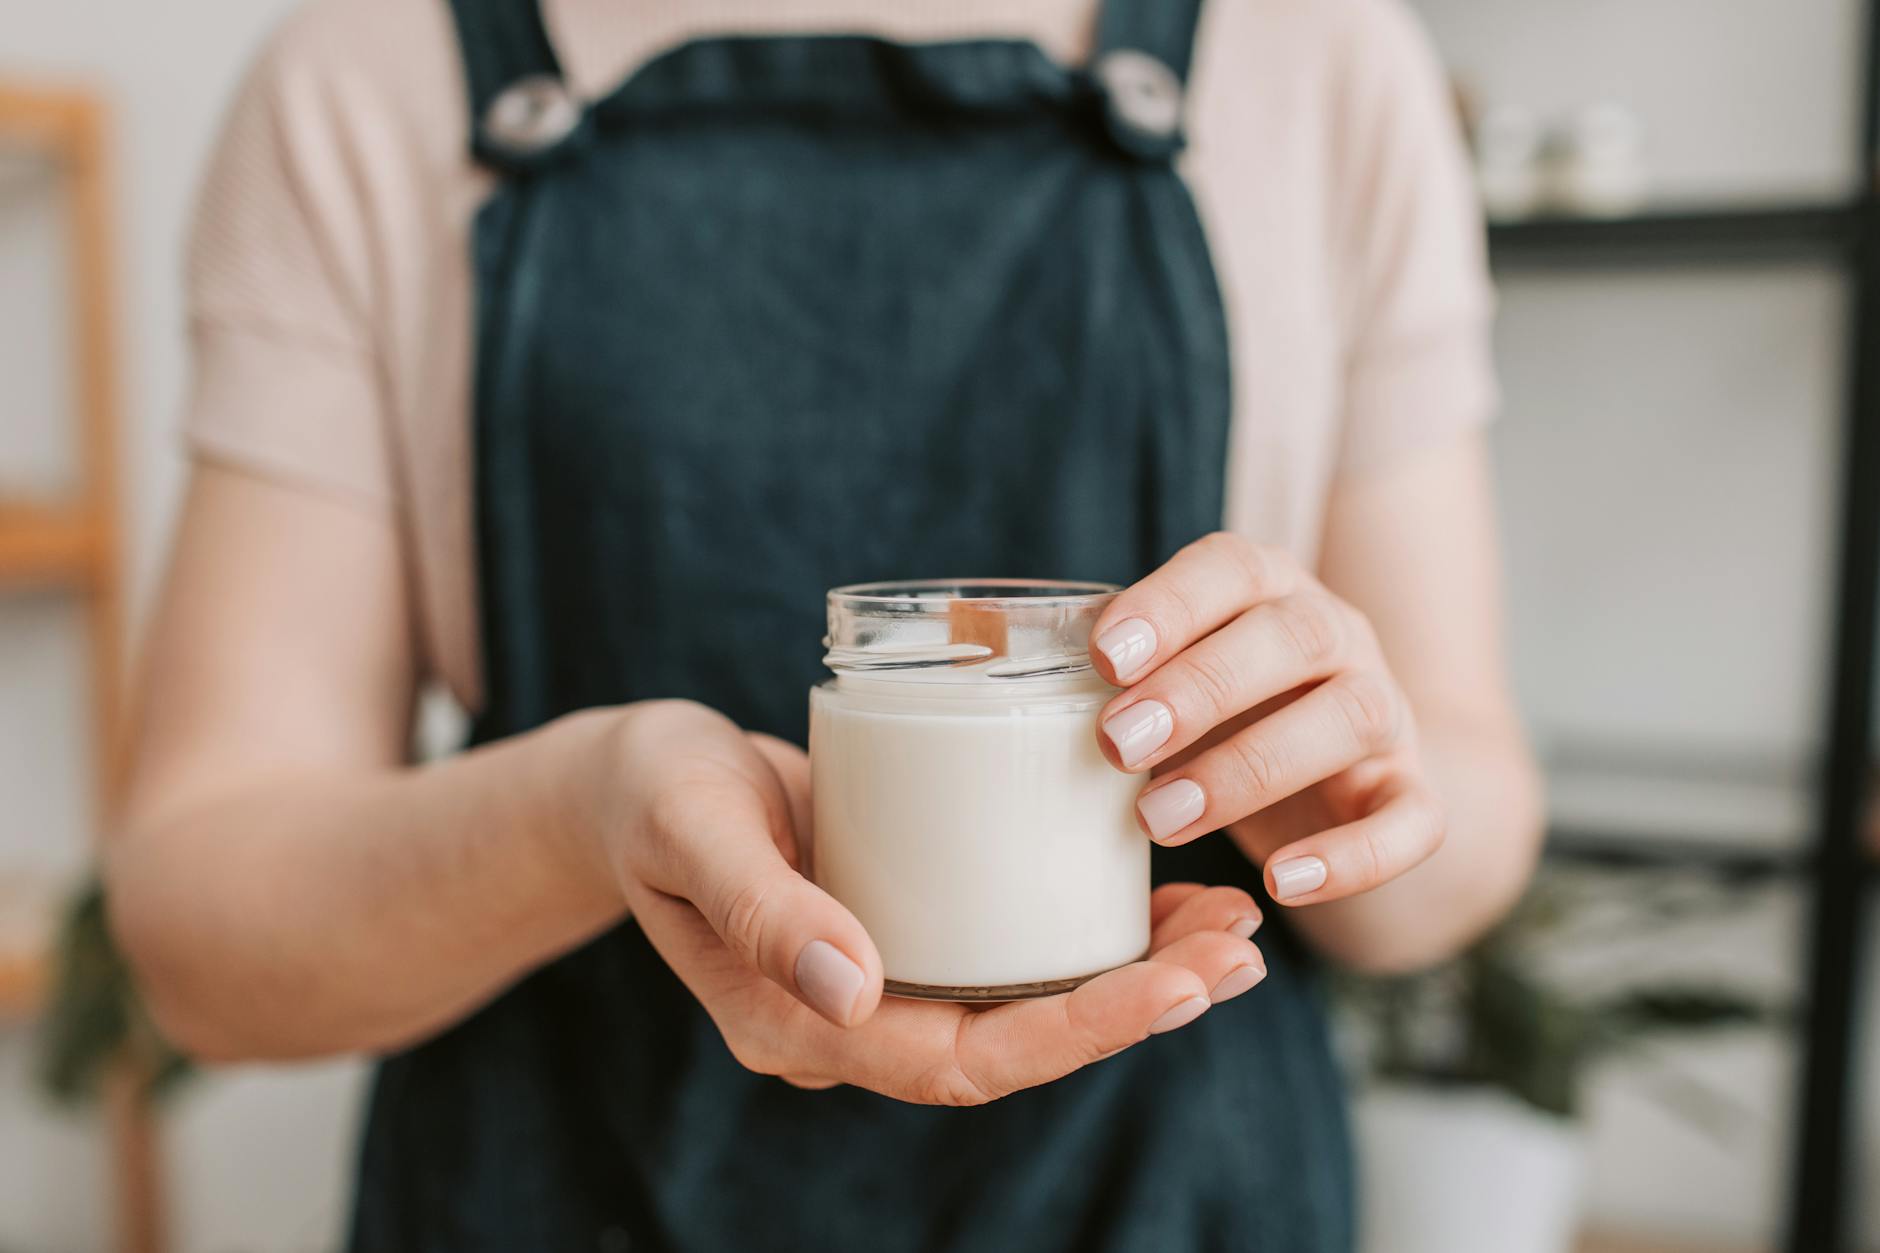
- Weigh your wax. For most silicone moulds, you won’t need much – 100-200g of wax will fill several shapes. Weigh it into your pouring jug or melting pot.
- Melt the wax. Using your double boiler or wax melter, bring the wax up to the recommended pouring temperature. For most hard paraffin waxes, this is around 75-85°C. Check your specific wax’s data sheet – UK suppliers usually include this on the product listing.
- Add your dye. Once the wax is fully melted and up to temperature, add your dye. Stir gently but thoroughly for at least a minute to ensure it’s fully incorporated. Start with less than you think you need – dye is more potent than it looks.
- Add your fragrance oil. Remove the wax from the heat source, allow it to cool slightly to the recommended fragrance addition temperature (usually around 65-75°C for paraffin – check your wax’s instructions), then add your fragrance. A usage rate of around 6-10% is typical for sachets. Stir slowly and steadily for a full two minutes.
- Pour into your moulds. Pour in a slow, steady stream. Fill the moulds just to the top – slightly overfilling is fine as you can trim excess once set. Tap the mould gently on the table to release any air bubbles.
- Add any decorative elements. If you want to press dried flowers, botanicals, or glitter onto the surface, do so now while the wax is still liquid or just starting to skin over. Work quickly and don’t press too hard.
- Create the hanging hole. Once the wax has started to firm up but is still slightly pliable – usually after about 15-20 minutes – use a skewer or hole punch to create a hole near the top of each shape. Don’t wait until it’s fully set or it may crack. If you forget, a heated skewer can melt a hole through a fully set sachet.
- Leave to set fully. Allow the sachets to cool completely at room temperature. Avoid putting them in the fridge to speed up setting – rapid cooling can cause the wax to crack or pull away unevenly. Patience here genuinely pays off.
- Demould and finish. Once fully set (ideally after a couple of hours, or overnight for thicker pieces), flex the silicone mould gently to release the shapes. Thread your ribbon or twine through the hole, and your sachet is ready.
How to Make Wax Embeds
Embeds follow much the same process as sachets, with a couple of key differences. Because embeds are designed to be placed on or into a candle, they typically don’t need a hanging hole, and fragrance is often omitted entirely – the embed will pick up scent from the candle itself, and adding fragrance to the embed can sometimes interfere with the candle’s burn performance.
For embeds, use a hard wax that contrasts or complements your candle. Many makers use white or pastel-coloured embeds against a darker candle, or create embeds in complementary tones. Keep the shapes relatively small and flat if you’re pressing
them into the surface of a pillar or container candle, as overly bulky embeds can create uneven surfaces and make it difficult for the candle to burn correctly. A depth of around 5–8mm is usually sufficient for most embed designs.
When attaching embeds to a finished candle, warm the surface of the candle very slightly with a heat gun on a low setting, then press the embed gently into place. Alternatively, a small amount of melted wax applied to the back of the embed acts as an adhesive. For embeds that sit on top of a pillar candle, ensure the candle surface is level before placing them, and avoid positioning embeds directly over the wick, as this will obstruct the flame and create a fire hazard. Always test your finished candle thoroughly before selling or gifting it, and include appropriate safety warnings on your labelling as required under UK cosmetic and candle regulations.
Both wax sachets and embeds offer a satisfying way to extend your wax crafting beyond traditional candles, making use of leftover wax and offcuts while producing items that are genuinely useful or decorative. Sachets work particularly well as low-cost add-ons to candle orders, while embeds can elevate the appearance of an otherwise simple pillar or moulded candle considerably. With a modest investment in silicone moulds and a reliable hard wax, you can build a varied product range without significantly increasing your production costs or workspace requirements.
Whether you are just beginning to experiment with wax crafting or are looking to expand an existing candle business, sachets and embeds are well worth adding to your repertoire. Keep notes on each batch — wax type, fragrance load, colourant quantities, and pour temperature — so that you can reproduce successful results consistently. Small-batch testing before committing to larger production runs will save both materials and time, and as with all candle and wax products sold in the UK, ensure your finished items comply with current trading standards, labelling requirements, and any relevant REACH regulations governing fragrance ingredients.