How to Make Scented Pillar Candles: A Complete Tutorial
Pillar candles are one of the most satisfying things you can make at home. They stand on their own without a container, hold their shape beautifully, and when scented well, they fill a room with fragrance for hours. Unlike container candles, pillar candles require a little more precision – the right wax, the correct wick size, and a proper mould – but once you understand the process, the results are genuinely impressive. This guide covers everything a beginner in the UK needs to know to make their first batch of scented pillar candles from scratch.
Understanding Pillar Candles: What Makes Them Different
The key distinction between a pillar candle and a container candle is structural. A pillar candle must support itself once it is removed from its mould, which means the wax needs to be considerably harder than the soft blends used in glass jars or tins. Container waxes, such as soy container wax or coconut wax, are formulated to adhere to vessel walls and remain slightly soft. If you tried to demould one of those candles, it would simply crumble or sag.
Pillar candles are typically made using harder paraffin waxes, beeswax, or specific pillar-grade soy blends. Each has its advantages. Paraffin pillar wax is widely available, inexpensive, and produces a very smooth, professional-looking finish. Beeswax is a natural option with a subtle honey scent and excellent burn quality, though it is significantly more expensive. Pillar-grade soy blends occupy the middle ground – more natural than paraffin but still firm enough to hold their shape once cooled.
For a beginner in the UK, a paraffin pillar wax with a melt point between 58°C and 63°C is the most forgiving starting point. Suppliers such as Candle Shack (based in the UK), The Candle Making Shop, and Cosy Owl all stock pillar-grade paraffin wax and ship across Great Britain, making them accessible whether you are based in Edinburgh, Birmingham, or rural Cornwall.
Equipment and Materials You Will Need
Before you begin, gather all your equipment. Candle making involves hot wax and open flames during testing, so having everything organised and within reach before you start is important both for safety and for achieving consistent results.
- Pillar wax – paraffin pillar wax, beeswax, or pillar-grade soy blend
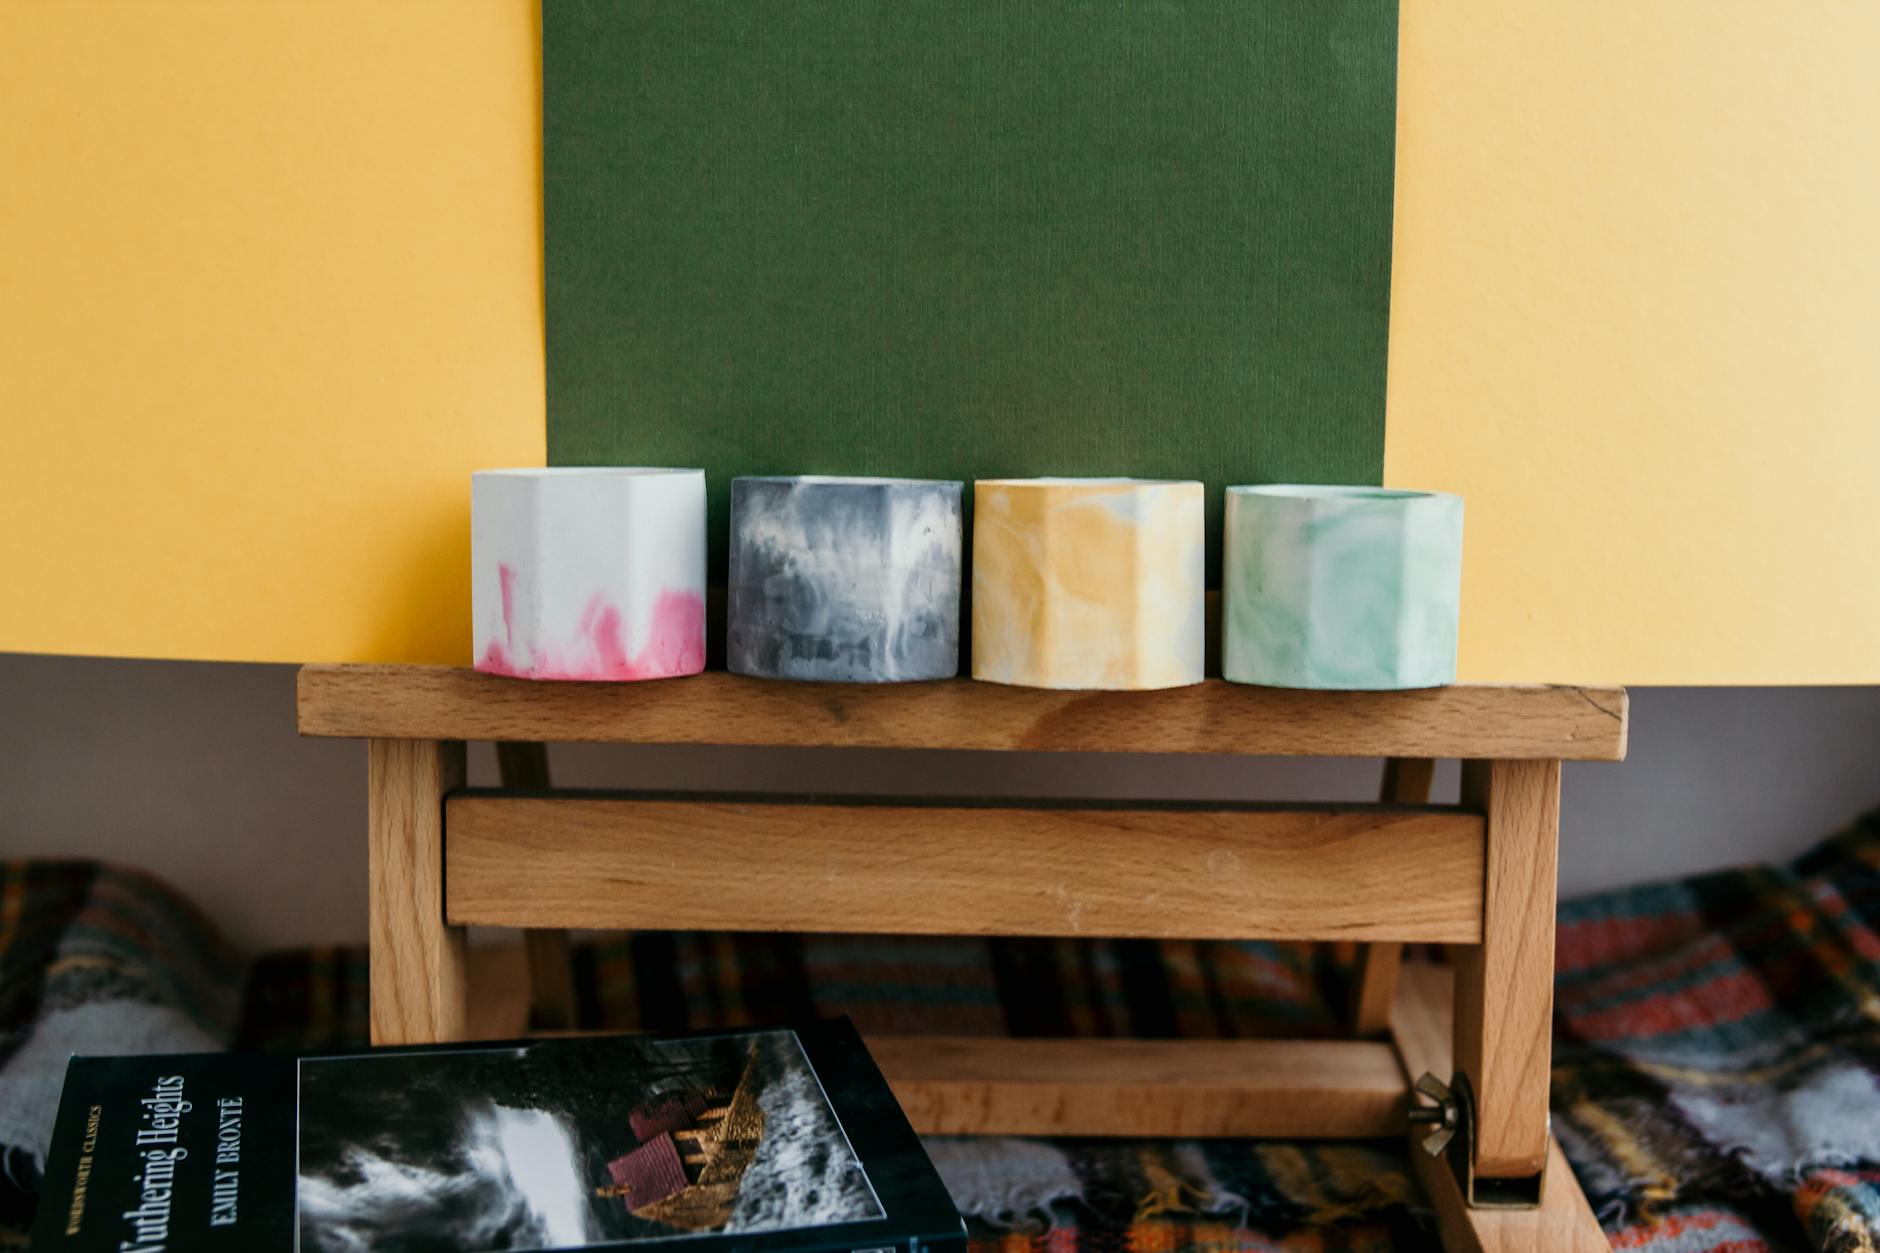
- Pillar candle mould – aluminium, polycarbonate, or silicone; cylindrical and square shapes are ideal for beginners
- Pre-waxed wick – sized appropriately for your mould diameter (more on this below)
- Wick pin or wick holder bar – to keep the wick centred during pouring
- Pouring jug – a stainless steel or aluminium jug with a handle and spout
- Digital thermometer – essential for accurate temperature control
- Scales – for weighing both wax and fragrance oil
- Fragrance oil or essential oil – ensure it is cosmetic or candle-grade
- Candle dye – optional, but liquid dye or dye chips work well in pillar wax
- Mould seal or blu-tack – to seal the wick hole at the base of the mould
- Heat-resistant mat or silicone baking sheet – to protect your work surface
- Skewer or pencil – to rest the wick bar across the top of the mould
- Craft knife or palette knife – for trimming any uneven wax at the base
You will also want to keep a roll of kitchen paper nearby and designate a specific hob ring or hotplate for candle making. Wax is notoriously difficult to clean from pots used for food, so it is worth keeping your candle-making equipment entirely separate.
Choosing the Right Fragrance
Fragrance selection is one of the most enjoyable parts of candle making, but it requires some care. Not all fragrance oils perform equally in pillar wax. A fragrance that works brilliantly in a soy container candle may bleed out of a paraffin pillar candle or cause it to sweat – a condition where excess fragrance oil seeps to the surface of the wax and creates a greasy film.
The fragrance load for pillar candles is typically lower than for container candles. A safe starting point is 6% fragrance by weight – so for every 100g of wax, use 6g of fragrance oil. Some waxes and fragrances can handle up to 8%, but exceeding the recommended rate for your specific wax increases the risk of poor burn quality, mushrooming wicks, and fire hazards.
In the UK, all fragrance oils sold for candle making must comply with IFRA (International Fragrance Association) standards. Reputable UK suppliers such as Fragrance Oil Supplies, The Soap Kitchen, and Gracefruit clearly label their IFRA certificates and usage rates. Always check these before purchasing, particularly if you plan to sell your candles – which brings us to an important point about regulations.
UK Regulations: What You Need to Know
If you are making candles purely for personal use at home, your regulatory obligations are minimal. However, if you plan to sell, gift, or donate your candles – even informally – UK law requires you to comply with the General Product Safety Regulations 2005 and the CLP Regulation (Classification, Labelling and Packaging of substances and mixtures). Under CLP, any candle containing a fragrance oil that includes hazardous components must carry a warning label with the appropriate hazard pictograms, signal word (such as “Warning” or “Danger”), and hazard statements.
This sounds complicated, but in practice it is manageable. Most UK fragrance oil suppliers provide Safety Data Sheets (SDS) for their products. Tools such as Candle Shack’s free online label generator can help you produce compliant labels based on the fragrances you use. The British Candle Manufacturers Association (BCMA) is also a useful resource for anyone who wants to better understand their obligations before moving from hobby to business.
Step-by-Step: Making Your Scented Pillar Candle
The following process is based on using a standard 6cm diameter, 10cm tall aluminium pillar mould with paraffin pillar wax. Adjust quantities proportionally for larger or smaller moulds.
- Calculate your wax quantity. Fill your mould with water, then pour that water into a measuring jug to determine the volume. For every 100ml of volume, you will need approximately 90g of wax (wax is less dense than water). Keep back roughly 10-15% of your calculated wax to use for a second pour to top up any sinkholes.
- Prepare your mould. Thread your pre-waxed wick up through the hole in the base of the mould (the base will become the top of the finished candle). Pull the wick so there is 1-2cm protruding from the base hole. Seal the hole firmly with mould seal or a small piece of blu-tack, pressing it tightly so there are no gaps. Stand the mould upright with the open end at the top, and rest a wick bar or pencil across the opening. Tie or wrap the wick around the bar so it runs straight down the centre of the mould.
- Melt your wax. Place your wax chips or blocks into your pouring jug and melt them using a bain-marie method – set the jug inside a larger saucepan of simmering water. Do not place wax directly over an open flame. Use your digital thermometer to monitor the temperature. Paraffin pillar wax should be fully melted by around 70-75°C.
- Add dye if using. Once the wax is fully melted and at around 70°C, add any dye and stir slowly but thoroughly. Liquid dyes blend quickly; dye chips may need a minute or two of gentle stirring.
- Add fragrance oil. Remove the jug from the heat source. Allow the wax to cool slightly to around 65°C before adding your fragrance oil – this helps retain volatile top notes in the fragrance and reduces the risk of the fragrance flashing off. Add your pre-measured fragrance oil and stir gently for at least 60 seconds to ensure it is fully incorporated.
- Pour the wax. Allow the wax to cool to your pouring temperature. For most paraffin pillar waxes, this is between 58°C and 62°C. Pouring at the correct temperature is critical – too hot and you will get excessive shrinkage; too cool and the wax may not release cleanly from the mould. Pour slowly and steadily down the side of the mould to minimise air bubbles. Leave approximately 1cm of space at the top of the mould.
- Allow to cool at room temperature. Do not move the mould, place it in a fridge, or attempt to speed up cooling. Rapid cooling causes cracking and uneven surfaces. Leave the mould undisturbed at room temperature – ideally somewhere between 18°C and 22°C – for at least four to six hours.
- Top up the sinkhole. As the wax cools, it contracts and a depression or sinkhole will form around the wick. Reheat your reserved wax to the same pouring temperature and use a skewer to pierce the top of the candle around the wick, releasing any air pockets. Pour a small quantity of wax into the depression, again leaving a small gap at the top. Repeat this process if a second sinkhole appears after further cooling.
- Leave to cure fully. Once the candle has reached room temperature and the surface looks firm and opaque, leave it to cure for a further 12-24 hours before attempting to demould. Full fragrance cure takes 48-72 hours for paraffin wax.
- Demould your candle. Remove the mould seal from the base, then gently invert the mould and tap it lightly against a padded surface. The candle should slide out cleanly. If it sticks, place the mould in the fridge for 15-20 minutes – the contraction of the wax as it chills further should release it. Trim the wick at the base to a flush finish and trim the top wick to 5-6mm.