How to Make Layered Candles at Home
A Beginner’s Guide to Beautiful, Multi-Coloured Candles
There is something deeply satisfying about making a candle that looks as good as it smells. Layered candles – those gorgeous, striped creations you see in boutique shops and artisan markets – might look like they require years of experience or a professional studio to pull off. They do not. With a little patience, the right materials, and a clear understanding of the process, you can produce stunning layered candles on your kitchen table on a quiet Sunday afternoon.
This guide is written specifically for beginners based in the UK, covering everything from choosing your wax to troubleshooting wonky layers. Whether you have never made a candle before or you have tried a basic single-pour and want to take the next step, you are in exactly the right place. Take a breath, gather your supplies, and let us get started.
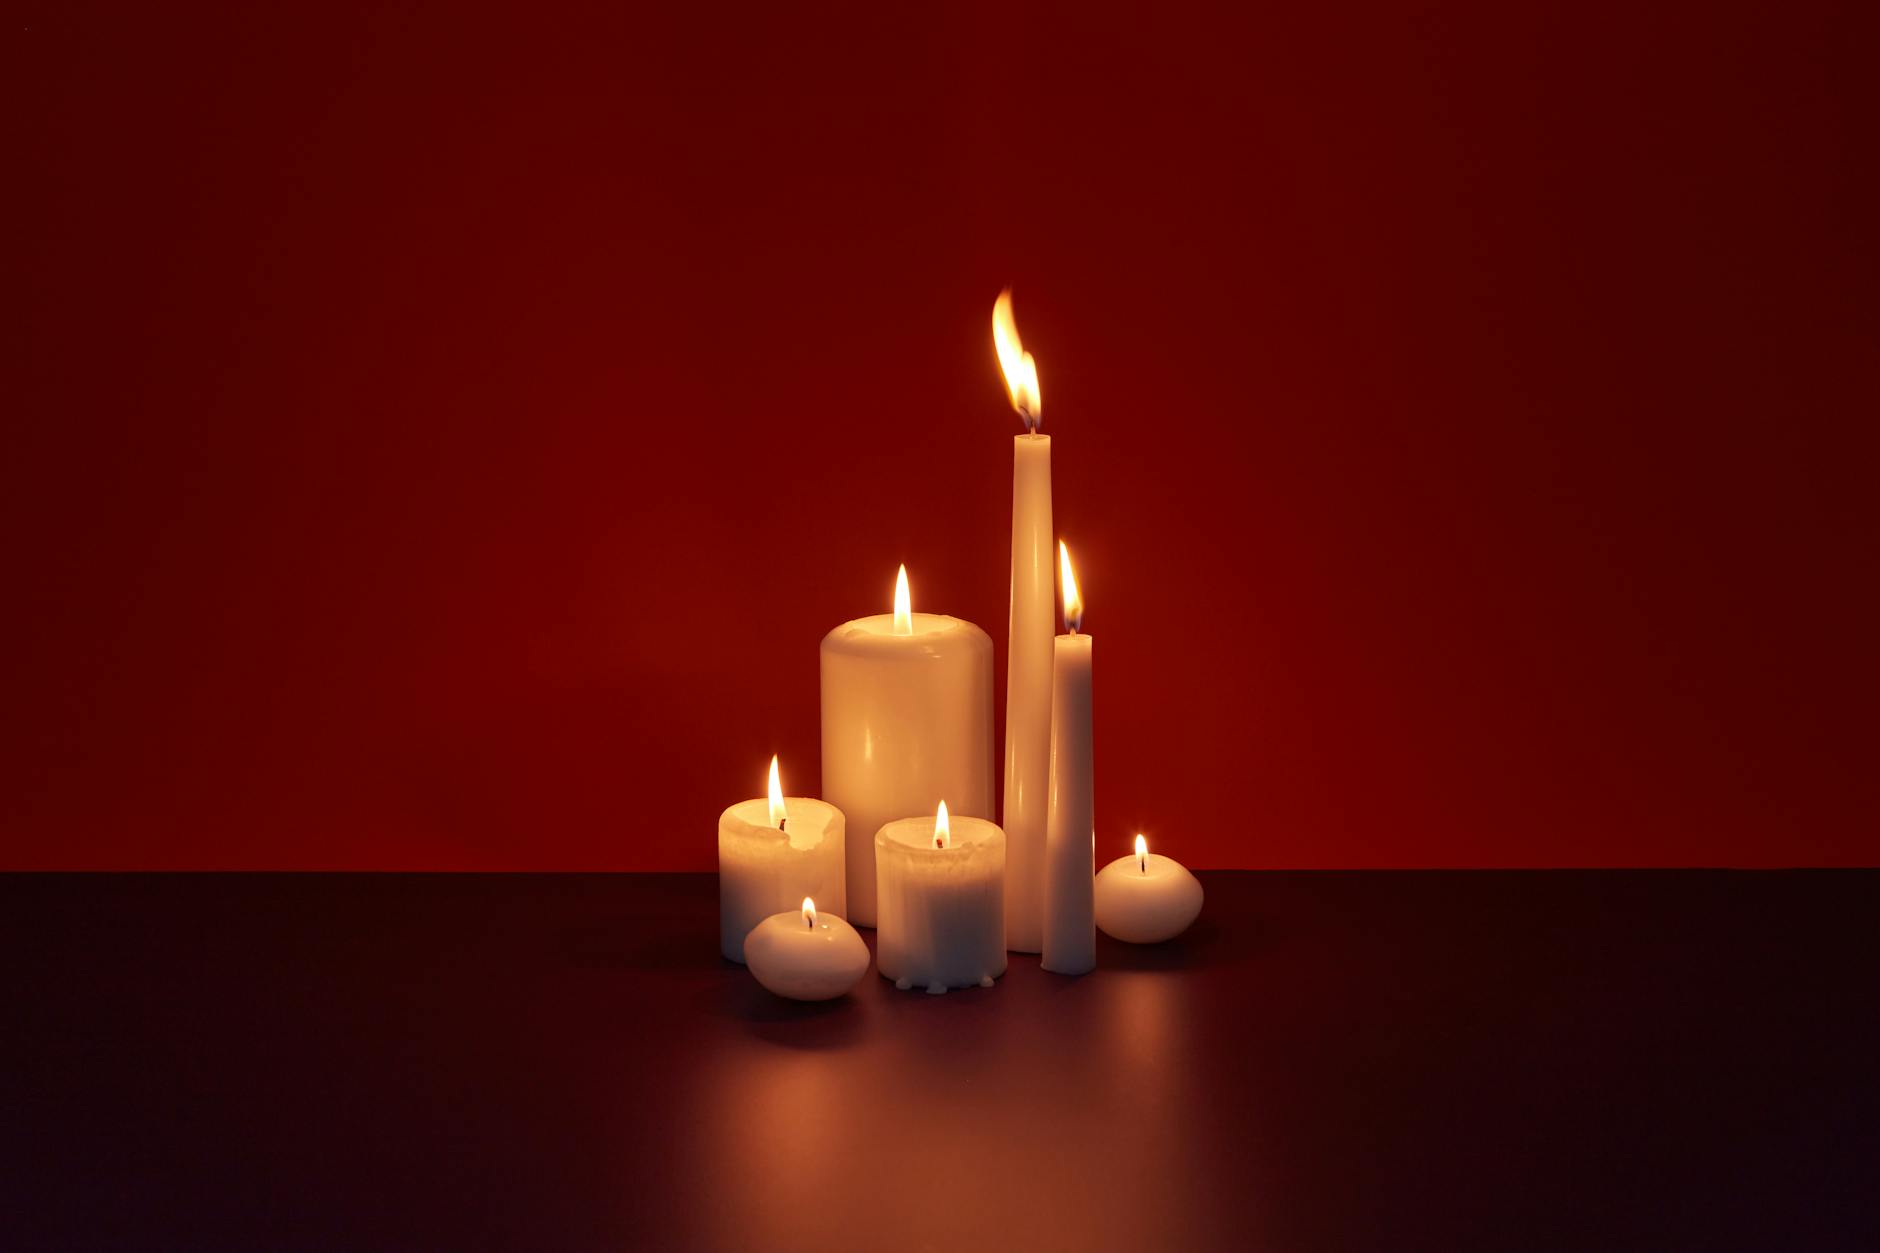
Why Layered Candles Are Worth the Extra Effort
Standard candles are wonderful, but layered candles are something special. The visual appeal alone makes them popular gifts – birthdays, Christmas, Mother’s Day, or simply as a treat for yourself. Because each layer can carry a different fragrance, you can also create scent journeys as the candle burns down, moving from a warm top note to a deeper, earthier base. That combination of visual and aromatic variety is what makes layered candles stand out on a shelf or a windowsill.
From a craft perspective, layered candles also teach you a great deal about how wax behaves. Understanding cooling rates, shrinkage, and adhesion between pours will make you a far more confident candle maker overall. Think of it as a practical masterclass baked into a single project.
What You Will Need: Your UK Shopping List
Before you start, it helps to have everything within arm’s reach. Hunting for your thermometer mid-pour is not the experience you want. Here is a solid starting list for beginners making layered container candles:
- Container wax – A soy wax blend such as Golden Brands 464 or Ecosoya CB Advanced works beautifully for containers. Both are widely available from UK suppliers including Candle Shack (based in Glasgow), The Candle Making Shop, and Cosy Owl.
- Wax dye chips or liquid dye – Choose at least two or three contrasting colours. Dye chips from Candle Shack or The Soap Kitchen give clean, consistent results and are easy to portion for beginners.
- Fragrance oils – You can use the same fragrance throughout all layers or a different one per layer. Ensure your fragrance oil is specifically designed for candles and has a flashpoint above 65°C for safe use. Many UK suppliers list this clearly.
- Pre-tabbed cotton wicks – Match your wick size to your container diameter. A 7-8cm diameter jar typically suits a CD-18 or ECO-8 wick, but always check the supplier’s wick guide.
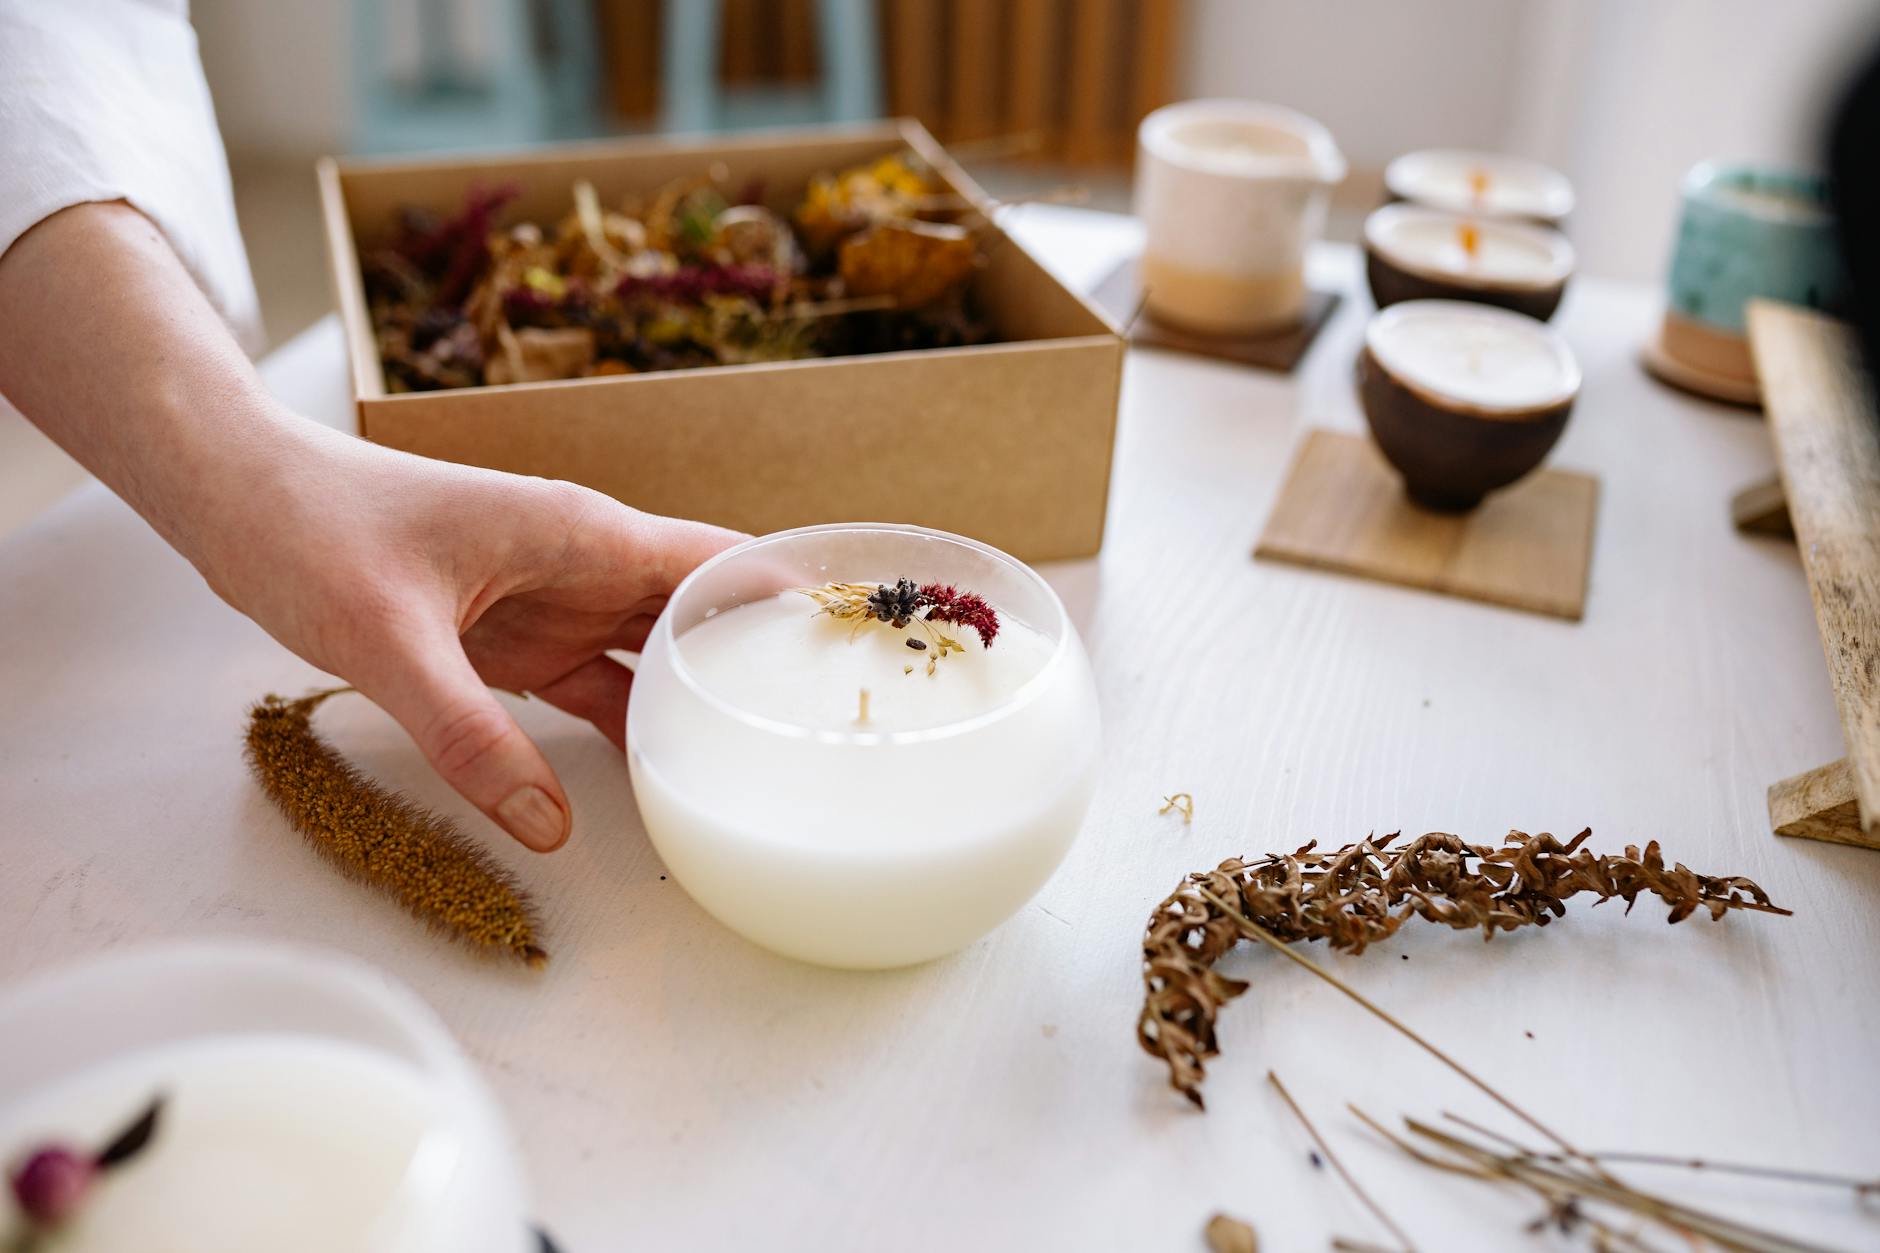
- Glass containers or tins – Straight-sided glass jars, like the classic Atlas Mason jar or a simple tumbler, make it easy to see your layers clearly. Tins work too but obviously hide the effect.
- A pouring jug – A stainless steel or heat-resistant plastic jug with a handle and spout. Having two jugs speeds things up enormously when making multiple coloured layers.
- A thermometer – A digital probe thermometer is ideal. Accuracy matters here, so avoid cheap dial versions that can lag significantly.
- A double boiler or wax melter – Never melt wax directly on a hob flame. Use a bain-marie setup (a heatproof jug or pot set over a pan of simmering water) or invest in a small electric wax melter.
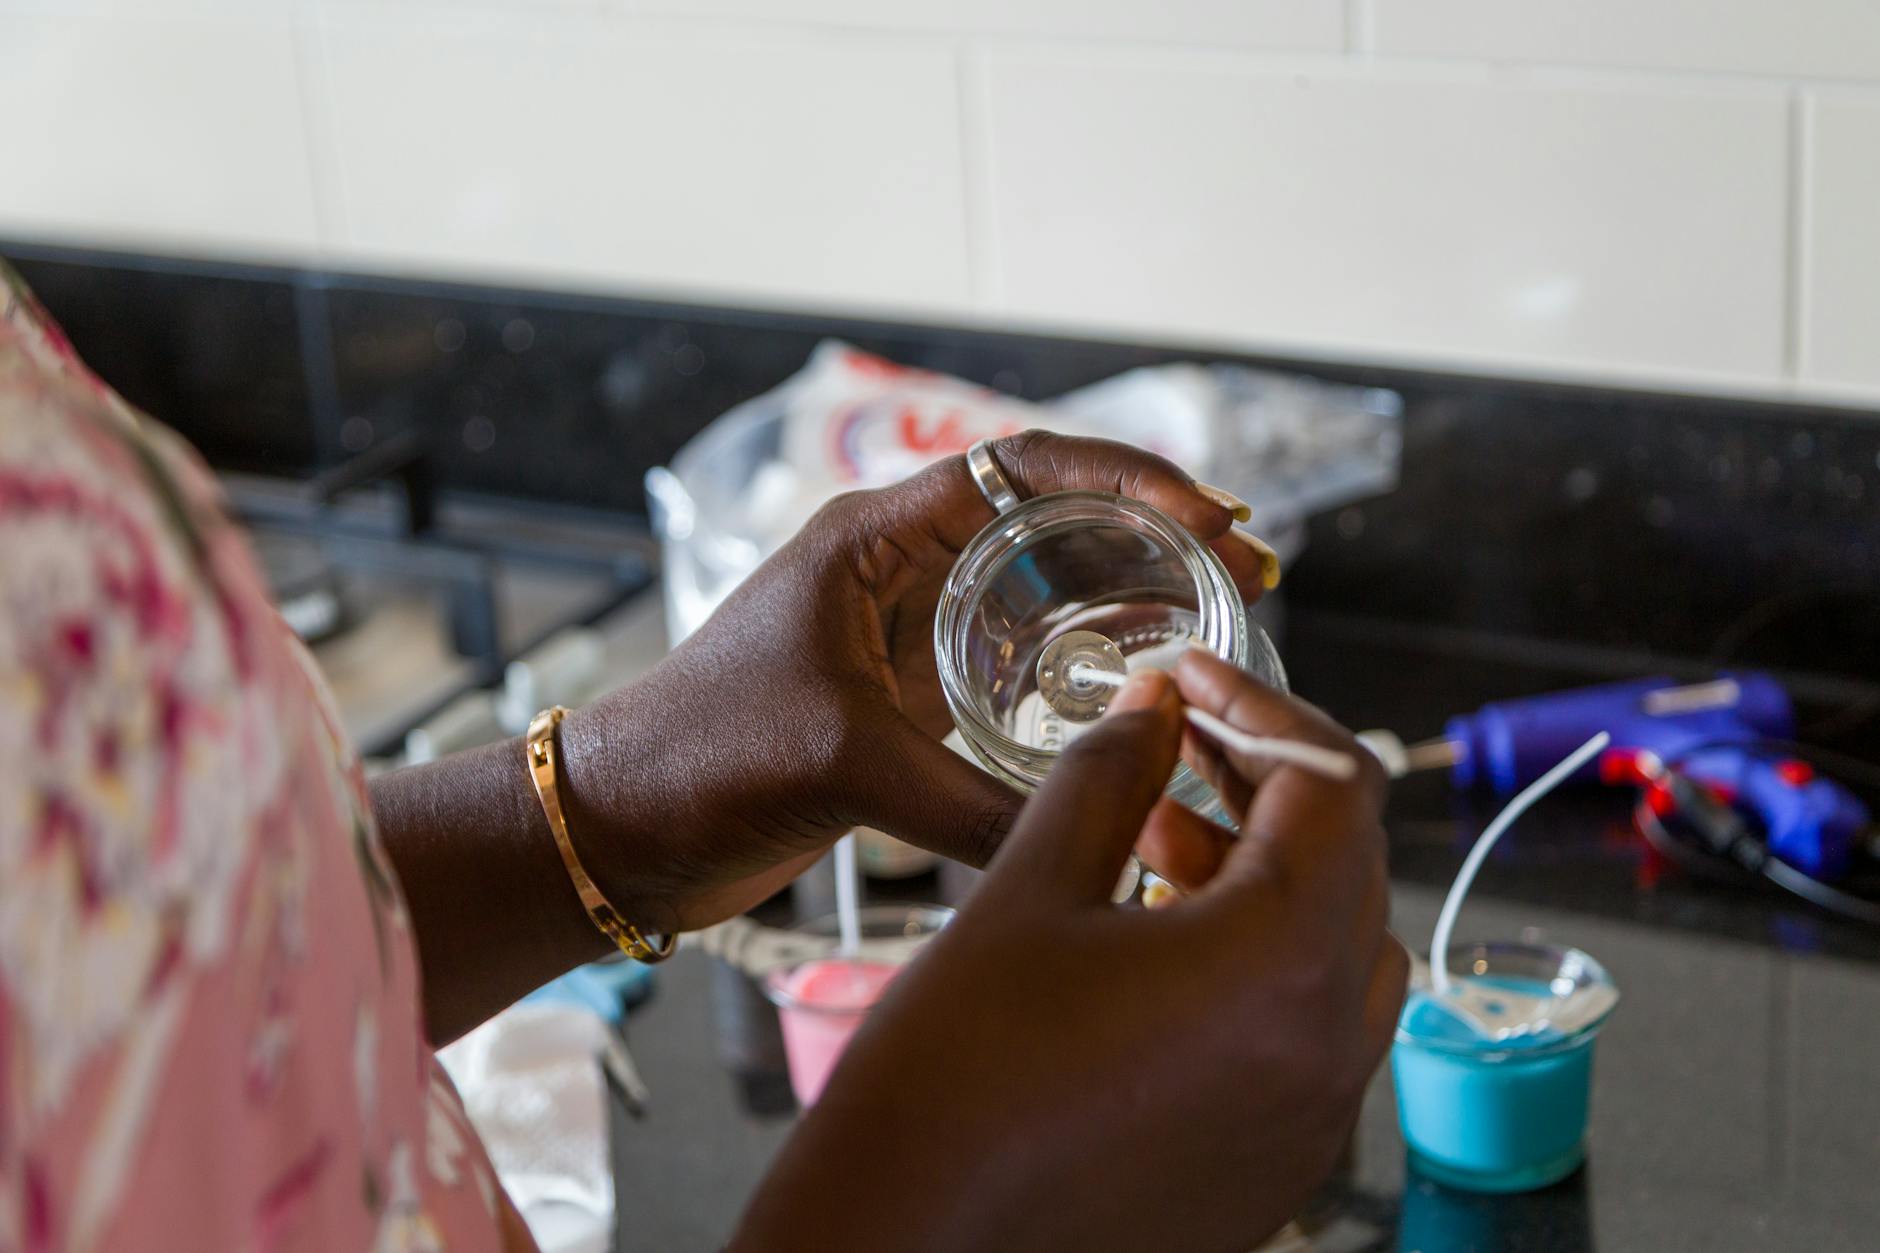
- Wick holders or lollipop sticks – To keep your wick centred whilst the wax sets.
- Kitchen scales – Wax and fragrance ratios are measured by weight, not volume.
- Isopropyl alcohol (IPA) – For cleaning equipment and wiping containers before pouring.
You can find most of these items in one order from a dedicated UK candle supply company. Buying a beginner’s starter kit from somewhere like Cosy Owl or The Candle Making Shop is often the most cost-effective way to get going, and you will avoid the common mistake of buying incompatible products from different sources.
Understanding UK Candle Safety Regulations
If you are planning to sell your candles – even informally at a school fair or through a small Etsy shop – there are UK-specific requirements you need to be aware of. Even if you are only making candles for personal use, understanding these rules is good practice and keeps your hobby safe.
In the UK, candles fall under the General Product Safety Regulations 2005. If you sell candles, you are required to label them with safety symbols, a warning statement (such as “Never leave a burning candle unattended”), your business name and address, and the country of manufacture. The UK Cosmetic, Toiletry and Perfumery Association (CTPA) and the British Candlemakers Federation (BCF) both offer guidance for small producers.
Fragrance oils used in candles must also comply with IFRA (International Fragrance Association) guidelines, and reputable UK suppliers will provide IFRA certificates and Safety Data Sheets (SDS) with their fragrance oils. Always keep these on file if you plan to sell. For personal use, simply ensure your fragrance oils are purchased from a reputable candle supplier – not essential oils from a health food shop, which are not formulated for high-temperature candle use and can be a fire hazard.
The Core Principle Behind Layered Candles
The fundamental rule of layered candles is straightforward: each layer must be partially set before you pour the next one. If you pour hot wax onto a completely liquid layer, the colours will bleed and merge. If you wait too long and the layer is fully cold and hard, the new pour may not adhere properly, leaving a visible crack or gap between the layers. The sweet spot is a wax surface that has a slight skin on top – firm enough to hold the new layer’s weight, but still warm enough to bond with it.
This is where your thermometer becomes your best friend. Most soy container waxes are ready for their next layer when the surface is between 35°C and 45°C – still slightly warm to the touch but not liquid. You will develop a feel for this with practice, but until then, measure religiously.
Step-by-Step: Making Your First Layered Candle
This method is written for a three-layer candle in a standard glass jar (roughly 200-250ml capacity). It produces a clean, striped result that is perfect for a first attempt.
- Prepare your workspace. Cover your surface with newspaper or a silicone mat. Warm your glass jar very slightly – you can do this by sitting it near a warm radiator for ten minutes or giving it a quick, careful blast with a hairdryer. A slightly warm jar helps the wax adhere to the sides and reduces the chance of sinkholes. Secure your wick using a wick sticker or a small dot of hot glue at the base of the jar, then hold it straight using a wick holder or two lollipop sticks laid across the top of the jar.
- Calculate your wax weight. Fill your jar with water, pour that water into a measuring jug to find the volume in millilitres, then multiply by 0.85 to convert to grams of wax (wax is less dense than water). For a 250ml jar, you will need approximately 212g of wax across all three layers – so roughly 70g per layer.
- Melt your first batch of wax. Place your chosen wax in the pouring jug and melt it using your double boiler. Heat it to around 75-80°C (check your wax supplier’s recommended melt point, as this varies). While it melts, have your dye chip and fragrance oil measured out and ready.
- Add colour and fragrance. At around 70°C, add your dye chip and stir thoroughly until fully dissolved. Then add your fragrance oil (typically at a 6-10% ratio by weight – so 6-7g of fragrance per 70g of wax for a solid throw). Stir gently for around two minutes to ensure even distribution. Avoid vigorous stirring, which introduces bubbles.
- Pour your first layer. Allow the wax to cool to your supplier’s recommended pour temperature (usually between 55°C and 65°C for soy container wax). Pour slowly and steadily into the jar, filling to roughly one third of the way up. Set the jar somewhere still and draught-free to cool.
- Wait for the first layer to set. This typically takes 45 minutes to 1.5 hours depending on room temperature. Your kitchen should ideally be above 18°C for even setting. Do not be tempted to speed things up in the fridge – rapid cooling causes problems with adhesion and surface texture. The layer is ready when it has a firm but slightly tacky surface and the centre is no longer completely liquid.
- Prepare and pour your second layer. Melt a fresh batch of wax, this time with your second colour. Allow it to cool to just above your recommended pour temperature – around 5°C higher than your first layer’s pour temp. This slight extra warmth helps it bond to the layer below without melting through it. Pour slowly and directly onto the centre of the first layer, letting it spread outward naturally. Do not pour from the side of the jar or at speed.
- Repeat for the third layer. Once your second layer has reached that firm-but-warm sweet spot, melt, colour, and pour your third and final layer in the same way. Aim to end up about 5-10mm below the rim of the jar.
- Allow the candle to cure. Once fully set (at least two hours at room temperature), trim your wick to around 5-6mm. Then, if possible, leave the candle to cure for 24-48
hours before burning. This allows the fragrance to fully bind with the wax and produces a stronger, more consistent scent throw when you do come to light it.
Troubleshooting Common Problems
Even with careful preparation, layered candles can occasionally present a few issues. If your layers are not sitting cleanly on top of one another and appear to have merged or bled together, the most likely cause is that the previous layer was still too warm when you poured. A fully set layer should feel firm and matte across the entire surface, with no give when you press it very gently at the edge. If you notice air bubbles or pitting on the surface of a layer, this is usually down to pouring at too high a temperature or too quickly. Slow, steady pours at the correct temperature — typically between 55°C and 65°C for most container waxes — will minimise this considerably.
Sinkholes around the wick are another common occurrence, particularly with soy wax, which contracts as it cools. If you spot a small dip or crater forming near the wick after a layer sets, use a skewer to gently pierce the surface a few times, then top it up with a small amount of the same wax at a slightly lower temperature. This is easier to address on lower layers before the next pour goes on top, so keep a close eye on each layer as it sets. Uneven colouring within a single layer is generally caused by fragrance oil or dye that has not been thoroughly mixed before pouring, so always stir slowly but consistently for at least two minutes after adding anything to your melted wax.
Conclusion
Making layered candles at home takes a little patience, but the process is straightforward once you understand the importance of temperature and timing. Each layer needs adequate time to set before the next is added, your wax needs to be poured at a consistent temperature, and your fragrance and colour need to be properly incorporated before anything goes into the jar. Follow those principles and you will produce clean, well-defined layers every time. As you grow more confident, you can experiment with more layers, contrasting textures such as combining a smooth paraffin layer with a rustic-looking soy layer, or seasonal colour combinations that make the finished candle as pleasing to look at as it is to burn.