Dealing with Wet Spots in Container Candles
Don’t Panic – Every Candle Maker Has Been There
You’ve spent time carefully measuring your wax, choosing a fragrance you love, and pouring your candle with real pride. You leave it to cure on the kitchen counter, and when you come back a few hours later, you notice it: a cloudy, almost watery-looking patch clinging to the inside of the glass. Your heart sinks a little. What went wrong?
The good news is that absolutely nothing catastrophic has happened. Wet spots are one of the most common issues in container candle making, and they affect beginners and experienced crafters alike. They look a bit alarming at first, but once you understand what they are and why they happen, you’ll feel far more in control of your craft. This guide will walk you through everything you need to know – what wet spots actually are, why they form, and how to reduce them as much as possible.
What Exactly Is a Wet Spot?
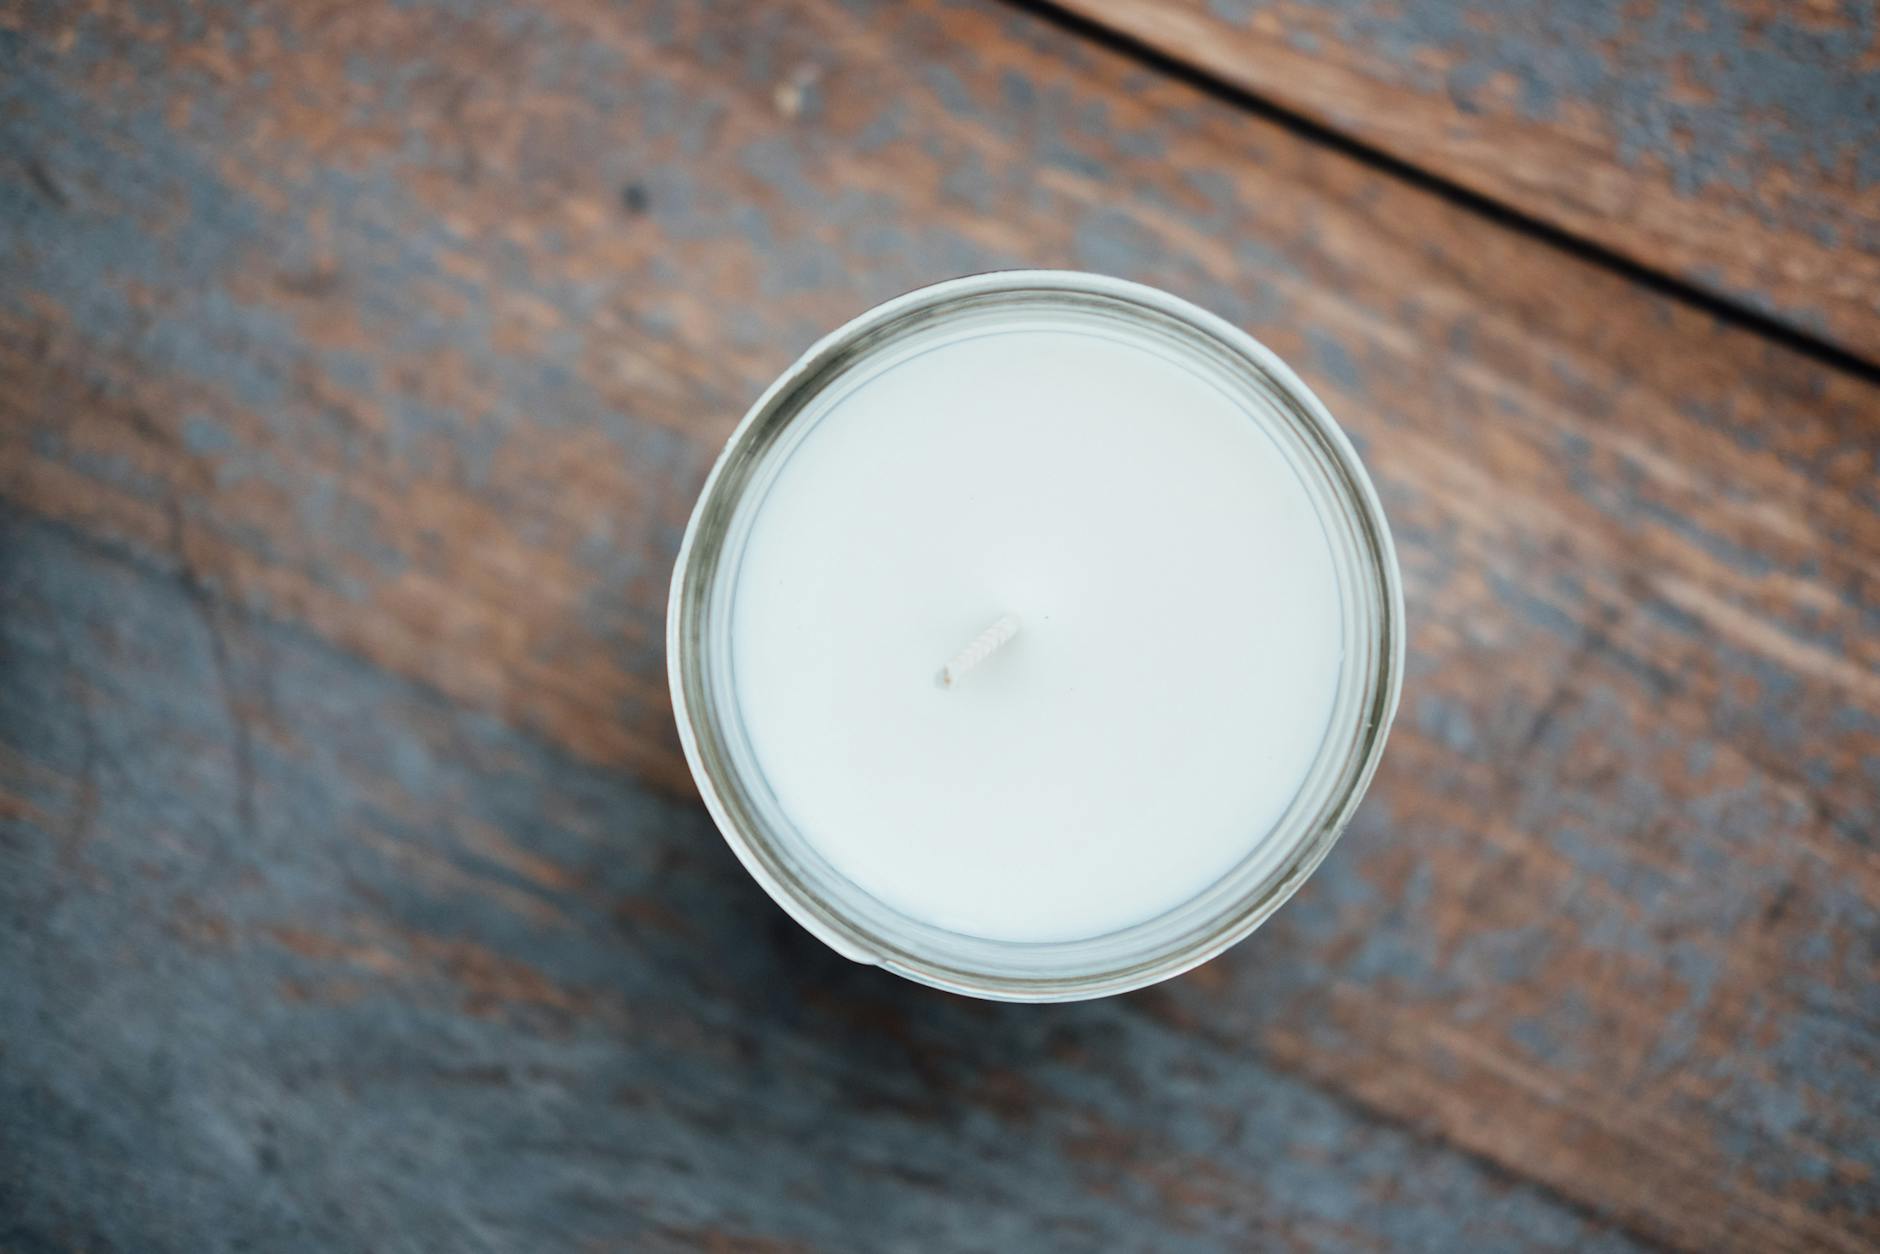
Despite the name, a wet spot has nothing to do with moisture or liquid. It’s a visual effect – an area where the wax has pulled away from the inside of the glass container, leaving a patch that looks damp or cloudy when light hits it. The wax hasn’t actually separated in any meaningful structural way; it simply didn’t adhere evenly to the glass as it cooled and contracted.
Wax shrinks as it solidifies. That’s just the physics of the material. Container waxes – typically soy wax or coconut-soy blends, both hugely popular in the UK right now – are especially prone to this because they’re softer and more sensitive to temperature changes than paraffin. When the wax cools unevenly, different parts of the candle contract at different rates, and that’s when you get those tell-tale patches on the side of the glass.
It’s worth being completely clear about one thing: wet spots do not affect how your candle burns, how it smells, or how long it lasts. They are a cosmetic issue only. If you’re making candles purely for your own enjoyment at home, you might decide they simply don’t matter at all. If you’re selling candles – perhaps at a craft market in Edinburgh, a local shop in Bristol, or through an online shop – you’ll understandably want your products to look as polished as possible. Either way, understanding the cause is the first step toward finding a solution.
Why Do Wet Spots Form?
There are several reasons wet spots appear, and often it’s a combination of factors working together rather than one single culprit. Understanding each of them gives you more places to troubleshoot.
Temperature differences between the wax and the glass. If your container is cold – say, you’ve just brought it in from a chilly garage, or your kitchen is draughty in winter – and you pour hot wax into it, the glass and wax will cool at vastly different rates. The outside of the candle cools fastest because of the glass, while the centre stays warm longer. This uneven cooling is the single biggest cause of wet spots.
Pouring temperature. Every wax behaves differently, and each has an ideal pouring temperature. If you pour too hot, the wax has more distance to travel as it contracts, which increases the chance of adhesion issues. If you pour too cool, the wax may already be beginning to set before it reaches the glass, and it simply won’t stick properly in the first place.
The glass itself. Some containers are more prone to wet spots than others. Textured glass, very thick glass, or recycled glassware with slight imperfections in the surface can all make adhesion more difficult. Straight-sided containers, such as simple tumbler glasses, tend to give the most consistent results for beginners.
Rapid cooling. Candles that cool too quickly – left near an open window, placed on a cold stone worktop, or exposed to air conditioning in summer – are far more likely to develop wet spots. Slow, even cooling is your friend.
Moving or disturbing the candle while it sets. It’s tempting to check on your candles constantly, but moving them while the wax is still setting can introduce uneven cooling. Once poured, leave them completely undisturbed.
The UK Climate Factor
Living in the UK actually makes this particular issue a bit more complicated, because our climate is, to put it diplomatically, variable. A candle poured on a warm July afternoon in a sunny kitchen will behave very differently from one poured on a damp November evening in a cold flat in Manchester. Seasonal changes mean you may need to adjust your technique throughout the year, which can feel frustrating at first but quickly becomes second nature.
During colder months, your biggest challenge is keeping everything warm enough – your workspace, your containers, and your wax – to encourage even cooling. In summer, you’re more likely to struggle with candles that look perfect on the day but develop spots overnight as overnight temperatures drop. Keeping a simple log of your pours, noting the room temperature and any variables, is one of the most practical habits you can build as a beginner.
How to Reduce Wet Spots: A Step-by-Step Approach
Here is a practical process you can follow for every batch. These steps won’t guarantee a completely spot-free result every single time – no method can – but they will dramatically improve your consistency.
- Warm your containers before pouring. This is the single most effective step you can take. Place your empty glass containers in a low oven (around 50-60°C) for ten minutes before you pour, or warm them gently with a heat gun. You want them warm to the touch but not hot. This reduces the temperature gap between the glass and the wax significantly.
- Check your pour temperature carefully. Use a digital thermometer – these are inexpensive and absolutely essential for consistent results. For most soy container waxes, a pour temperature of between 55°C and 65°C is a good starting point, though always check the guidelines from your specific wax supplier. UK suppliers such as Candleshop, The Wax Shed, and Cosy Owl publish recommended pour temperatures for their waxes, and those are worth following closely until you’ve done enough batches to experiment confidently.
- Pour in a warm room. Aim for a room temperature of at least 18-20°C. If your workspace is cold – a garage or conservatory in winter, for instance – consider moving your pouring to a warmer room for those sessions, or using a small space heater to bring the temperature up before you start.
- Pour slowly and steadily. A slow, controlled pour reduces air pockets and helps the wax make even contact with the sides of the glass as it flows in.
- Leave candles to cool on a wooden board or folded towel. Avoid placing hot candles directly on stone, tile, or metal surfaces, all of which draw heat away from the bottom of the candle too quickly. A wooden chopping board or a thick folded tea towel works perfectly.
- Never move candles while they are cooling. Once poured, choose your spot and leave them there. Even a small vibration or nudge can disrupt the setting process.
- Allow a full cure time. Most soy waxes benefit from a cure time of 48 to 72 hours before you assess the finished candle. Some wet spots that appear within the first hour actually resolve themselves as the wax continues to set. Don’t judge the result too early.
- Consider a second pour. Some candle makers do a small top-up pour after the initial candle has set. This doesn’t directly fix wet spots on the sides, but it keeps the surface looking smooth and professional, which can draw the eye away from any side adhesion issues.
Does Your Wax Choice Matter?
Yes, it does, quite significantly. Different waxes have very different adhesion properties, and some are simply more prone to wet spots than others.
Pure soy wax, particularly the 100% natural varieties that have become popular with UK makers who want to market their candles as eco-friendly, tends to be one of the more challenging waxes for adhesion. It’s beautiful to work with in many ways – it has a good scent throw, it looks creamy and attractive, and it aligns with the values of many modern consumers – but it does require careful temperature control.
Coconut-soy blends and parasoy waxes (blends of paraffin and soy) often give better adhesion and fewer wet spots, while still offering a reasonably clean burn. If you’ve been struggling with a pure soy wax and feel like you’ve tried everything else, switching to a blend is a completely valid and practical choice. It doesn’t mean you’ve failed – it means you’re making informed decisions about your materials, which is exactly what good crafters do.
Paraffin wax, which is less fashionable in the UK market right now but still widely used, adheres extremely well to glass and produces very few wet spots. If you’re making candles purely for personal use and don’t have strong feelings about the wax type, paraffin can be refreshingly forgiving for beginners.
Can You Fix a Wet Spot Once It’s Appeared?
Honestly, not really – not in any meaningful permanent way. Some makers use a heat gun to gently warm the outside of the glass once the candle has set, which can temporarily cause the wax to re-adhere to the glass. The effect can look quite good immediately after, but in many cases the wet spot will reappear within a day or two as the wax contracts again.
The better approach is to accept that this particular batch has wet spots, learn from what might have caused them, and adjust your process for the next batch. Candle making is genuinely a craft that improves through repetition. Your tenth batch will be noticeably better than your first, and your fiftieth will be better still. Every imperfect candle is teaching you something.
Selling Candles in the UK: Does This Affect Your Compliance?
If you’re planning to sell your candles, it’s worth knowing that wet spots are a purely cosmetic issue and have no bearing on UK candle safety regulations. Under UK law, candles sold as consumer products must comply with the General Product Safety Regulations 2005, and you are required to carry out a proper safety assessment, label your candles correctly (including any
It is worth noting, however, that presentation still matters commercially. Customers buying candles online or in shops cannot smell or touch the product before purchasing, so visual appearance carries significant weight. If wet spots are severe or widespread across a batch, it may be worth holding those candles back for personal use or gifting rather than putting them on sale. This is not a legal obligation — it is simply good practice for maintaining customer trust and reducing the likelihood of returns or negative reviews.
Should you choose to sell candles at markets, through an online shop, or to retailers, it is also advisable to keep records of your fragrance suppliers, wax suppliers, and any safety data sheets you hold. This supports your due diligence under the General Product Safety Regulations 2005 and demonstrates that you have taken a responsible approach to your products — none of which is complicated by the occasional wet spot on a jar.
Final Thoughts
Wet spots are one of those frustrations that every candle maker encounters sooner or later, and they rarely disappear entirely no matter how experienced you become. The best approach is a practical one: adjust your pouring temperature, consider your environment, choose your wax and vessel combinations thoughtfully, and accept that some variation is simply part of working with a natural material. Your customers are far more likely to notice the quality of the scent throw and the cleanliness of the burn than a small patch of separation on the inside of a jar. Keep testing, keep notes, and treat each batch as useful information rather than a pass or fail result. Over time, you will find the conditions that work best for your workspace and your recipe — and the wet spots will become far less frequent, even if they never quite vanish altogether.