Container Candles vs Pillar Candles: Which to Make First?
So you have decided to try candle making. Perhaps you have seen beautiful homemade candles at a craft fair in York or Brighton, or you have been watching tutorials online and thought it looked manageable. Either way, the very first question most beginners face is a practical one: should you start with container candles or pillar candles?
It is a reasonable question, and the answer matters more than you might think. The two formats use different waxes, different wicks, different techniques, and carry different risks for beginners. Choosing the wrong one first can lead to cracked candles, sinkholes, poor scent throw, or a batch of misshapen wax that ends up in the bin. Choosing the right one sets you up for early success, which keeps your motivation high and your costs low.
This guide breaks down both types in detail – covering materials, difficulty, cost, safety, and suitability for UK beginners – so you can make an informed decision before you spend a penny.
What Are Container Candles?
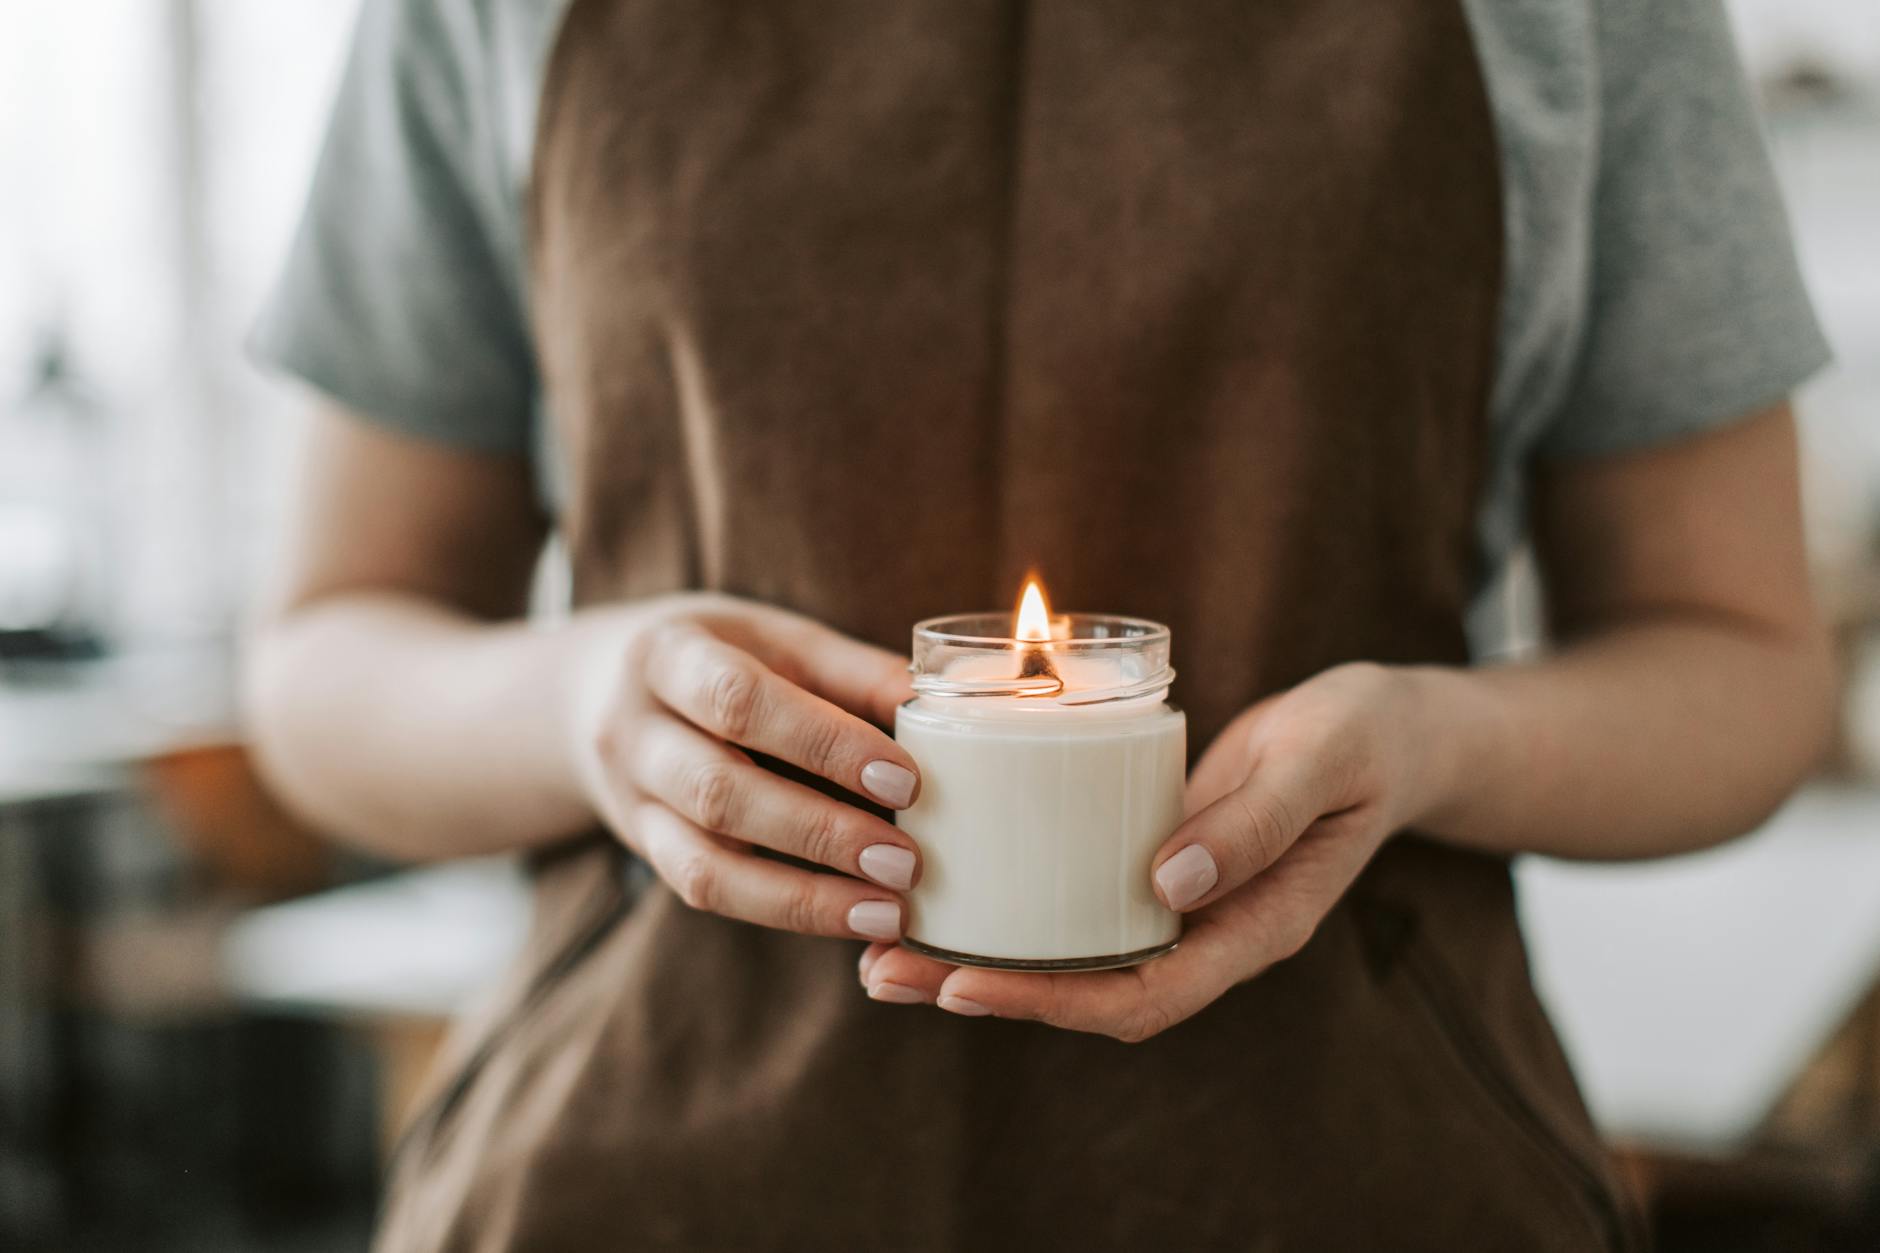
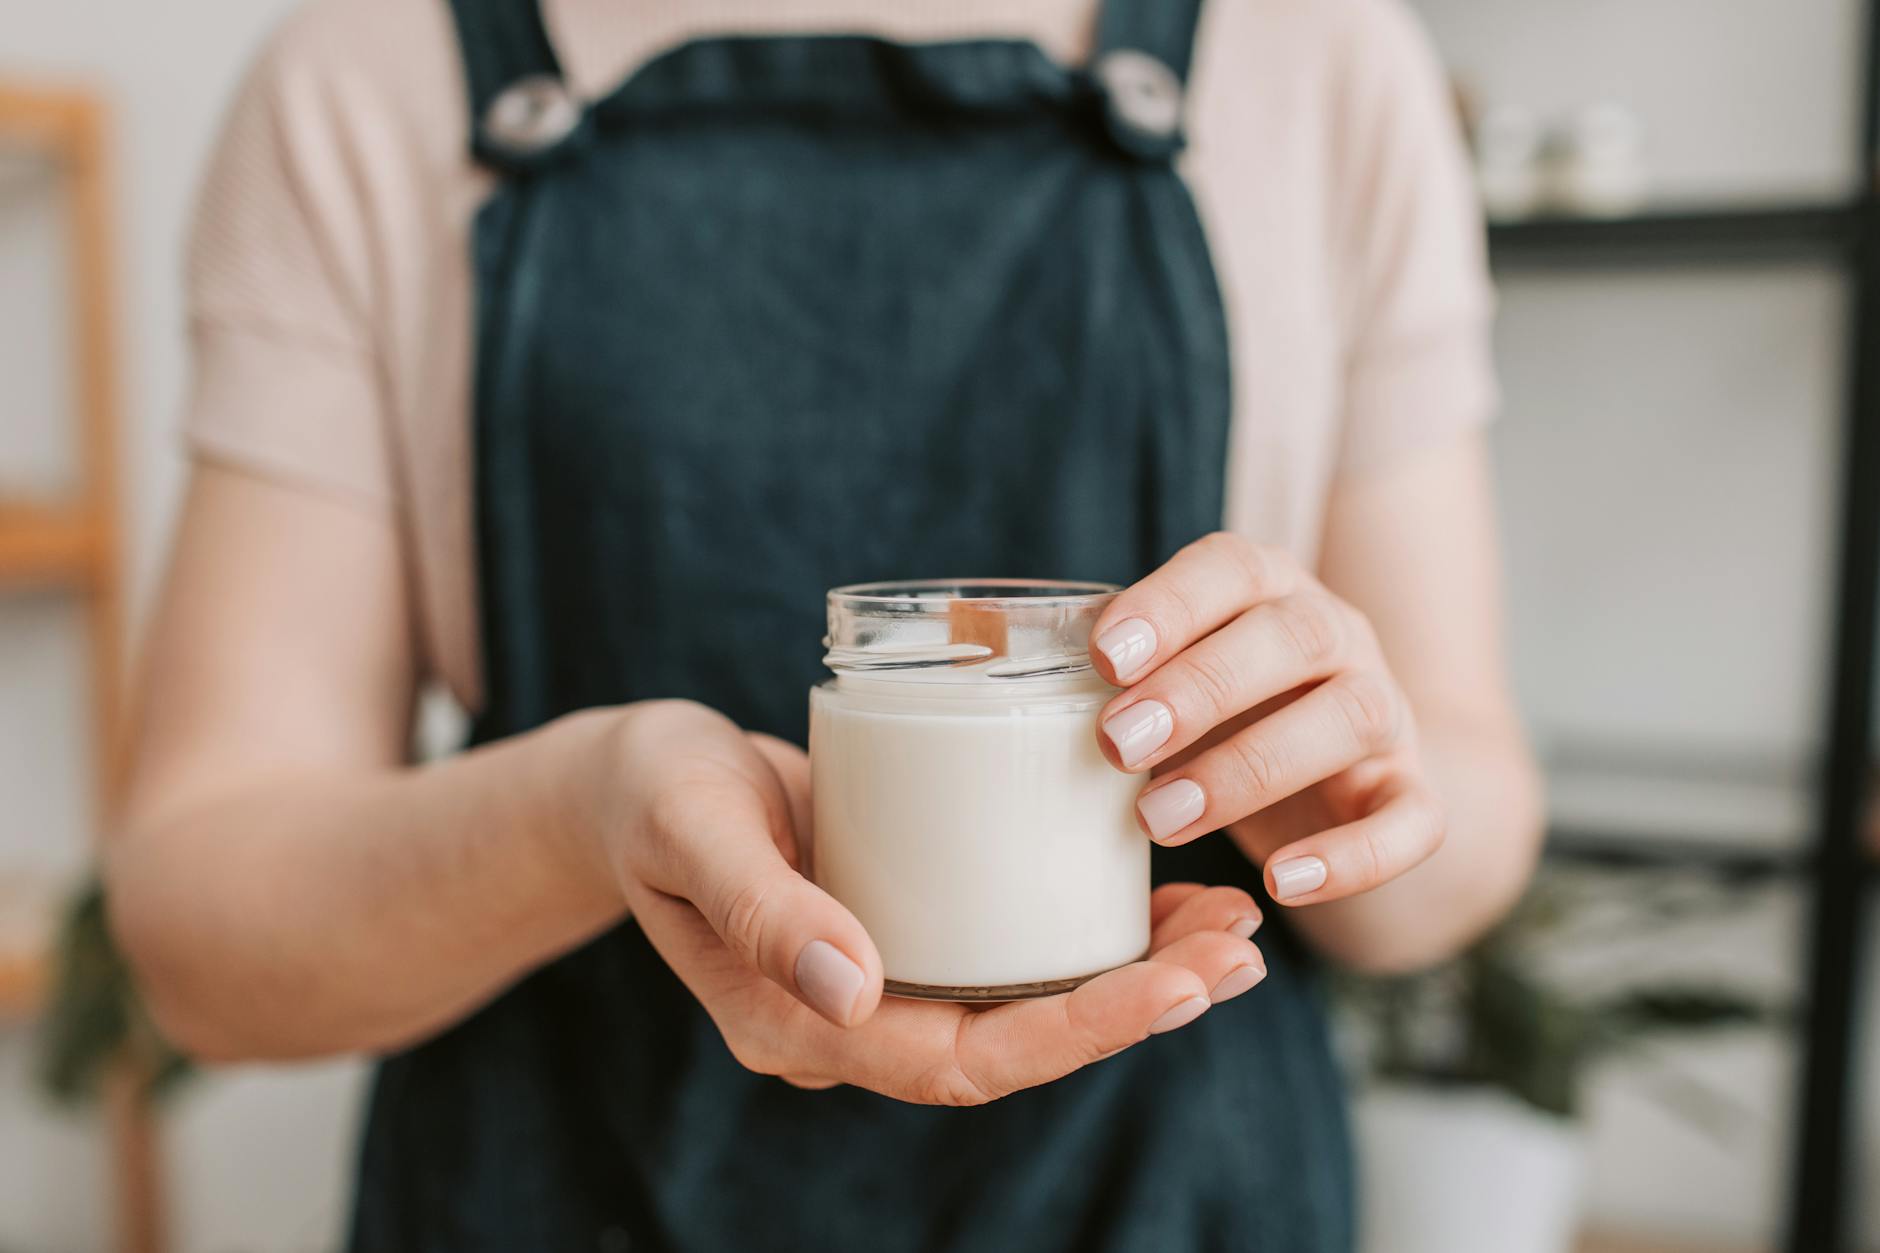
Container candles are exactly what they sound like: candles poured directly into a vessel, which becomes a permanent part of the finished product. The wax sets inside the container and is never removed. Common vessels include glass jars, tin cans, ceramic pots, and terracotta cups. You have probably seen them in shops like Anthropologie or TK Maxx, or handmade versions sold on Etsy by UK sellers.
Because the wax stays inside the vessel, container candles use softer waxes – typically soy wax, coconut wax, or a soft paraffin blend – that would be far too flexible to hold their shape on their own. The container does the structural work, so the wax only needs to melt and burn cleanly.
Popular container choices for UK beginners include:
- Straight-sided glass jars (jam jars work well and are inexpensive)
- Tin containers with lids, widely available from suppliers like Candle Shack or The Candle Making Shop
- Ceramic mugs or ramekins sourced from charity shops
- Concrete or wooden vessels for a more contemporary look
One practical advantage for UK beginners is that glass jars and tins are widely and cheaply available. You can order a set of 24 amber glass jars for under £15 from suppliers based in the UK, or simply reuse old food-grade jars once properly cleaned and dried.
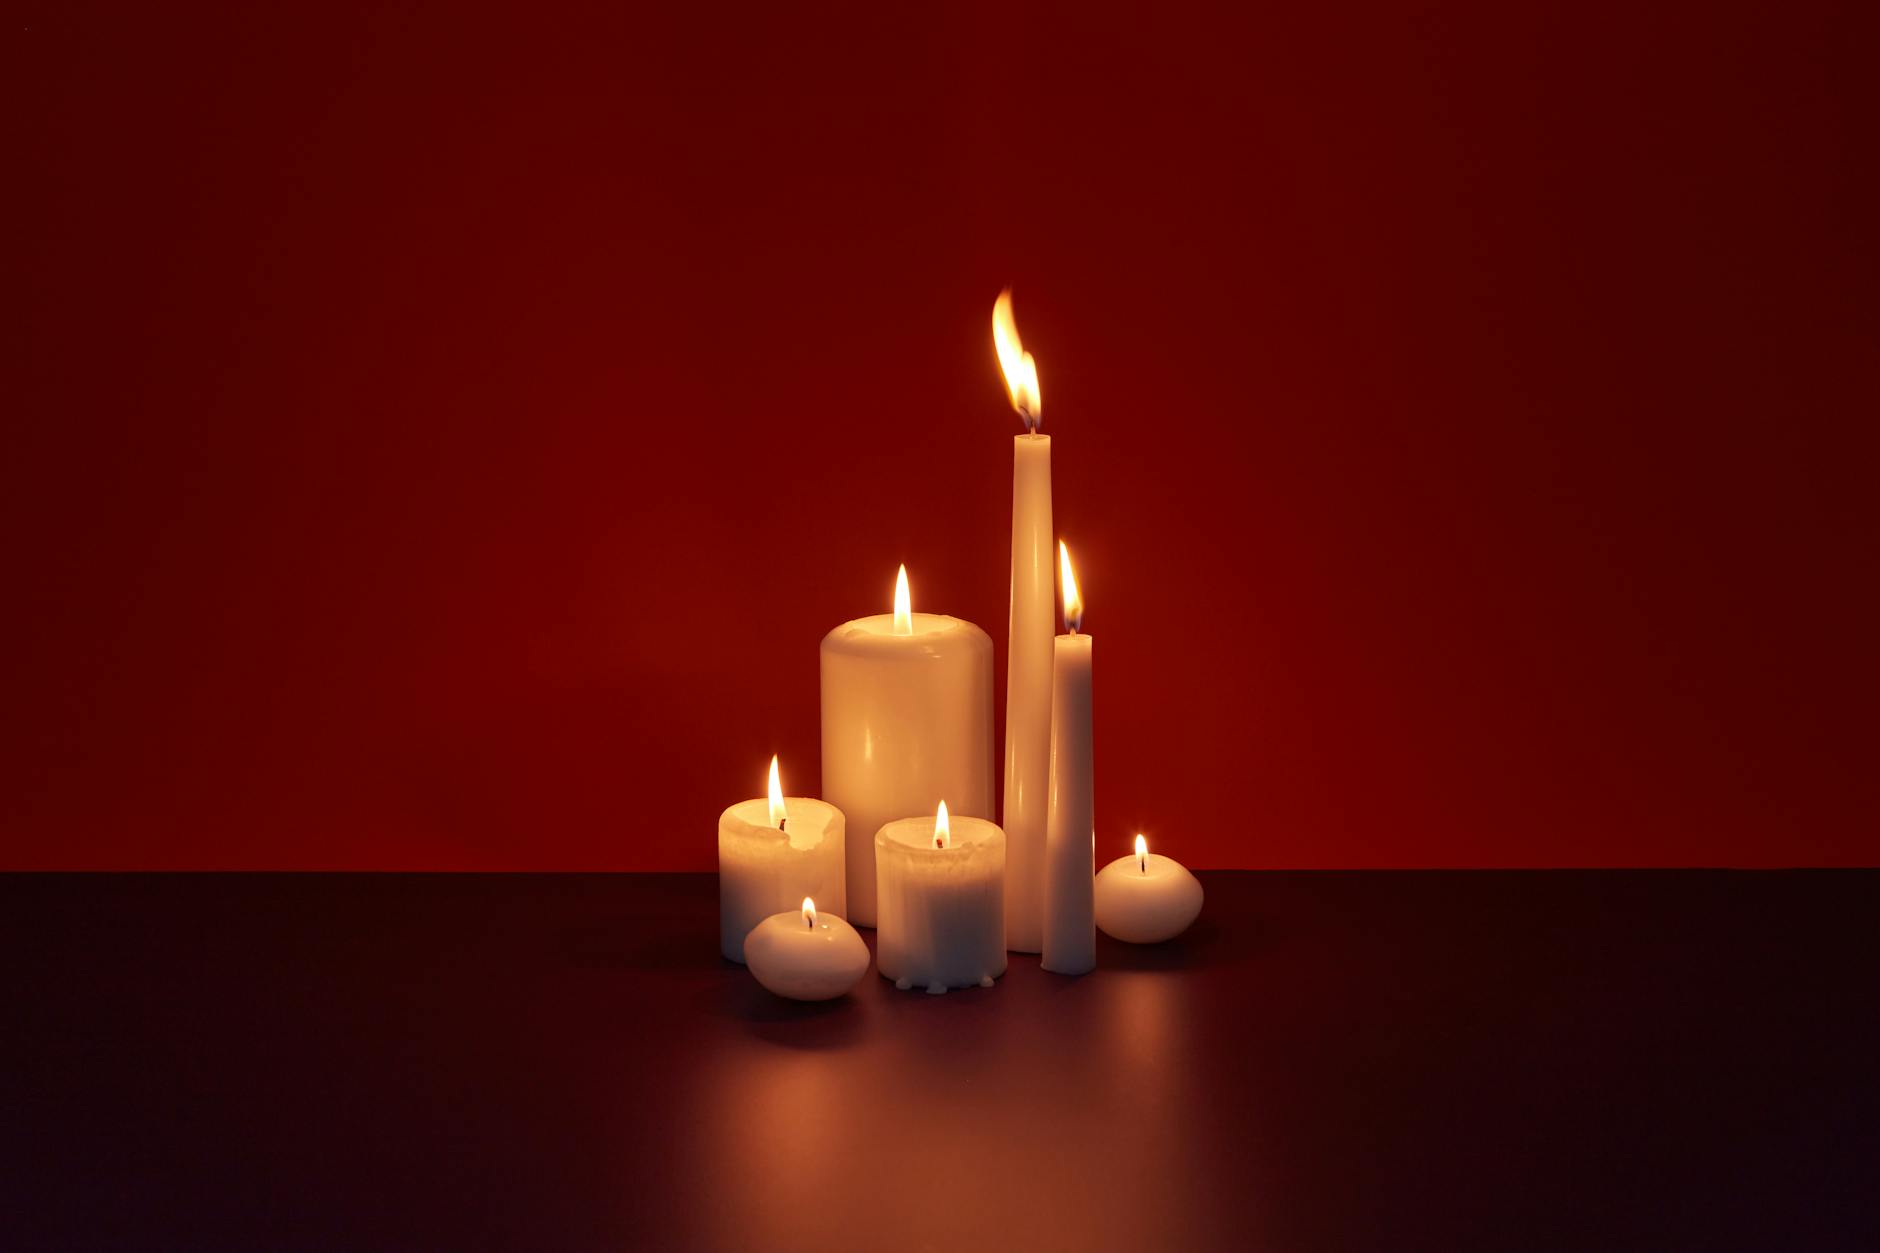
What Are Pillar Candles?
Pillar candles are freestanding candles that hold their shape without any container. They are poured into a mould, allowed to set, and then removed. The finished candle sits on a plate, a candle holder, or a decorative stand. Think of the classic tall church candles, chunky rustic pillars, or the ornate sculpted candles you might find at a craft market in Edinburgh or at a National Trust gift shop.
To hold their shape, pillar candles require a harder wax – usually a harder paraffin blend, beeswax, or a specific pillar soy wax with a higher melt point. Standard container soy wax is too soft and will simply slump and collapse once removed from the mould.
Moulds for pillar candles come in several forms:
- Rigid plastic or polycarbonate moulds (cylinders, squares, hexagons)
- Metal moulds, which are durable and produce very smooth surfaces
- Silicone moulds, which are flexible and allow for more decorative shapes
- Cardboard tube moulds for a rustic, rough-edged look
Pillar candle making also involves a few additional steps that container candles do not. You need to seal the base of the mould before pouring, manage sinkholes by topping up the wax, and ensure a clean release once set. Each of these steps introduces a new variable and a new opportunity for things to go wrong.
A Direct Comparison: Container vs Pillar
Before getting into technique, here is a straightforward comparison of the two formats across the key factors that matter most to beginners.
| Factor | Container Candles | Pillar Candles |
|---|---|---|
| Difficulty Level | Low – suitable for absolute beginners | Moderate to high – requires more steps and precision |
| Wax Type Required | Soft soy, coconut, or soft paraffin blend | Hard paraffin, beeswax, or pillar-grade soy wax |
| Equipment Needed | Pouring jug, thermometer, wick centring tool, containers | All of the above, plus moulds, mould seal, release spray |
| Common Problems | Sinkholes, wet spots on glass, poor scent throw | Cracking, poor release, uneven surfaces, collapse |
| Start-Up Cost (UK) | Approximately £30-£60 for a basic starter kit | Approximately £50-£100 depending on mould quality |
The table makes it fairly clear that container candles ask less of a beginner across almost every category. That is not to say pillar candles are beyond you – they are not – but starting with containers gives you time to understand how wax behaves before adding more complexity.
Why Container Candles Are Better for Beginners
Most experienced UK candle makers will tell you the same thing: start with containers. There are several concrete reasons for this.
The margin for error is wider. When you pour a container candle and something goes wrong – the surface is uneven, there is a small sinkhole near the wick, or the wax has pulled slightly from the sides of the glass – you can often fix it. A quick top-up pour with leftover wax sorts most surface issues. With a pillar candle, a crack or collapse cannot be rescued once the wax has set.
Soy wax is forgiving and widely available. The most popular wax for container candles in the UK is soy wax, and for good reason. It is natural, burns relatively cleanly, takes fragrance well, and is sold by dozens of UK suppliers including Candle Shack in Edinburgh, Cosy Owl in Herts, and The Candle Making Shop. A one-kilogram bag typically costs between £5 and £8 and will make several small candles. You do not need to import anything or hunt for specialist supplies.
You learn the fundamentals without overcomplicating things. Container candle making teaches you the core skills every candle maker needs: measuring wax correctly, monitoring pour temperature, securing wicks, adding fragrance at the right point, and allowing proper curing time. These fundamentals transfer directly to pillar candle making later, but in a container context, they are far less technical to get right.
The cost of failed batches is lower. A beginner pillar candle failure might mean a cracked or collapsed candle that cannot be used and cannot easily be melted down and reused in the same mould. A failed container candle can often be melted down and repoured, or used as a tealight top-up. Your wax investment is not necessarily wasted.
Step-by-Step: Making Your First Container Candle
Once you have gathered your materials, the process for a basic soy container candle is straightforward. Here is a clear, beginner-friendly method to follow.
- Weigh your wax. Use a kitchen scale to measure your soy wax. A standard 20cl glass jar typically requires around 120-130g of wax. Always weigh rather than measuring by volume – it is far more accurate.
- Melt the wax slowly. Use a double boiler (a heat-proof jug set in a pan of simmering water) or a dedicated wax melter. Never melt wax directly on the hob without a bain-marie setup. Heat to around 75-80°C, monitoring with a thermometer throughout.
- Prepare your container and wick. Stick a pre-waxed wick to the base of the jar using a wick sticker or a small blob of hot glue. Use a wick bar, a pencil, or a lolly stick across the top of the jar to keep the wick centred and taut.
- Add fragrance oil. Once your wax has cooled to around 65-70°C, add your fragrance oil. A typical fragrance load for soy wax is 6-10% of the wax weight. Stir slowly and thoroughly for at least two minutes to ensure full incorporation.
- Pour the wax. Pour slowly and steadily into your prepared jar. Try to pour in one continuous stream to avoid introducing bubbles. Leave a small gap at the top – about 1cm – to allow for any top-up.
- Allow to cool at room temperature. Do not move the candle or place it in the fridge to speed up cooling. Rapid or uneven cooling causes cracking and sinkholes. Leave it on a flat, stable surface away from draughts.
- Top up if needed. After 3-4 hours, check for sinkholes around the wick. If there is a dip, melt a small amount of leftover wax and top up just enough to level the surface.
- Trim the wick and cure. Once fully set (at least 24 hours), trim the wick to 5mm. Then allow the candle to cure for a minimum of 48 hours before burning. Soy candles benefit from a full week of curing for optimal scent throw.
When Should You Move to Pillar Candles?
Pillar candles are genuinely worth learning, but the timing matters. You will know you are ready when you can consistently produce container candles with a good scent throw, an even burn pool, and a clean surface – without needing to troubleshoot basic issues each time.
Once you are comfortable with wax temperatures, fragrance ratios, and wick sizing, the additional steps involved in pillar making become manageable rather than overwhelming. At that point, investing in a set of quality polycarbonate or metal moulds makes sense. UK suppliers such as Candle Shack and The Soap Kitchen stock a wide range of pillar moulds at reasonable prices, and many crafting Facebook groups based in the UK – such as UK Candle Makers – offer advice and second-hand mould recommendations.
When you do make the move to pillars, start with a simple cylinder mould. It is the most forgiving shape and gives you the best chance of a clean release. Avoid intricate silicone moulds until you understand how your chosen hard wax behaves during cooling and contraction.
UK Safety and Regulations to Be Aware Of
Candle making in the UK is subject to
specific legislation that applies whether you are making candles for personal use or for sale. The most relevant framework is the General Product Safety Regulations 2005, which requires that any product placed on the market — including handmade candles sold at craft fairs or online — must be safe for its intended use. If you are selling candles, you are also required to comply with the CLP Regulation (Classification, Labelling and Packaging of substances and mixtures), which governs how hazardous substances such as fragrance oils must be labelled. This means your finished candle must carry a label that includes any relevant hazard pictograms, signal words, and precautionary statements based on the fragrance concentration used.
For both container and pillar candles, you should keep a full product information file for each candle you make to sell. This includes your wax type and supplier, fragrance oil safety data sheet, fragrance load percentage, wick supplier and specification, and any burn test records you have completed. The British Candlemakers Federation is a useful point of contact for guidance, and many UK candle suppliers such as Cosy Owl and The Candle Making Shop publish their own compliance guides. It is also worth noting that fragrance oils must not exceed the IFRA (International Fragrance Association) usage guidelines for the relevant candle category, and reputable UK suppliers will provide IFRA certificates with their fragrance listings.
So, Which Should You Make First?
For most beginners in the UK, container candles are the more sensible starting point. The equipment costs are lower, the learning curve is gentler, and the room for error is considerably smaller. A basic soy container candle requires little more than a pouring jug, a thermometer, a suitable jar, and a centred wick, all of which are easy to source from domestic suppliers. Once you have a reliable container recipe — meaning consistent scent throw, good adhesion, and a clean burn — you will have built the foundational knowledge of how wax behaves that makes the step up to pillars far less frustrating.
Pillar candles remain a worthwhile ambition. They open up a wider range of aesthetic possibilities and tend to command a higher price point if you move into selling. However, they reward patience and prior experience rather than enthusiasm alone. Work through your container candles methodically, keep notes, and treat each batch as a small experiment. By the time you are ready to try a cylinder pillar mould, you will approach it with a practical understanding that no tutorial can fully substitute for.