Beeswax Candles: A British Tradition Worth Reviving
Where It All Began
Long before paraffin wax arrived from the petroleum industry in the mid-1800s, British households burned beeswax candles. Churches from York Minster to Westminster Abbey glowed with them. Monasteries kept hives specifically to supply their chapels, and beeswax was so valuable in medieval England that it was collected as a form of tax. Entire guilds — the Wax Chandlers of London, founded in 1358 and still in existence today — were built around the trade. When you roll a sheet of honeycomb beeswax into your first taper, you are not simply making a candle. You are picking up a thread that runs back through centuries of British craft.
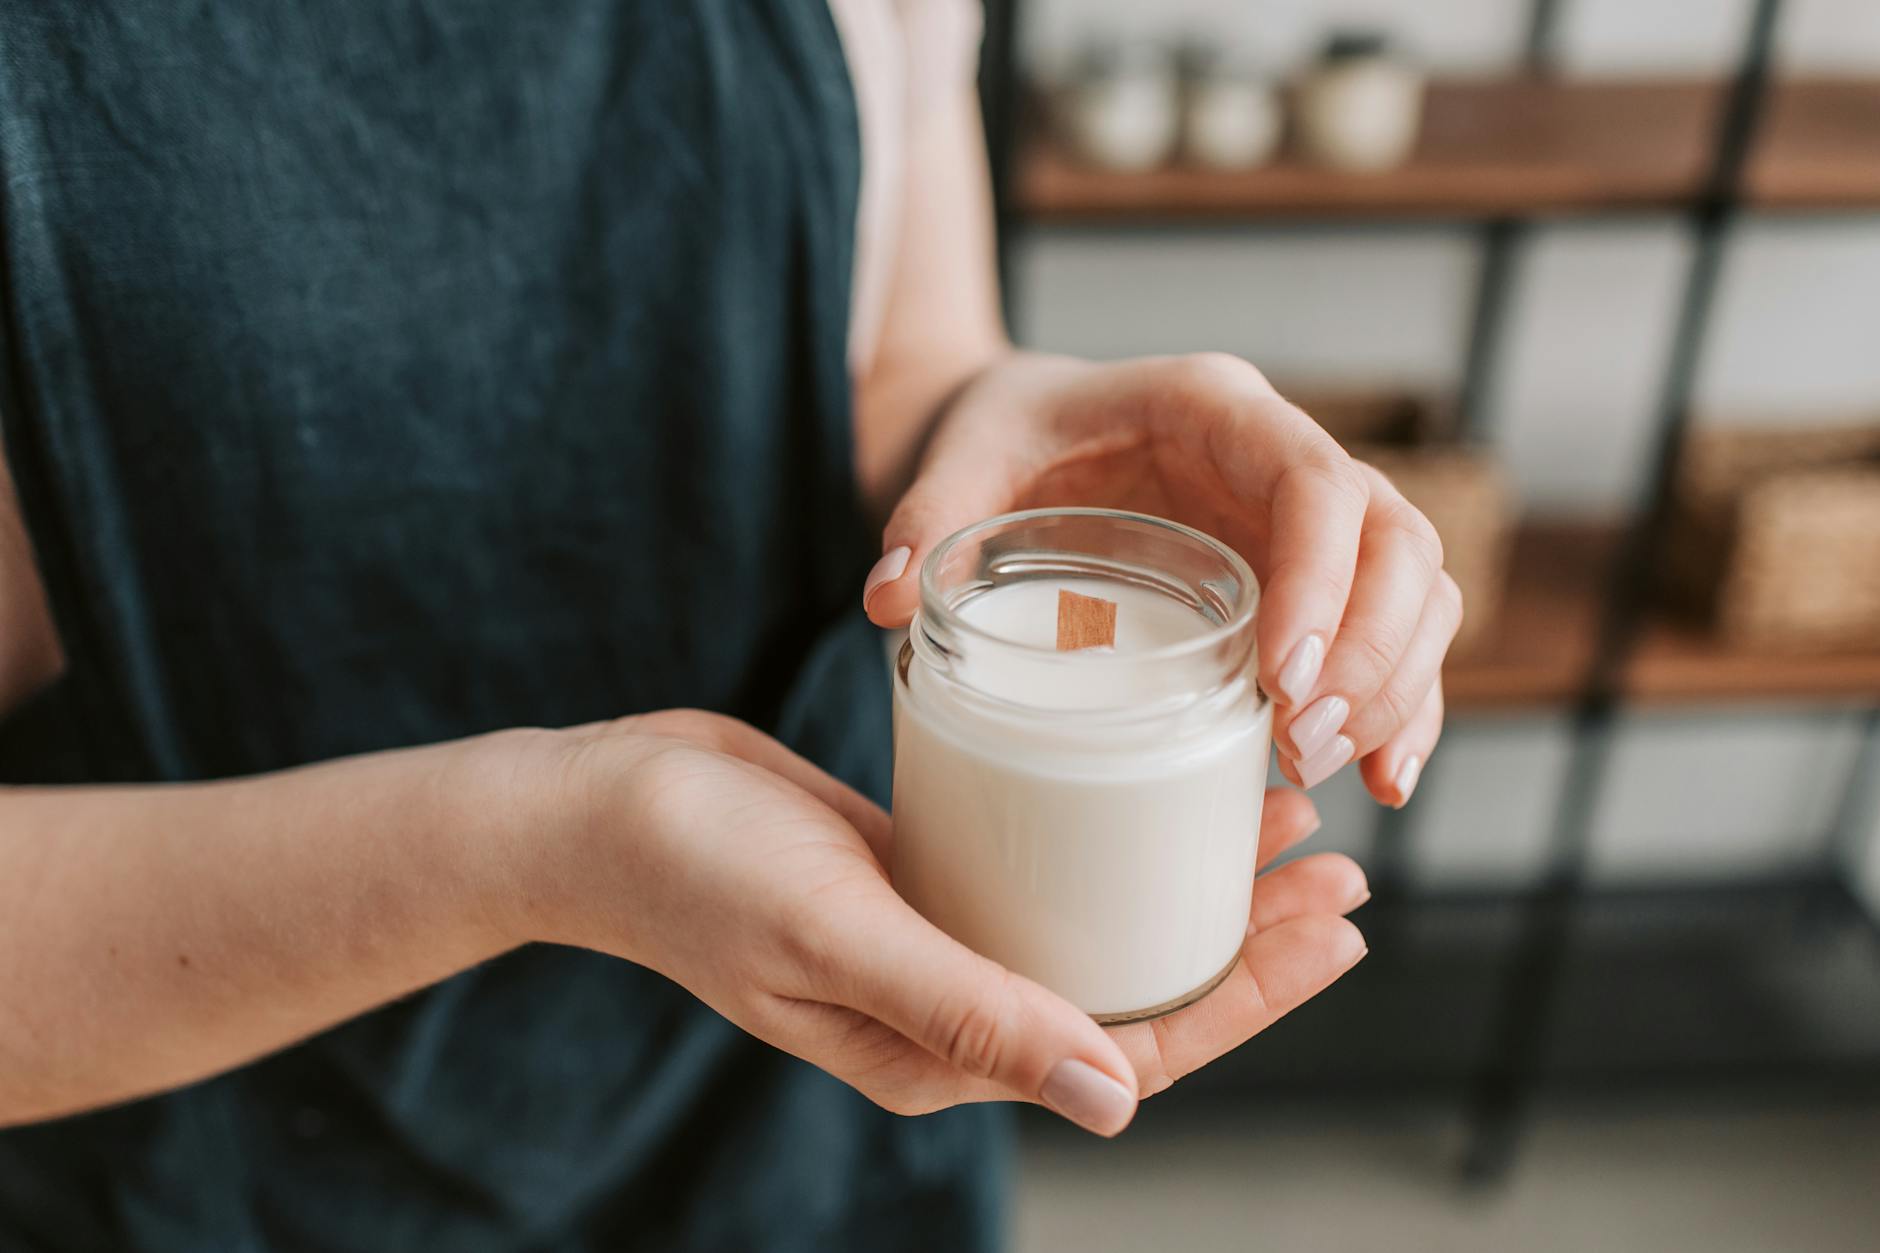
I came to beeswax candles through a fairly unglamorous route. A friend gave me a block of raw beeswax she had bought from a beekeeper at the Stroud Farmers Market in Gloucestershire, and it sat on my kitchen shelf for three months because I had no idea what to do with it. It smelled extraordinary — warm, slightly floral, with that unmistakable honey undertone — and eventually curiosity won out. I melted it in a bain-marie, poured it into a jam jar with a cotton wick, and stood back. What came out was imperfect, slightly lopsided, and the best-smelling thing I had ever made. That was the beginning of a rather absorbing hobby.
Why Beeswax Is Different From Every Other Wax
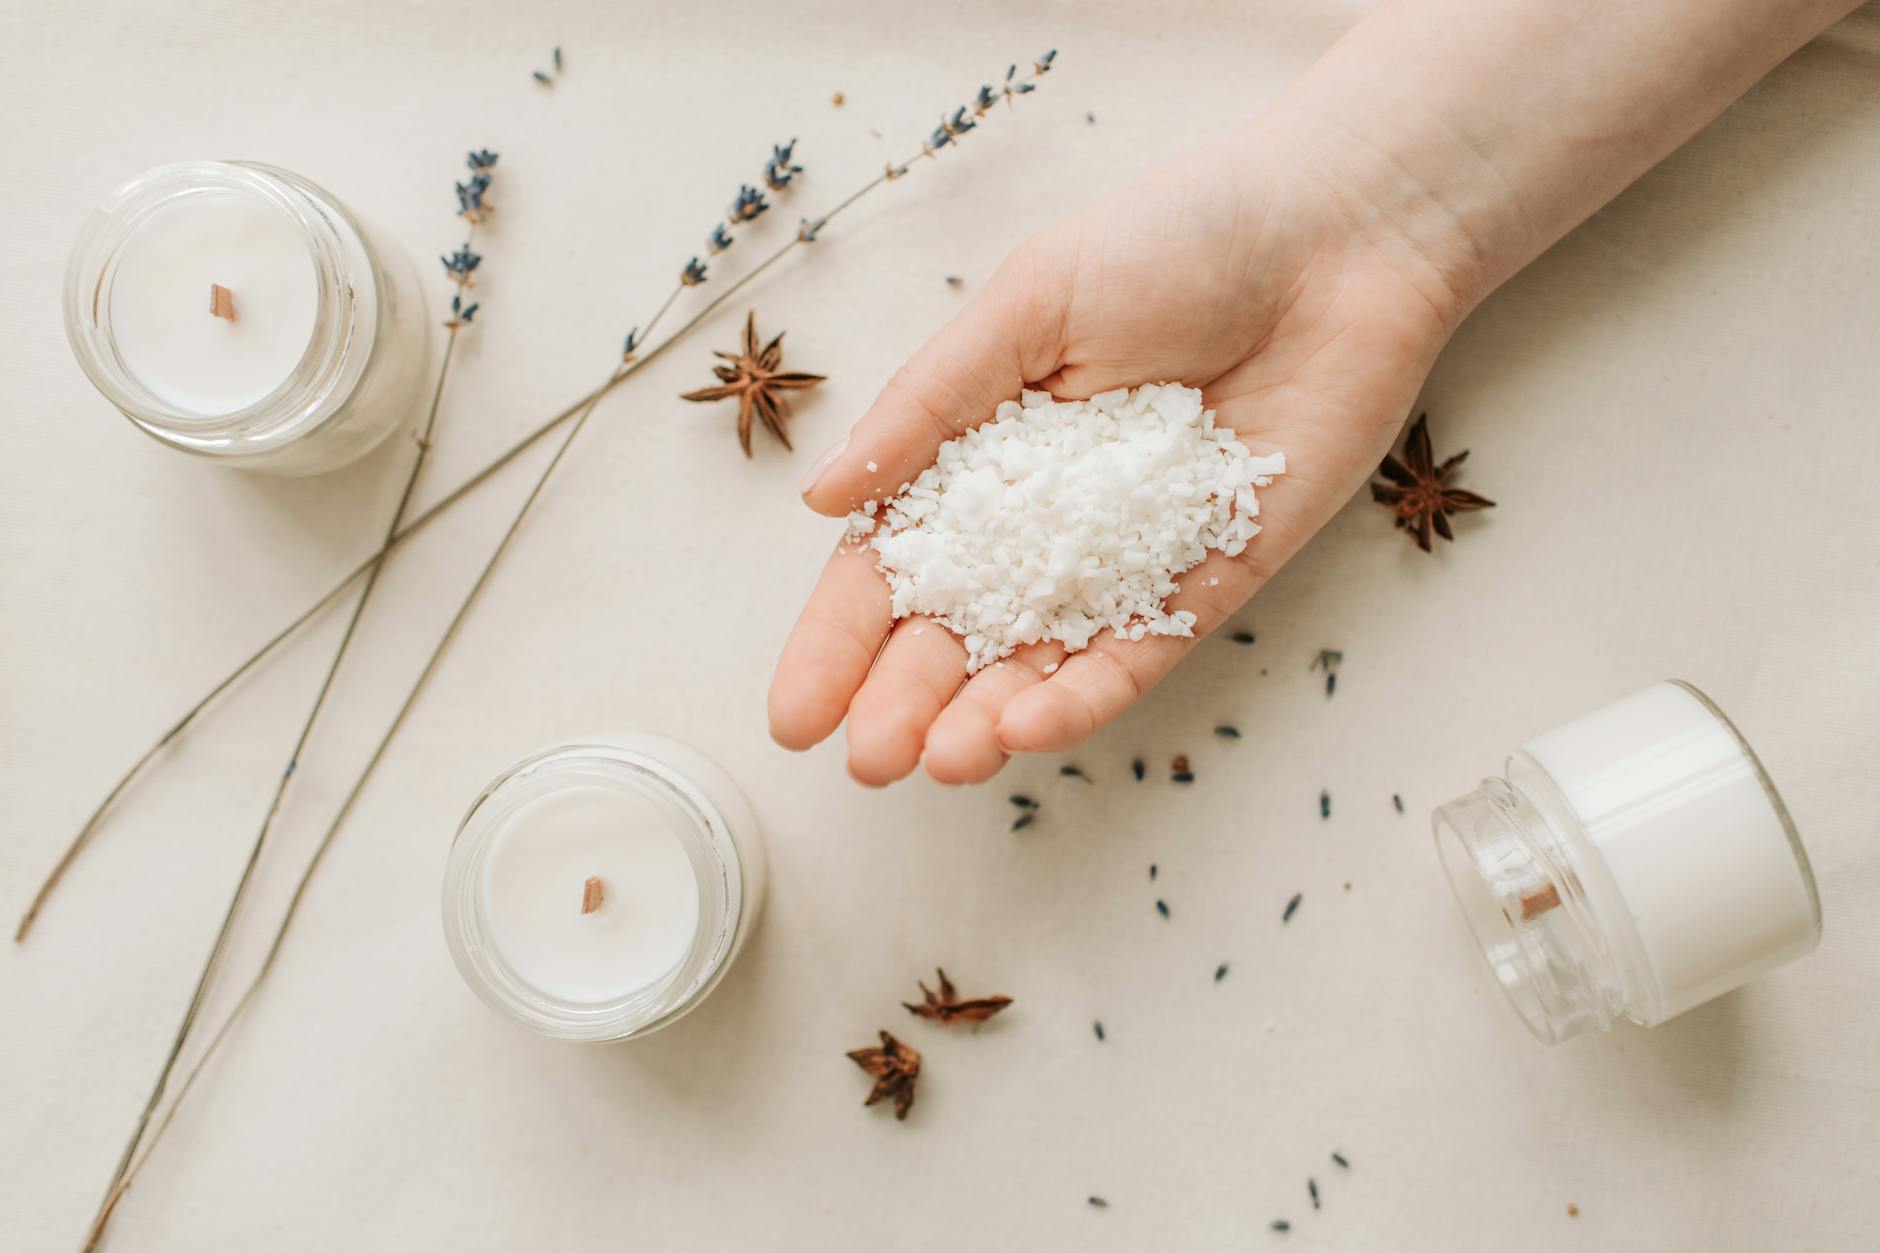
Most beginner candle makers start with soy wax or paraffin. Both are fine materials, but beeswax occupies a different category entirely. It is a natural product secreted by honeybees to build their honeycomb, and it contains over 300 naturally occurring compounds — esters, fatty acids, hydrocarbons, and trace aromatics — that give it properties no synthetic or processed wax can replicate.
The most immediately noticeable quality is the scent. Raw or minimally filtered beeswax smells of honey and warm sunshine in a way that is genuinely difficult to describe without sounding fanciful. It does not need fragrance oils. Many experienced beeswax candle makers add nothing to their wax at all, and their finished candles are more pleasant to burn than heavily fragranced paraffin alternatives.
Beeswax also burns with remarkable cleanliness. It produces very little soot compared to paraffin, which is particularly important if you care about air quality in your home. Paraffin is a petroleum by-product, and while the evidence on how harmful its combustion products are at typical candle-use levels remains contested, many people simply prefer not to burn it. Beeswax offers a straightforward alternative.
Then there is the burn time. Beeswax has a higher melting point than either soy or paraffin — typically between 62°C and 65°C — which means it burns more slowly. A beeswax candle will outlast a comparably sized paraffin candle by a significant margin. The higher cost of the raw material begins to look rather more reasonable when you account for this.
One quirk worth knowing about: beeswax develops a powdery, pale coating over time called bloom. New candle makers often panic when they notice this, assuming the wax has deteriorated. It has not. Bloom is simply a natural migration of lighter wax components to the surface. It does not affect burn quality, and if you dislike the appearance you can buff it off gently with a soft cloth or a little warmth from your hands.
Understanding the Different Forms of Beeswax
Beeswax sold for candle making comes in several forms, and understanding the differences will save you a great deal of confusion when you first start shopping.
Raw beeswax is the material as it comes directly from the hive, after the honey has been extracted. It varies enormously in colour — from pale yellow to deep amber or even brown — depending on the age of the comb, what the bees were foraging on, and how the wax has been handled. Raw wax will contain small amounts of propolis, pollen, and other hive debris. Some candle makers love this rustic quality. Others find the impurities affect the finished appearance of their candles.
Filtered beeswax has been melted and strained through progressively finer filters to remove particulates. The result is a cleaner, more consistent wax, usually lighter in colour. It is the most practical choice for beginners who want predictable results.
Bleached beeswax is filtered wax that has been further treated to produce a near-white final colour. This process uses either chemical bleaching or, more commonly now, extended exposure to sunlight. White beeswax is popular for making candles that take dye well or for cosmetic applications where the colour must be neutral. For candles, many makers prefer unbleached wax because they want that characteristic golden colour.
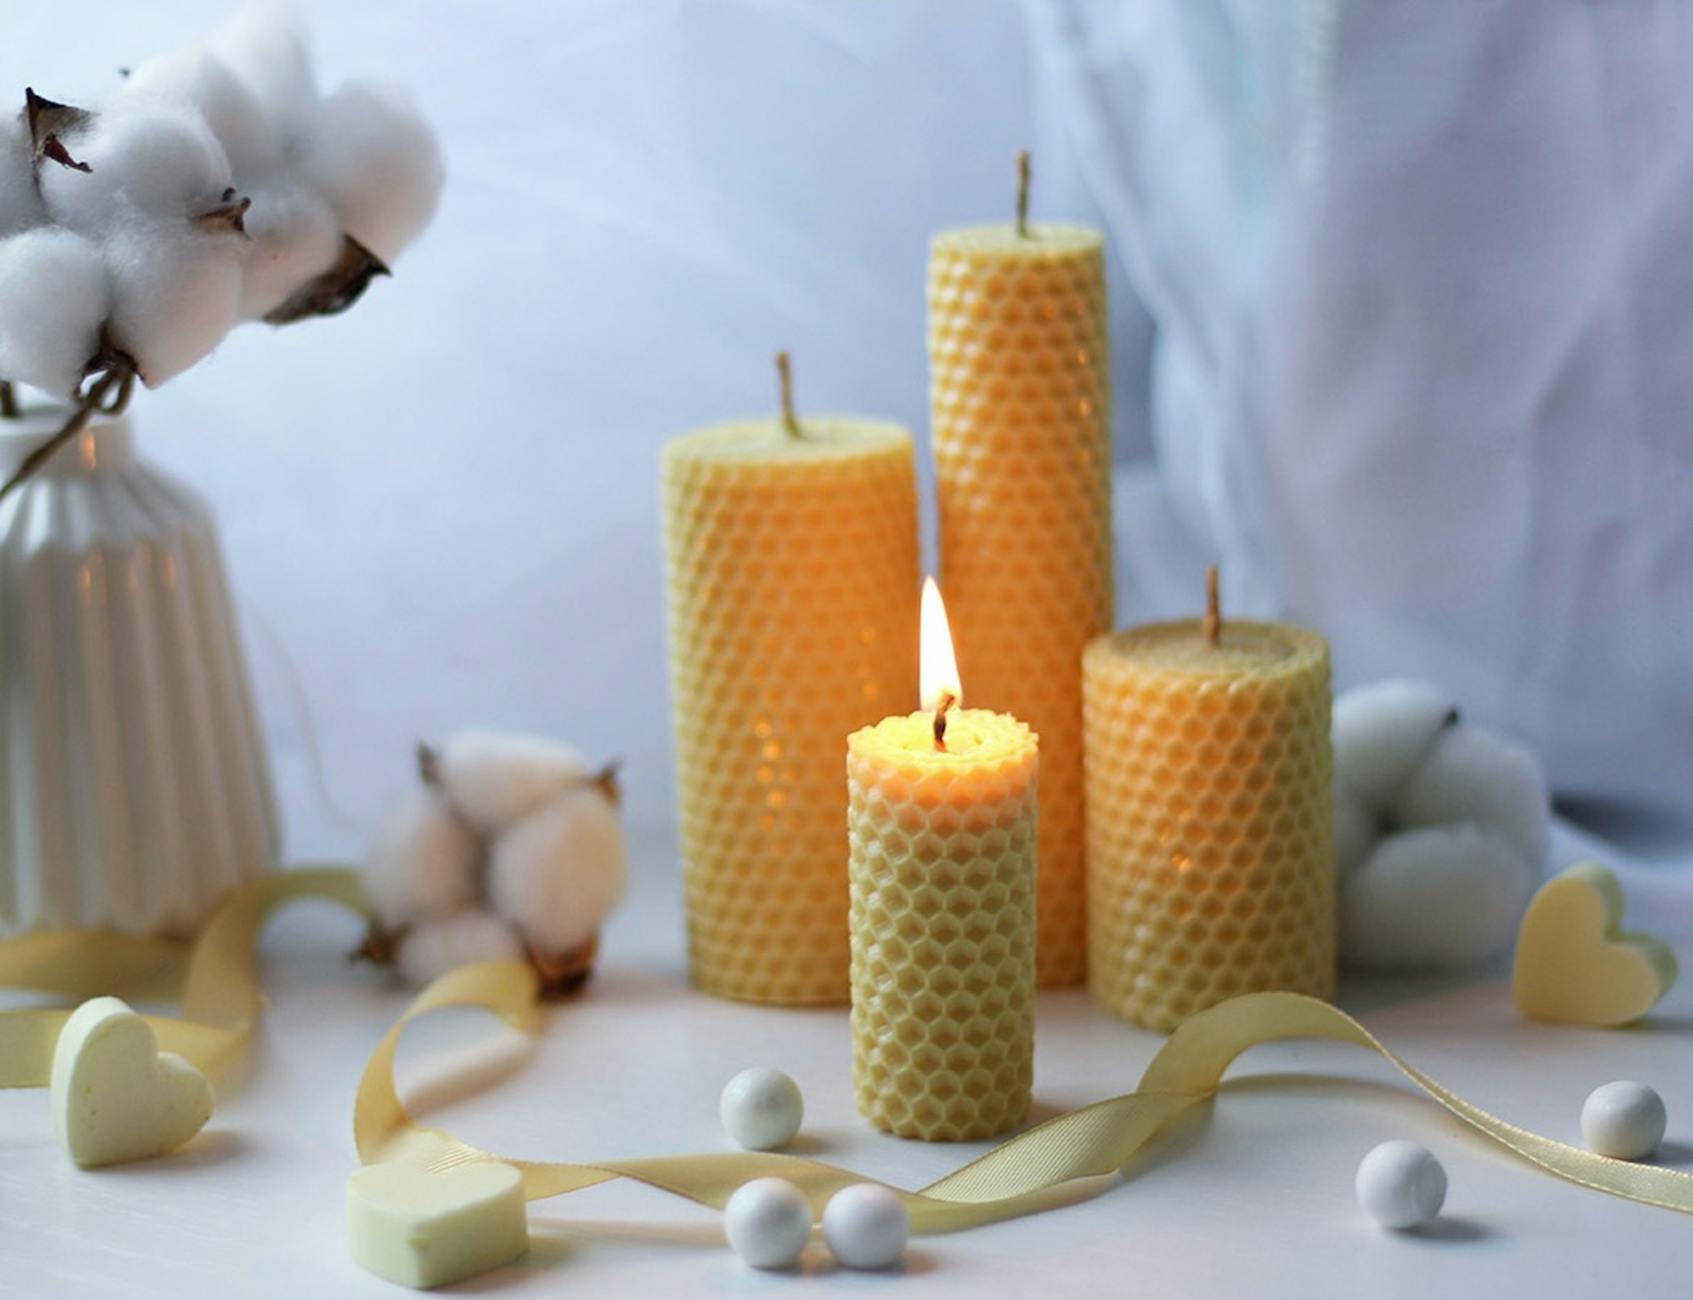
Beeswax sheets — embossed with the honeycomb pattern — are worth a special mention because they are the single most beginner-friendly candle making material that exists. You do not need to melt anything. You simply roll them around a wick. We will cover the process shortly.
Where to Source Beeswax in the UK
Good quality British beeswax is available from several directions, and the source you choose will affect both the price and the character of your finished candles.
Your most direct option is a local beekeeper. The British Beekeepers Association maintains a directory of members by county, and approaching a beekeeper directly often means you get genuinely local wax — sometimes from a specific landscape, whether that is Yorkshire moorland heather or Kent orchard country — at a fair price. Many beekeepers are delighted when someone wants to use their wax rather than simply buying honey.
Farmers markets are another excellent source. Markets in towns with strong craft or food cultures — Stroud, Totnes, Ludlow, Skipton, Hebden Bridge — frequently have stalls from local apiaries. You can often smell and handle the wax before buying, which tells you a great deal about its quality.
For online purchasing, several UK-based suppliers offer reliable filtered and bleached beeswax in quantities suitable for home candle makers. Bee Baltic, The Beeswax Works, and G. Baldwin & Co. in London are among those with good reputations. Always check whether the supplier offers UK-sourced wax specifically if provenance matters to you — some products are imported from Eastern Europe or further afield, which is not necessarily a problem but worth knowing.
Beeswax sheets for rolling candles are widely available from UK craft suppliers including Hobbycraft and numerous independent online retailers. They typically come in 20cm x 40cm sheets in natural beeswax yellow or a range of dyed colours.
Your First Project: Rolled Beeswax Taper Candles
The rolled taper is the perfect introduction to beeswax candle making. There is no melting, no pouring, no thermometers required. The process takes about five minutes per candle and produces something genuinely lovely. Here is how to do it properly.
- Gather your materials. You will need one or two beeswax sheets, a length of cotton wick (square braid wick, sized for tapers — 2/0 or 3/0 is typical), a sharp craft knife or scissors, a ruler, and a hair dryer or a warm room. That is the complete list.
- Warm the wax sheet gently. Cold beeswax sheets crack when you try to roll them. Use a hair dryer on a low setting, or simply leave the sheet somewhere warm for ten minutes. The wax should feel pliable — slightly soft to the touch — before you begin. Do not overheat it or it will become too sticky to work with.
- Cut your wick. The wick should extend roughly 2cm beyond the top of the finished candle. If your sheet is 20cm tall and you intend to roll the full height, cut the wick to 22cm.
- Position the wick. Lay the wick along one of the short edges of the sheet, pressing it gently into the wax to anchor it. Leave 1cm of wick extending beyond the top edge. Make sure the wick is sitting flush against the wax, not perched on top — this matters for an even roll.
- Begin rolling. Fold the edge of the wax sheet tightly over the wick, pressing firmly but carefully. The first half-turn is the most important; if it is loose, the wick will be off-centre in the finished candle. Roll steadily and evenly, maintaining consistent pressure, keeping the bottom edge aligned throughout so the candle stands straight.
- Seal the final edge. When you reach the end of the sheet, press the final edge firmly against the candle body. You can use your fingertips or run something slightly warm — the flat of a butter knife warmed briefly — along the seam to help it adhere.
- Trim the base. If the bottom edge is uneven, trim it with scissors so the candle will stand level in a holder. Trim the wick at the top to about 1cm.
- For a thicker candle, simply add a second sheet. Start the second sheet at the point where the first ends, pressing the edge down firmly, and continue rolling. Two standard sheets produce a satisfyingly substantial dinner candle.
The first time you light one of these candles and the honey scent gently fills the room, you will understand why people get entirely absorbed in this craft.
Moving On: Poured Beeswax Candles
Once you are comfortable with rolling, pouring opens up much more creative territory. Pillar candles, container candles, votives, and decorative shapes all become possible. The process requires more equipment but follows a straightforward logic.
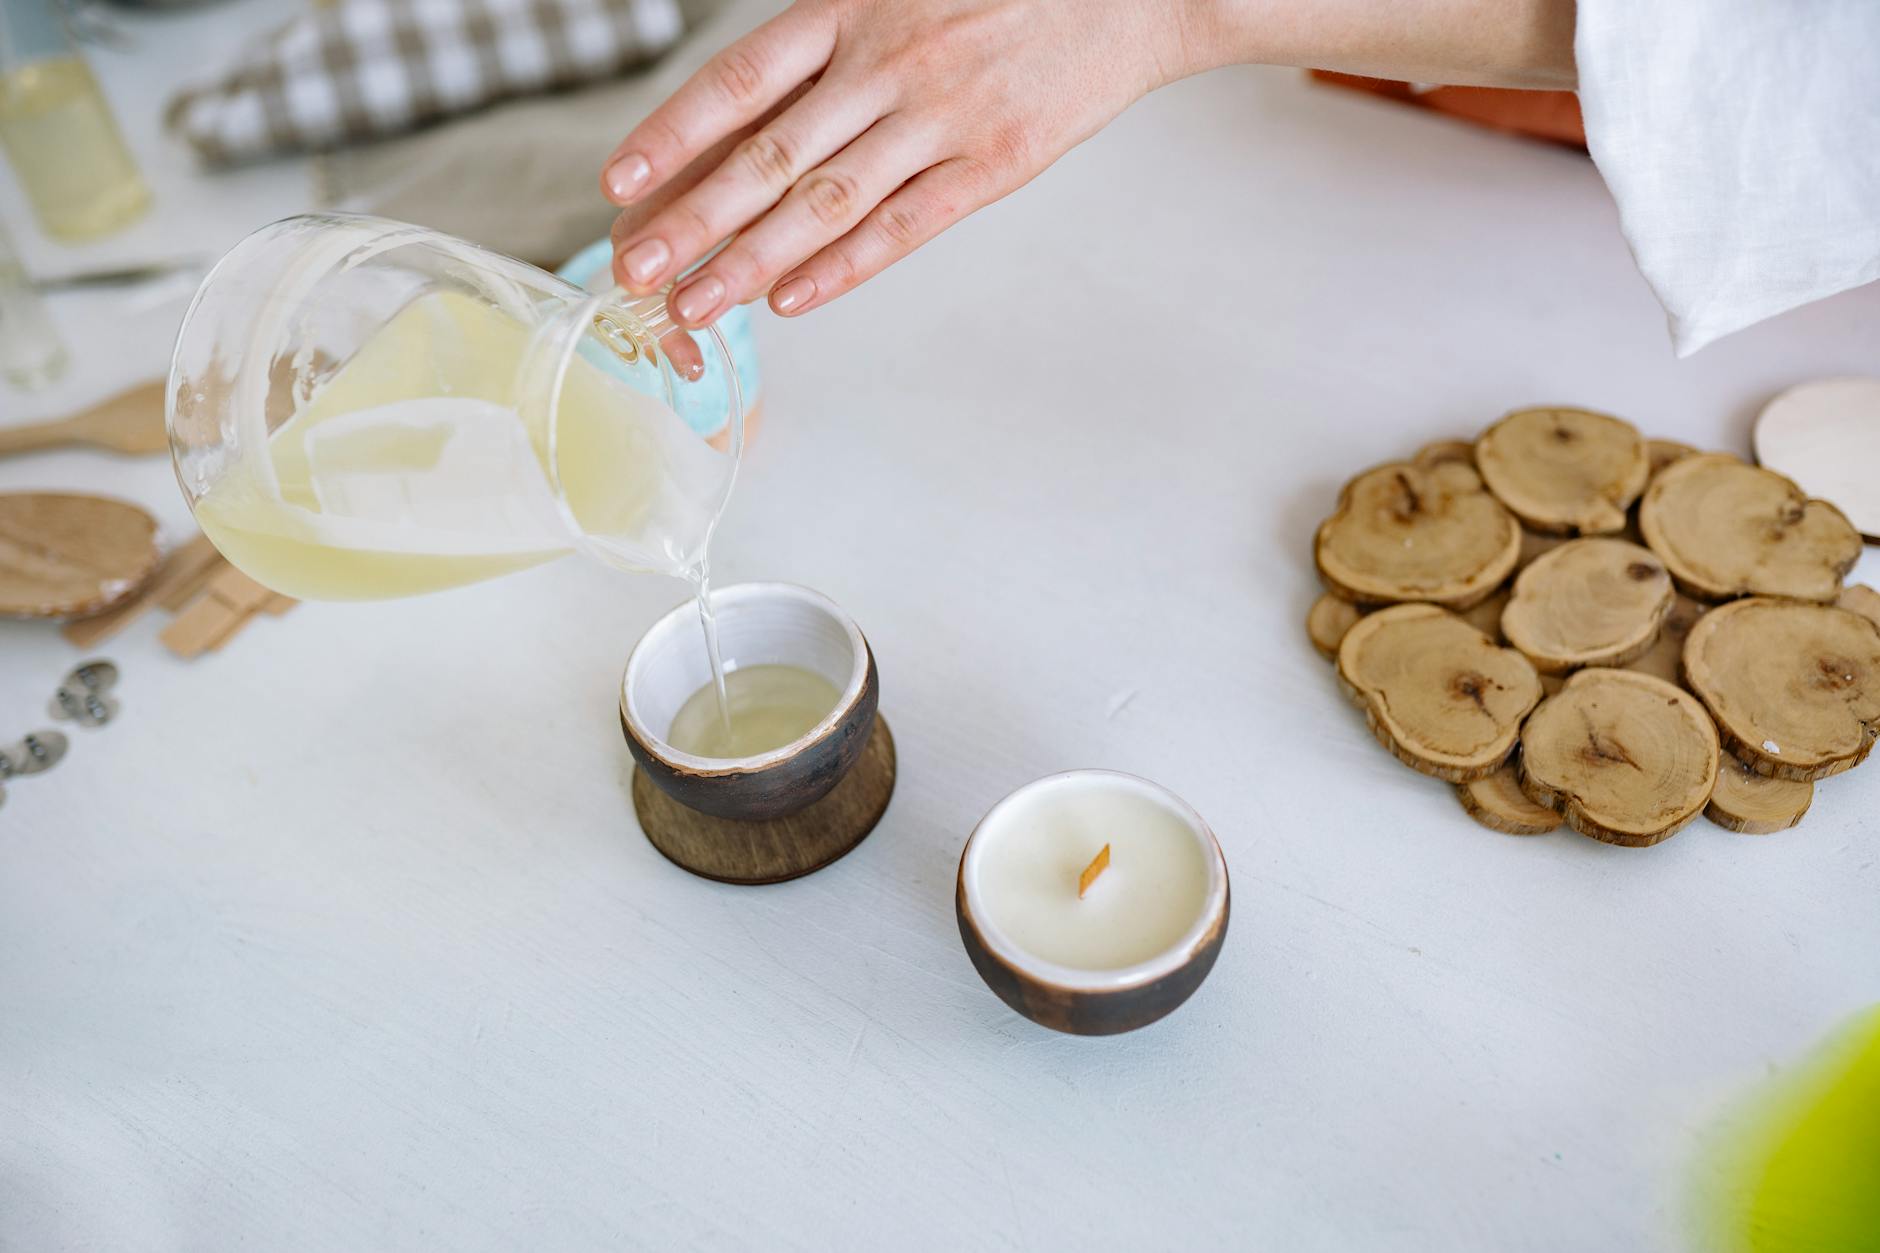
You will need a double boiler or bain-marie setup — beeswax should never be melted in a pan directly over a flame because of the fire risk at higher temperatures. A thermometer is essential; aim to pour beeswax at around 70°C to 75°C. Too cool and you will get poor adhesion to the mould walls and a rough surface. Too hot and the colour fades and the wax shrinks unevenly as it sets.
Beeswax contracts significantly as it cools, more so than either soy or paraffin. This means poured beeswax candles almost always develop a well or indentation around the wick as they set. The standard approach is to top up the candle once the initial pour has solidified
sufficiently, pouring a small amount of melted wax into the depression to level the surface. You may need to repeat this process two or three times. Keep a small quantity of wax warm for this purpose rather than reheating it repeatedly, as constant reheating degrades the quality. Once fully set, trim the wick to around 6mm before the first burn.
Releasing beeswax from moulds requires a little patience. Unlike paraffin, beeswax grips smooth metal and plastic surfaces quite firmly due to its natural tackiness. A light coating of silicone spray or sunflower oil applied to the mould interior before pouring will ease release considerably. Flexible silicone moulds are by far the most forgiving option for beginners. If a candle refuses to come free, placing the mould in the freezer for ten to fifteen minutes causes the wax to contract just enough to release. Avoid tapping or twisting metal moulds forcefully, as this can distort them or crack a brittle candle.
Wicks for beeswax candles deserve particular attention. Because beeswax is denser and more viscous than other waxes, it requires a larger, more robust wick than you might expect for a given diameter. Cotton wicks sold as suitable for soy candles will often underperform in beeswax, producing a small, struggling flame that tunnels straight down the centre. Square-braided cotton wicks are the standard recommendation for beeswax work. As a general guide, a 5cm diameter pillar candle requires a wick rated for at least that diameter in beeswax specifically; always check the manufacturer’s guidance and expect to conduct burn tests before committing to a full batch.
Beeswax candle making is not the quickest or cheapest craft to take up, but it rewards careful, unhurried work with results that are genuinely difficult to improve upon. The slow, warm burn, the faint honey scent, and the knowledge that the material came from British hives all contribute to something that feels worthwhile in a way that a mass-produced paraffin candle simply cannot replicate. For those willing to learn its particular requirements and respect its temperament, beeswax remains one of the most satisfying materials a candle maker in this country can work with.