Soy Wax Candle Making for Beginners
Soy wax has become the most popular choice for home candle makers across the UK, and it is not difficult to see why. It burns cleaner than paraffin, holds fragrance well, and is derived from a renewable source – soybean oil. Whether you are looking for a new creative hobby, hoping to reduce the synthetic products in your home, or considering starting a small cottage business, soy wax is an excellent place to start. This guide walks you through everything you need to know to make your first successful soy wax candles, from choosing your materials to understanding UK safety regulations.
Why Choose Soy Wax?
Before getting into the practical steps, it is worth understanding what makes soy wax a sensible choice for beginners. Paraffin wax, which dominated the candle industry for most of the twentieth century, is a petroleum by-product. Soy wax, by contrast, is plant-based and biodegradable. It has a lower melting point than paraffin, which means it is somewhat more forgiving to work with at home. It also produces less soot, making it a cleaner option for indoor use.
Soy wax is also easier to clean up – spills and equipment residue wash away with hot soapy water, which is a genuine practical benefit when you are learning. Paraffin requires solvents to remove properly. For those concerned about sustainability, soy wax is a more responsible choice, though it is worth noting that most soy is grown in the Americas, so it does carry a carbon footprint from transport. Some UK suppliers now offer rapeseed wax, which is grown domestically and is an even more locally sourced alternative worth considering as you develop your craft.
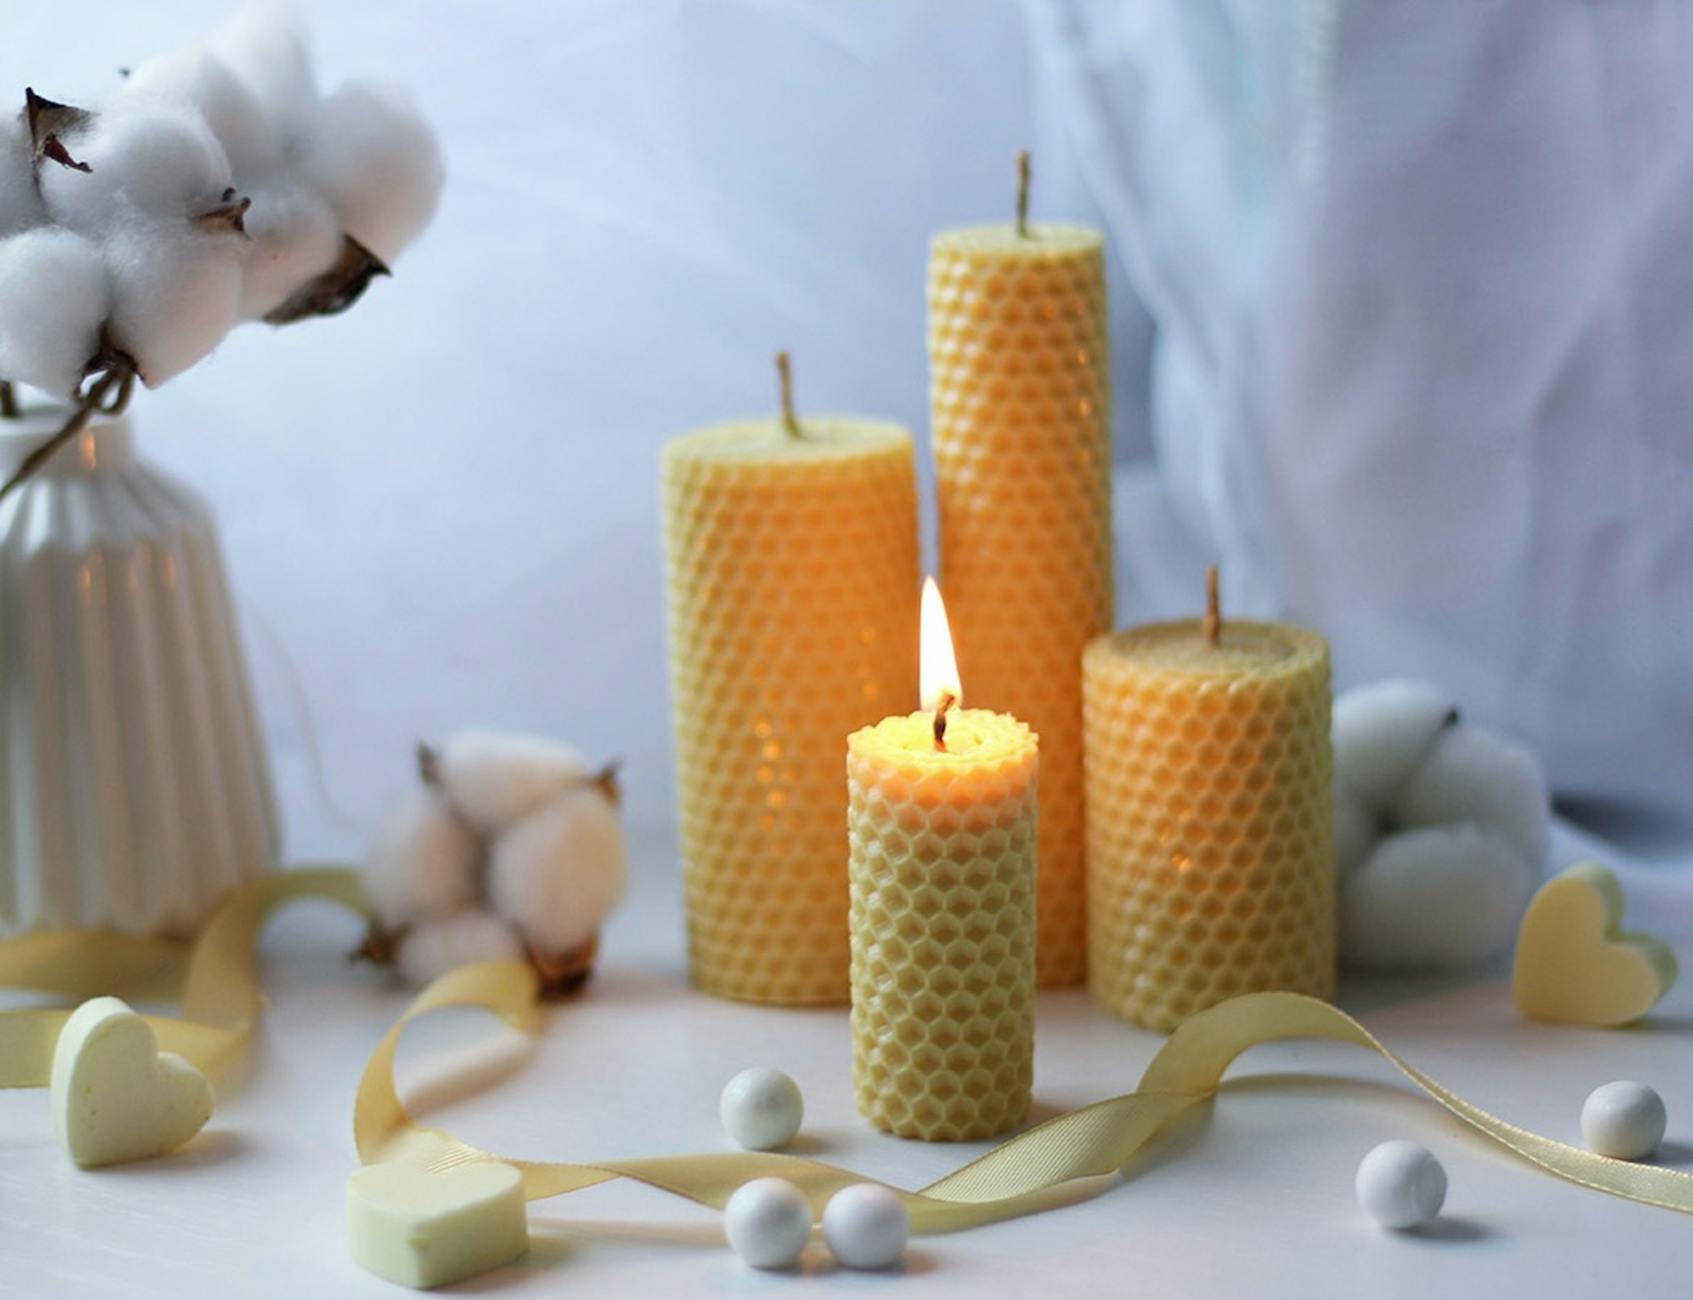
From a creative standpoint, soy wax takes colour and fragrance beautifully. It tends to give candles a slightly frosted, matte finish that many makers prefer aesthetically. It does have some quirks – most notably a phenomenon called “frosting,” where a white bloom appears on the surface – but with practice, these characteristics become manageable and even expected.
Essential Equipment and Supplies
You do not need a professional workshop to begin. A clean kitchen with a hob, a few dedicated utensils, and some patience is enough to get started. That said, it is important that any equipment used for candle making is kept separate from food preparation equipment, as fragrance oils and dyes should not come into contact with anything used for cooking.
Here is a list of the essential supplies you will need before you begin:
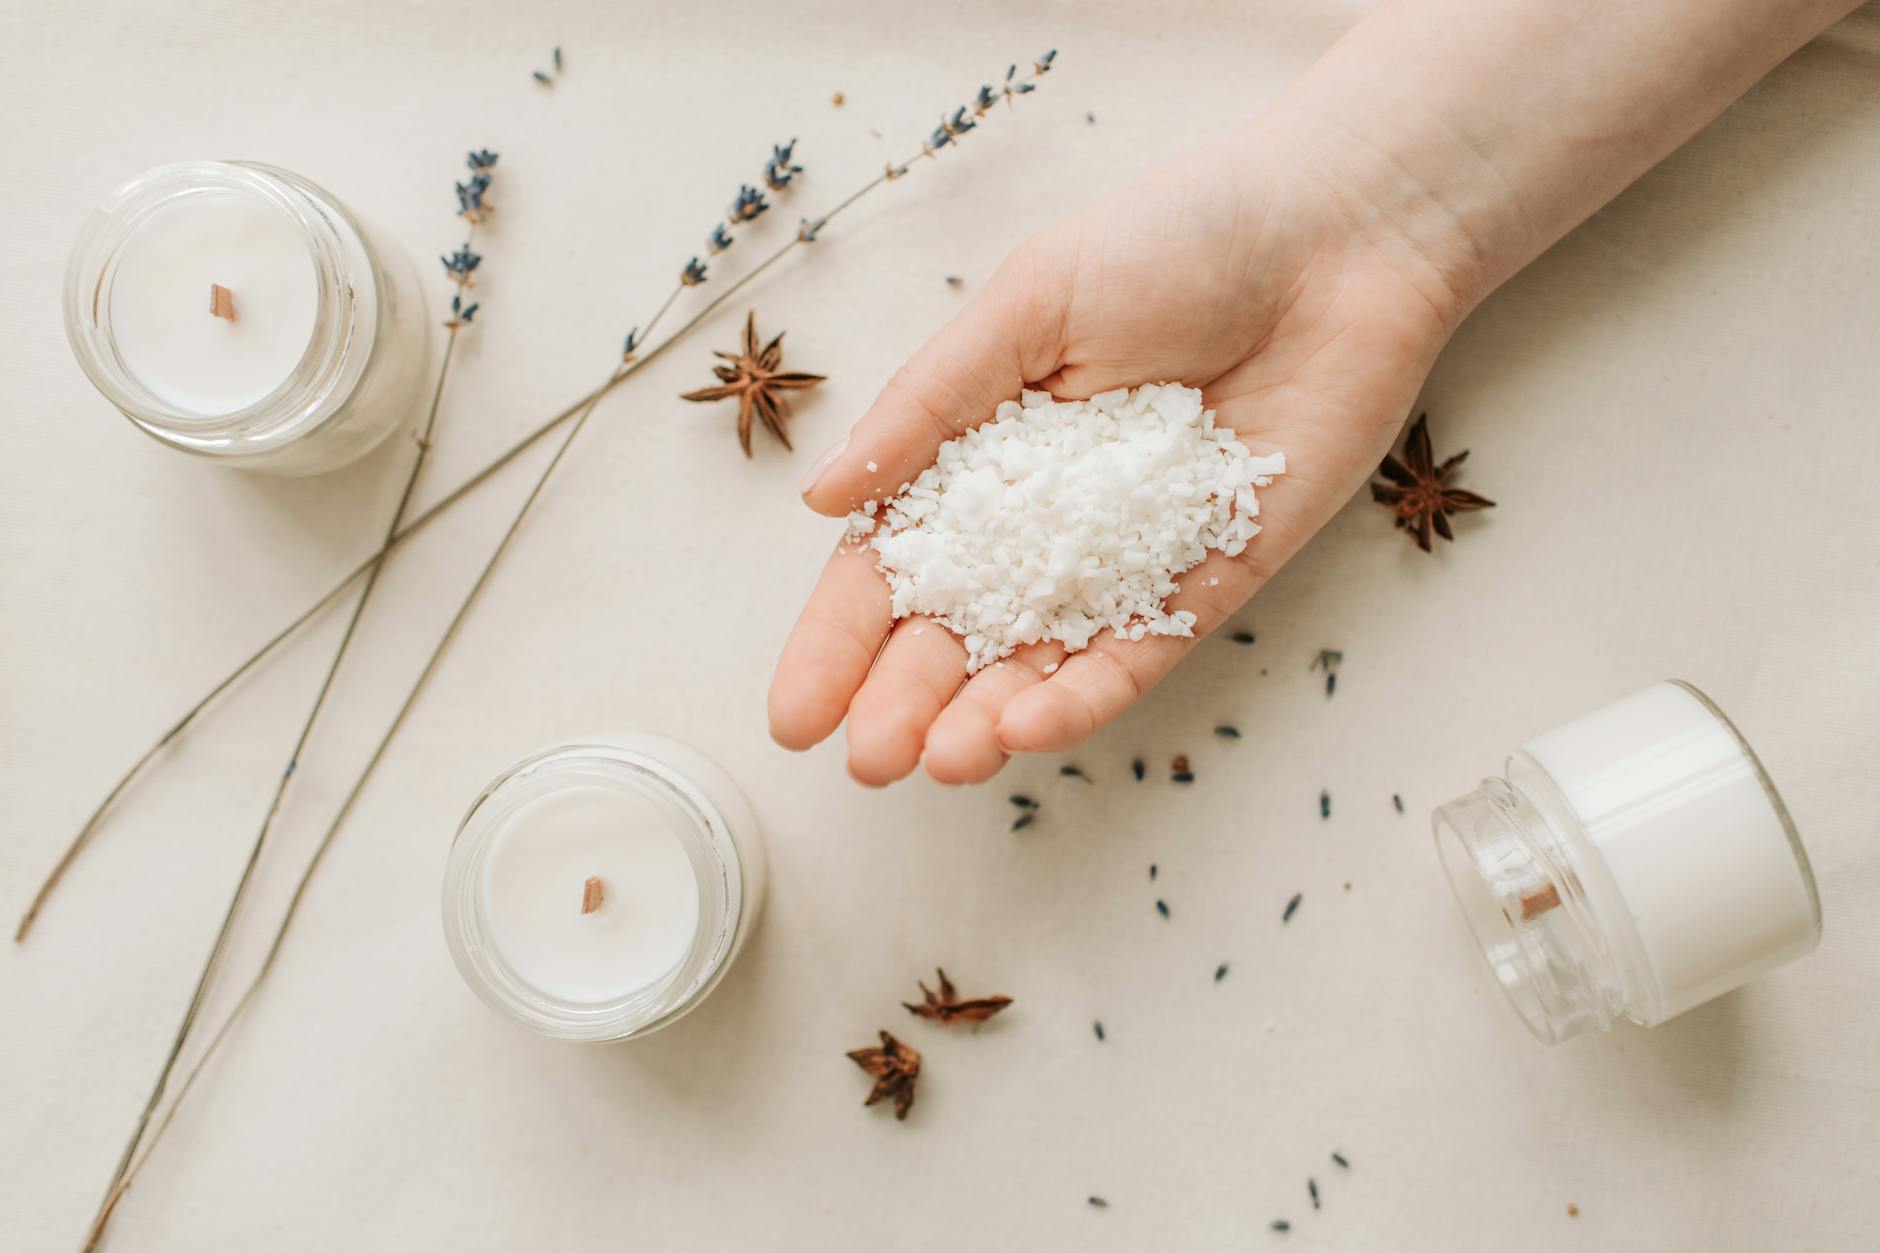
- Soy wax flakes: Look for container soy wax rather than pillar soy wax if you are pouring into vessels. Popular grades for beginners include Golden Brands 464 or 444, both widely available from UK suppliers.
- Wicks: Pre-tabbed cotton wicks are easiest for beginners. Wick sizing depends on the diameter of your container – always check the supplier’s wick guide for recommendations.
- Fragrance oils or essential oils: Use candle-safe fragrance oils, not standard perfume. Essential oils can be used but require careful handling and tend to be more expensive.
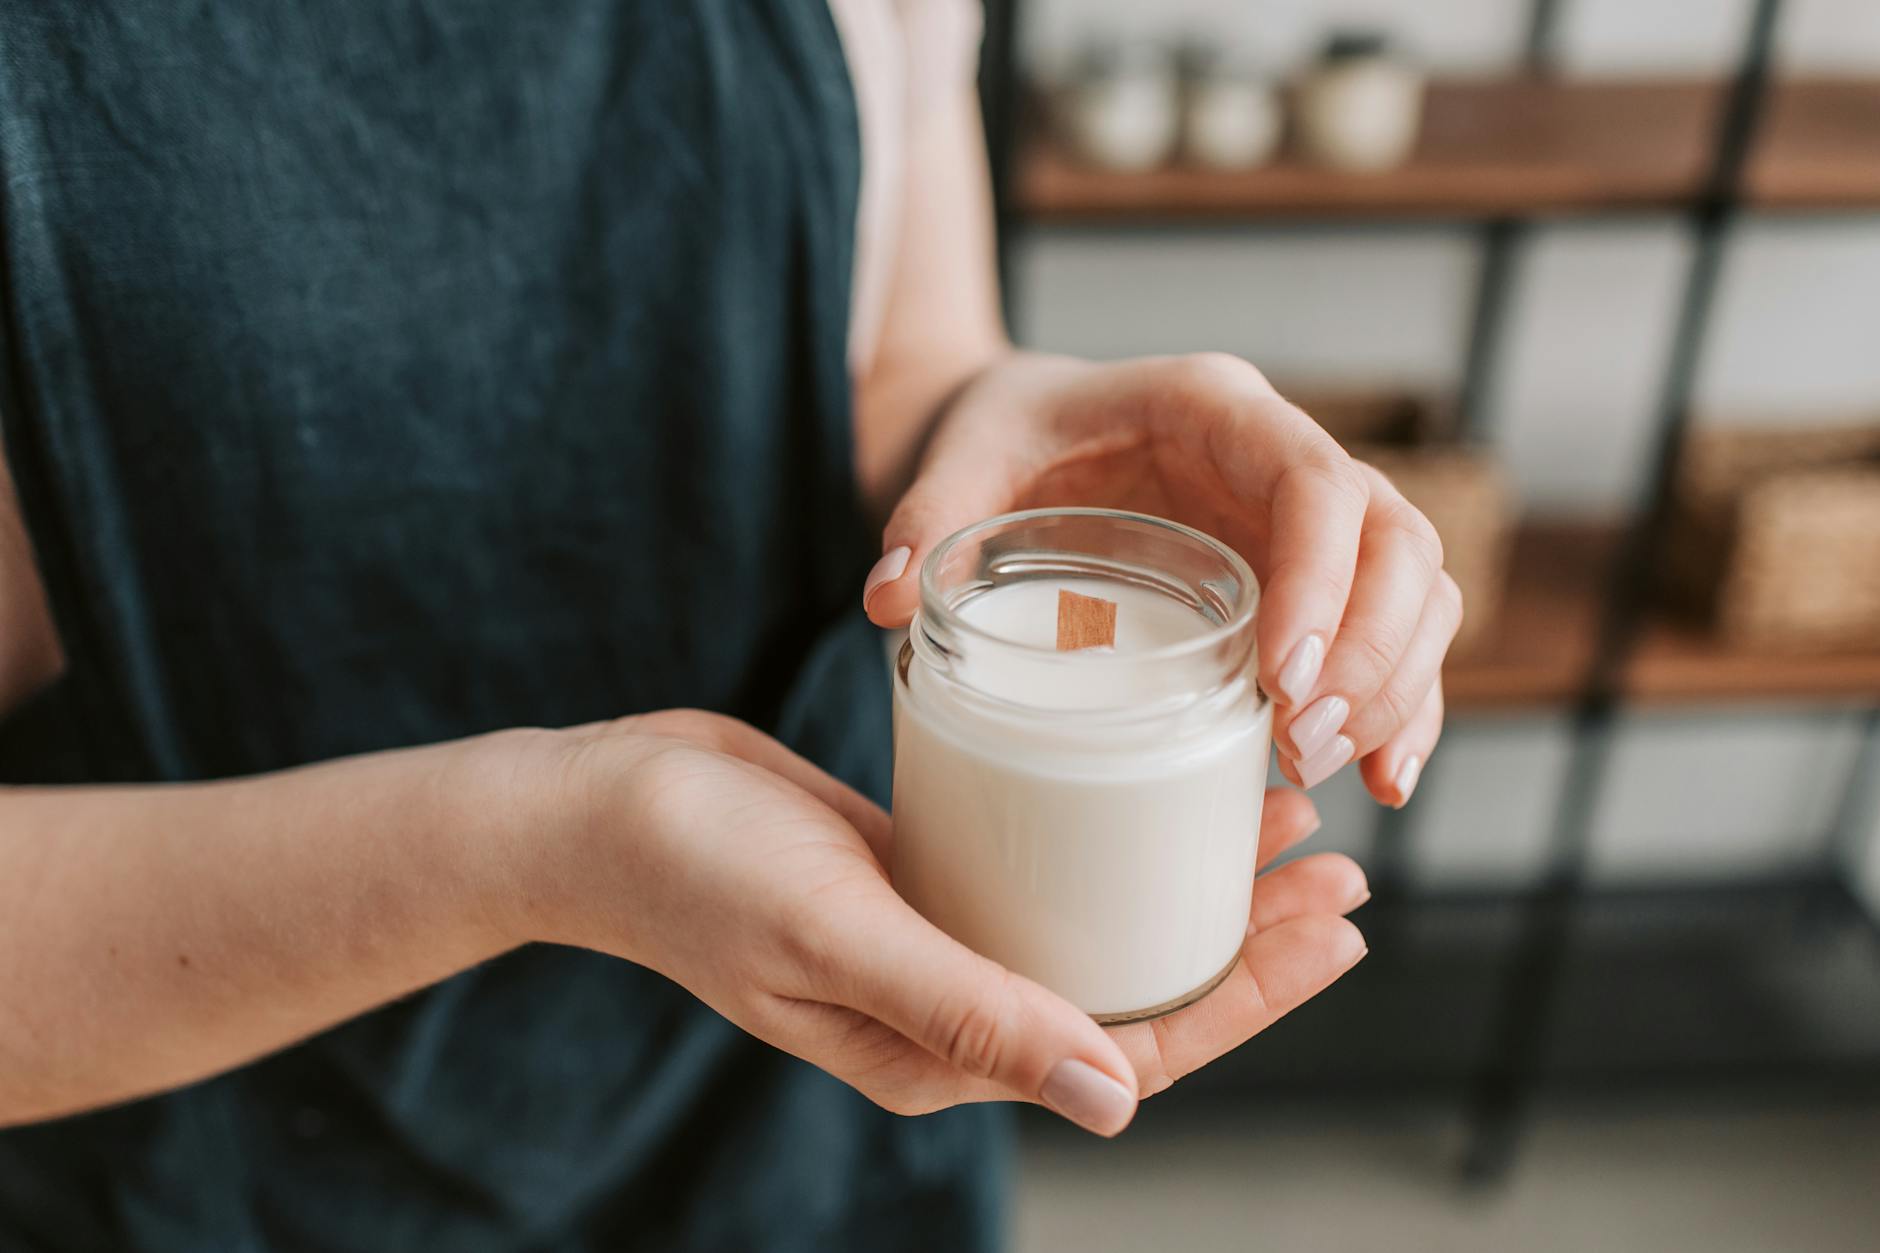
- Containers: Glass jars are the most common choice. Kilner jars, recycled jam jars, and purpose-made candle jars from suppliers all work well.
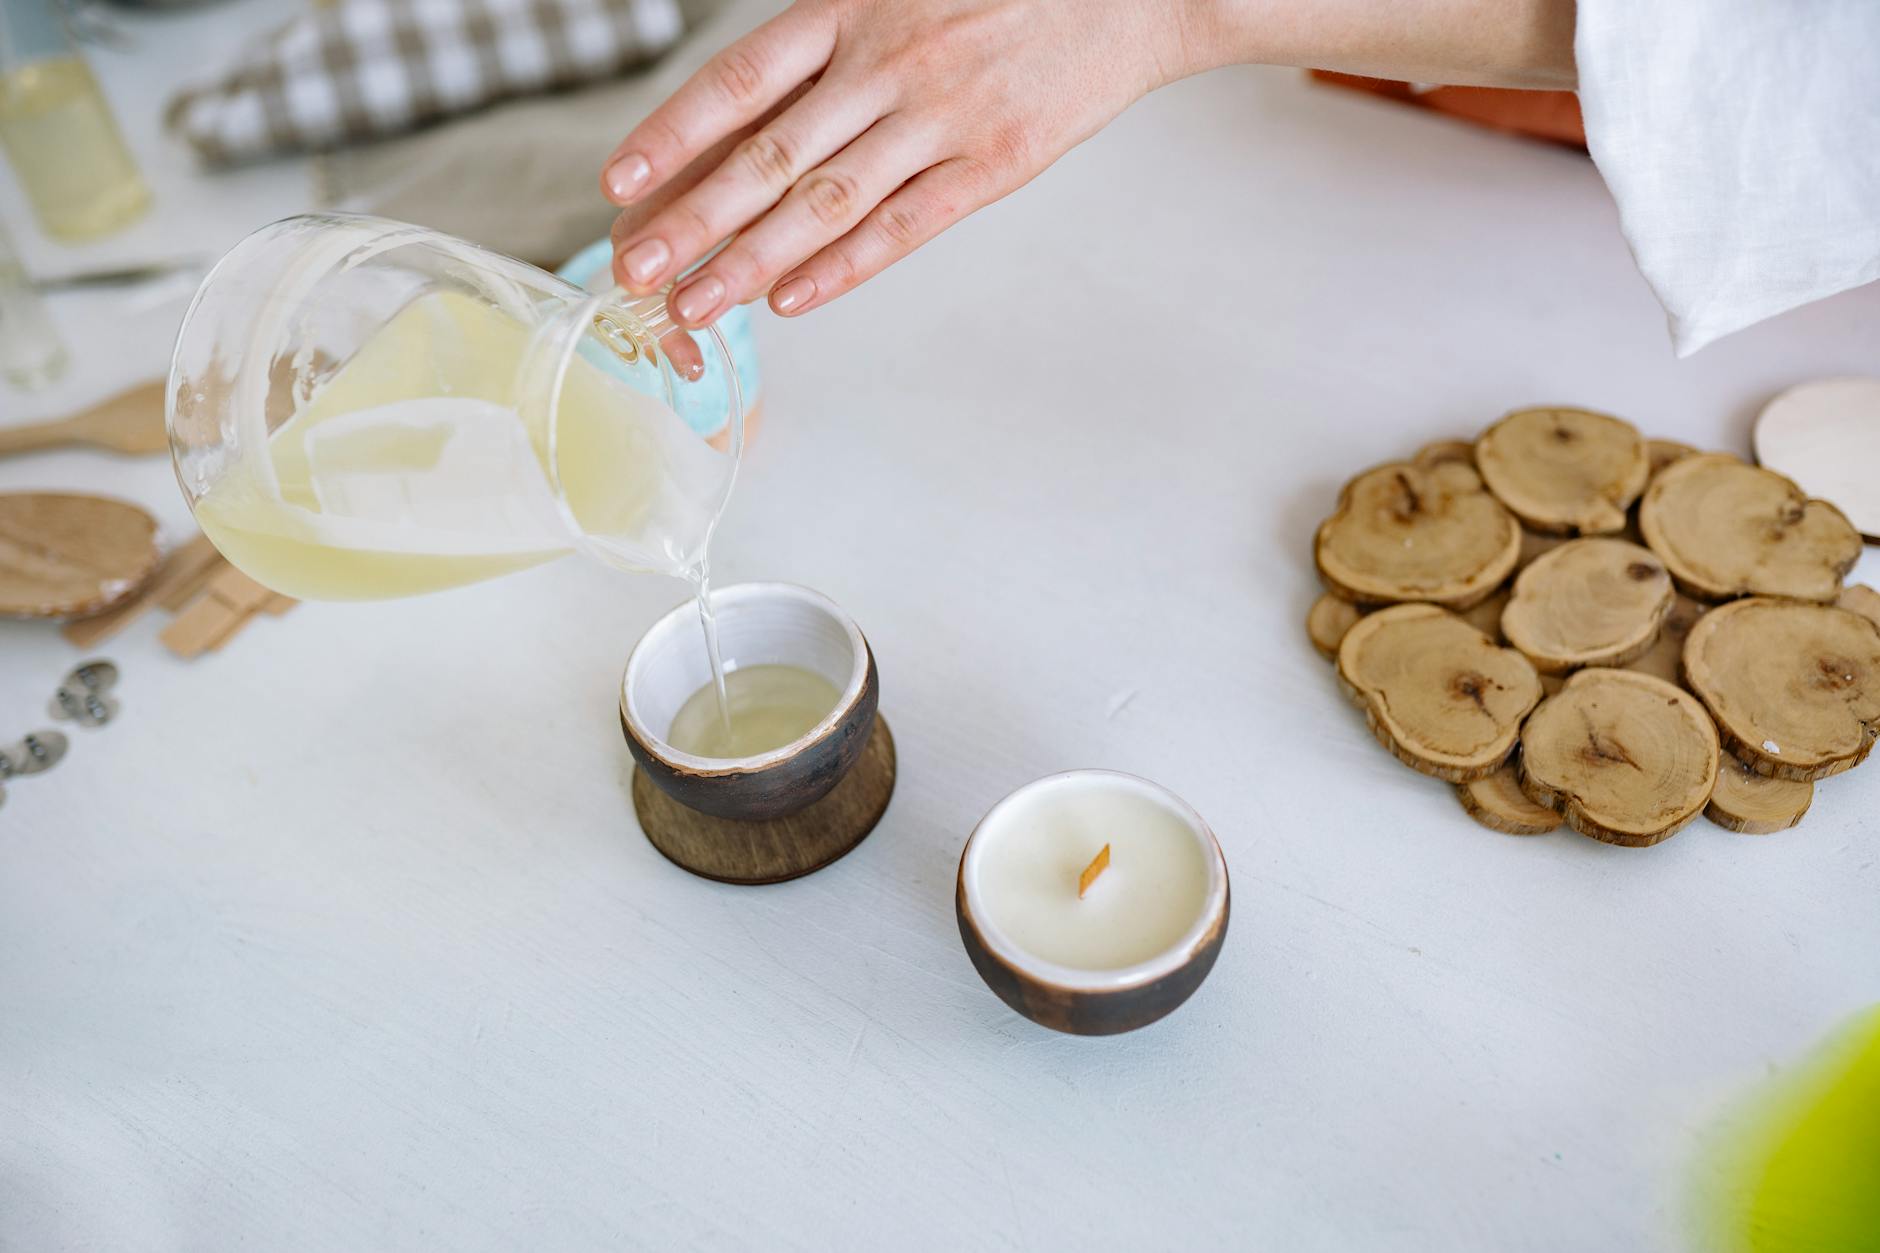
- A double boiler or wax melting jug: A dedicated pouring jug that sits inside a saucepan of water is ideal. Never melt wax directly on a hob without a water bath.
- A thermometer: A digital or probe thermometer is essential. Wax temperature affects how fragrance oils bind and how the surface sets.
- A kitchen scale: Always measure by weight, not volume. Consistency matters, especially if you plan to reproduce a scent in future batches.
- Wick centring tools or clothes pegs: These hold the wick in place while the wax cools.
- Candle dye (optional): Liquid or dye chips specifically designed for candles. Do not use crayons or food colouring.
- Sticky wax or a hot glue gun: For securing wick tabs to the base of your container before pouring.
Where to Buy Supplies in the UK
One of the advantages of the growing UK candle making community is the range of specialist suppliers now operating in the country. You are no longer limited to importing supplies from the United States or Europe. Several well-regarded UK-based suppliers stock everything a beginner needs.
Candle Shack, based in the UK, is one of the most comprehensive suppliers, offering soy wax, fragrance oils, wicks, and containers, along with detailed technical guidance on their website. The Soap Kitchen, based in Devon, is another excellent option, stocking both soy wax and a wide range of candle-safe fragrance oils. NI Candle Supplies, based in Northern Ireland, is popular for their fragrance oil range and competitive pricing. Heirloom Body Care and Cosy Owl are also widely used by hobbyists and small businesses alike.
Many of these suppliers offer starter kits, which are a cost-effective way to try candle making without committing to large quantities of individual materials. A starter kit typically includes a small amount of wax, a few wicks, a fragrance sample, and a basic container – everything you need to make your first two or three candles.
Understanding Fragrance Load and Safety
Fragrance load refers to the percentage of fragrance oil added relative to the weight of wax. For soy wax, the typical recommendation is between 6% and 10% fragrance load, depending on the specific wax you are using and the fragrance oil itself. Going above the recommended maximum does not necessarily result in a stronger scent – it can actually cause the oil to pool on the surface, create a fire hazard, or prevent the wax from setting correctly.
Always follow the supplier’s recommended maximum fragrance load for the specific wax you are using. For example, Golden Brands 464 soy wax has a recommended maximum of around 10%, while some other soy blends may only accommodate 6% safely.
In the UK, candle makers – whether hobbyists selling at craft fairs or businesses selling online – must comply with the UK REACH regulations and the Classification, Labelling and Packaging (CLP) regulations. These regulations require that candles sold to the public carry appropriate hazard labelling if they contain fragrance oils with restricted or hazardous components. The Candle Makers Association in the UK is a useful resource for understanding your legal obligations, particularly if you intend to sell your candles.
Even if you are only making candles for personal use, it is good practice to use fragrance oils that come with a Safety Data Sheet (SDS) from your supplier. Reputable UK suppliers provide these as standard. Keep them on file.
Step-by-Step: Making Your First Soy Wax Candle
The following method is suitable for a basic single-wick container candle using soy wax flakes, a glass jar of approximately 20cl to 30cl, and a candle-safe fragrance oil.
- Prepare your workspace. Clear and clean your surface. Lay down newspaper or a silicone mat to protect from spills. Have all your equipment within reach before you begin heating any wax.
- Secure the wick. Use a small amount of sticky wax or a dab of hot glue to fix the wick tab to the centre of the base of your jar. Allow it to set firmly before moving on. Use a wick bar, pencil, or clothes peg resting across the top of the jar to hold the wick upright.
- Measure your wax. A useful rule of thumb is to fill your container with wax flakes, then pour them into a second container. The volume of flakes gives you a rough guide to how much melted wax you will need – melted wax loses volume, so you may need slightly more than you expect. Weighing is more reliable: for a 200ml jar, you will typically need around 130-150g of soy wax.
- Melt the wax. Place your wax in a pouring jug inside a saucepan of water (a double boiler method). Heat the water gently. Stir the wax occasionally as it melts. Use your thermometer to monitor temperature. Most soy waxes melt fully between 55°C and 65°C. Do not leave melting wax unattended.
- Add fragrance oil. Remove the jug from the heat once the wax is fully melted. Allow it to cool slightly – most soy waxes bind best with fragrance when added at around 65°C, though some makers prefer to add fragrance at a slightly lower temperature of 60°C. Measure your fragrance oil by weight (not volume) and stir it into the wax thoroughly for at least two minutes. Proper incorporation is critical for a good scent throw.
- Add dye (if using). If you are colouring your candle, add dye now and stir until fully dissolved and evenly distributed.
- Check the temperature before pouring. Many soy candle makers pour at around 50°C to 55°C. Pouring too hot can cause the fragrance to separate; pouring too cool can result in an uneven surface. Use your thermometer to find the right moment.
- Pour slowly into the jar. Pour in a slow, steady stream, keeping the wick centred. Leave a small gap at the top – do not fill the jar completely to the brim.
- Allow to cool undisturbed. Place your candle somewhere flat and draught-free. Do not move it while it is setting. This can take several hours. Avoid placing it in the fridge to speed up cooling, as this can cause cracking or poor adhesion to the glass.
- Top up if necessary. Soy wax often sinks in the centre as it cools, leaving a dip around the wick. This is normal. Once the candle is fully set, melt a small amount of additional wax and pour a thin top-up layer to level the surface.
- Trim the wick and cure. Trim the wick to approximately 5mm before the first burn. More importantly, allow your candle to cure for at least 48 hours – ideally 1-2 weeks – before burning or assessing scent throw. Soy wax needs time for the fragrance to fully bind with the wax, a process known as curing.
Common Problems and How to Fix Them
Even experienced candle makers encounter problems from
One of the most common complaints is sinkholes and uneven surfaces. These occur because soy wax contracts as it cools, pulling away from the wick and leaving a crater or dip in the centre. The remedy is straightforward: keep a little melted wax aside and pour a small top-up layer once the candle has fully set. Pouring at a slightly lower temperature — around 50–55°C — for this second pour can also help achieve a smoother finish. Similarly, frosting (a white, powdery bloom on the surface) is entirely natural in soy wax and does not affect burn quality or scent throw. It is simply a characteristic of natural vegetable wax and, for many makers, is welcomed as a sign that no synthetic additives have been used.
Poor scent throw is perhaps the most disheartening problem for beginners. If your candle smells faint when burning, the cause is usually one of three things: insufficient fragrance load, adding the fragrance oil at too high a temperature (which burns off the lighter scent molecules), or not allowing the candle to cure for long enough. Double-check your fragrance percentage, ensure you are adding oil at around 65°C, and give the candle a full two weeks before drawing any conclusions. Wet spots — patches where the wax appears to have separated from the glass — are another frequent issue. These are caused by the wax shrinking away from the container as it cools and are purely cosmetic; they do not affect performance. Pouring into pre-warmed containers and avoiding draughts during cooling can reduce their frequency, though they can be difficult to eliminate entirely with soy wax.
If your wick is tunnelling — burning straight down through the centre without melting the wax to the edges — the wick is likely too small for your vessel diameter, or the candle has not been given a long enough initial burn. The first burn is critical: always allow the melt pool to reach the full diameter of the container before extinguishing the flame. A candle has a kind of memory, and if the first burn is cut short, it will continue to tunnel with each subsequent use. Conversely, a wick that is too large will cause excessive sooting, a large flickering flame, or the fragrance oil burning off too quickly.
Conclusion
Candle making with soy wax is a genuinely rewarding craft, and one that improves considerably with each batch you make. The materials are accessible, the process is straightforward once you understand the fundamentals, and the ability to adjust fragrances, colours, and vessel styles means there is always something new to try. Keep detailed notes on each pour — temperatures, fragrance percentages, wick sizes, and cure times — so that you can replicate your successes and learn methodically from any failures. With patience and a little practice, you will quickly find yourself producing candles that rival those sold in high-street shops.