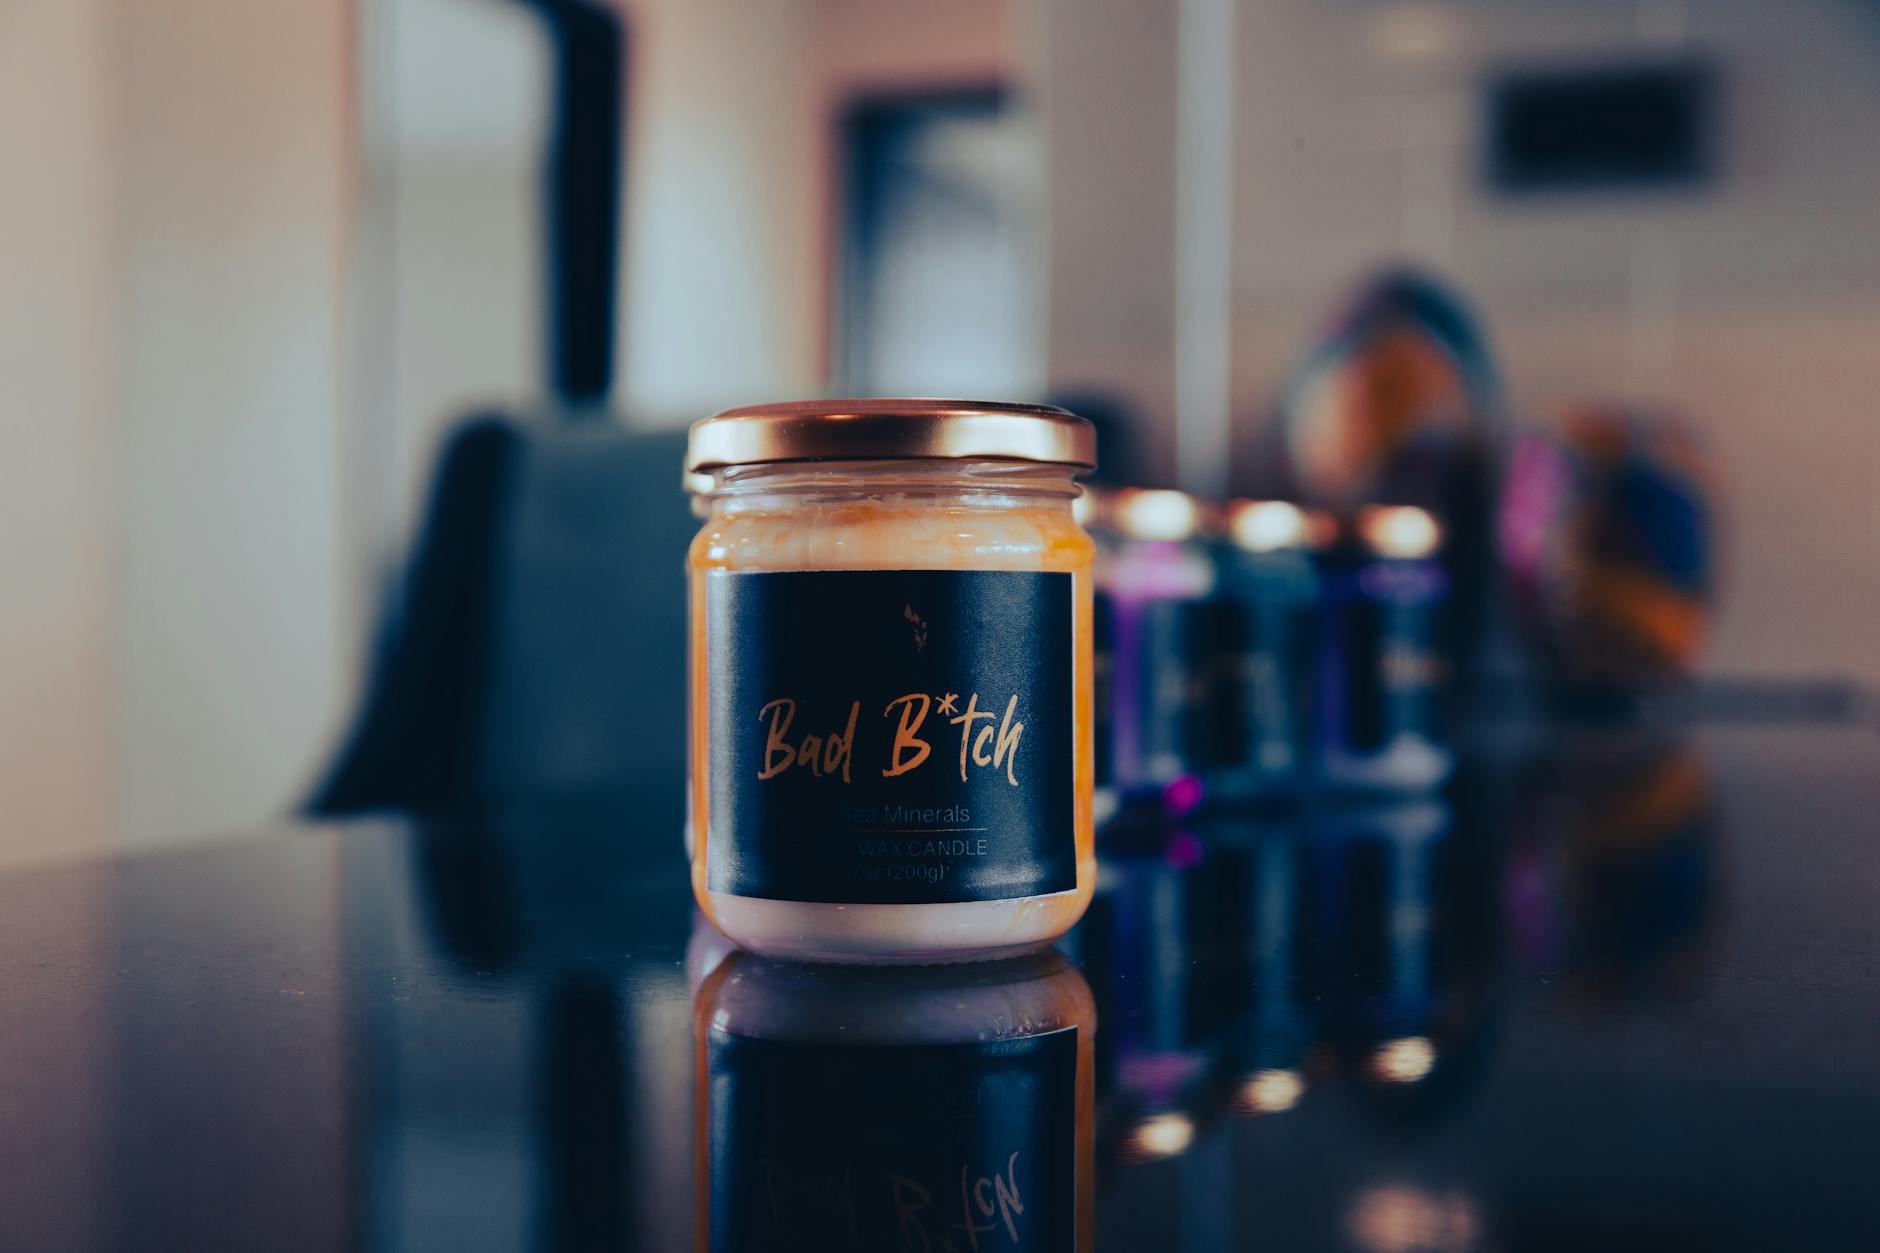
How to Choose the Right Wick Size for Your Candle
The One Mistake Almost Every Beginner Makes
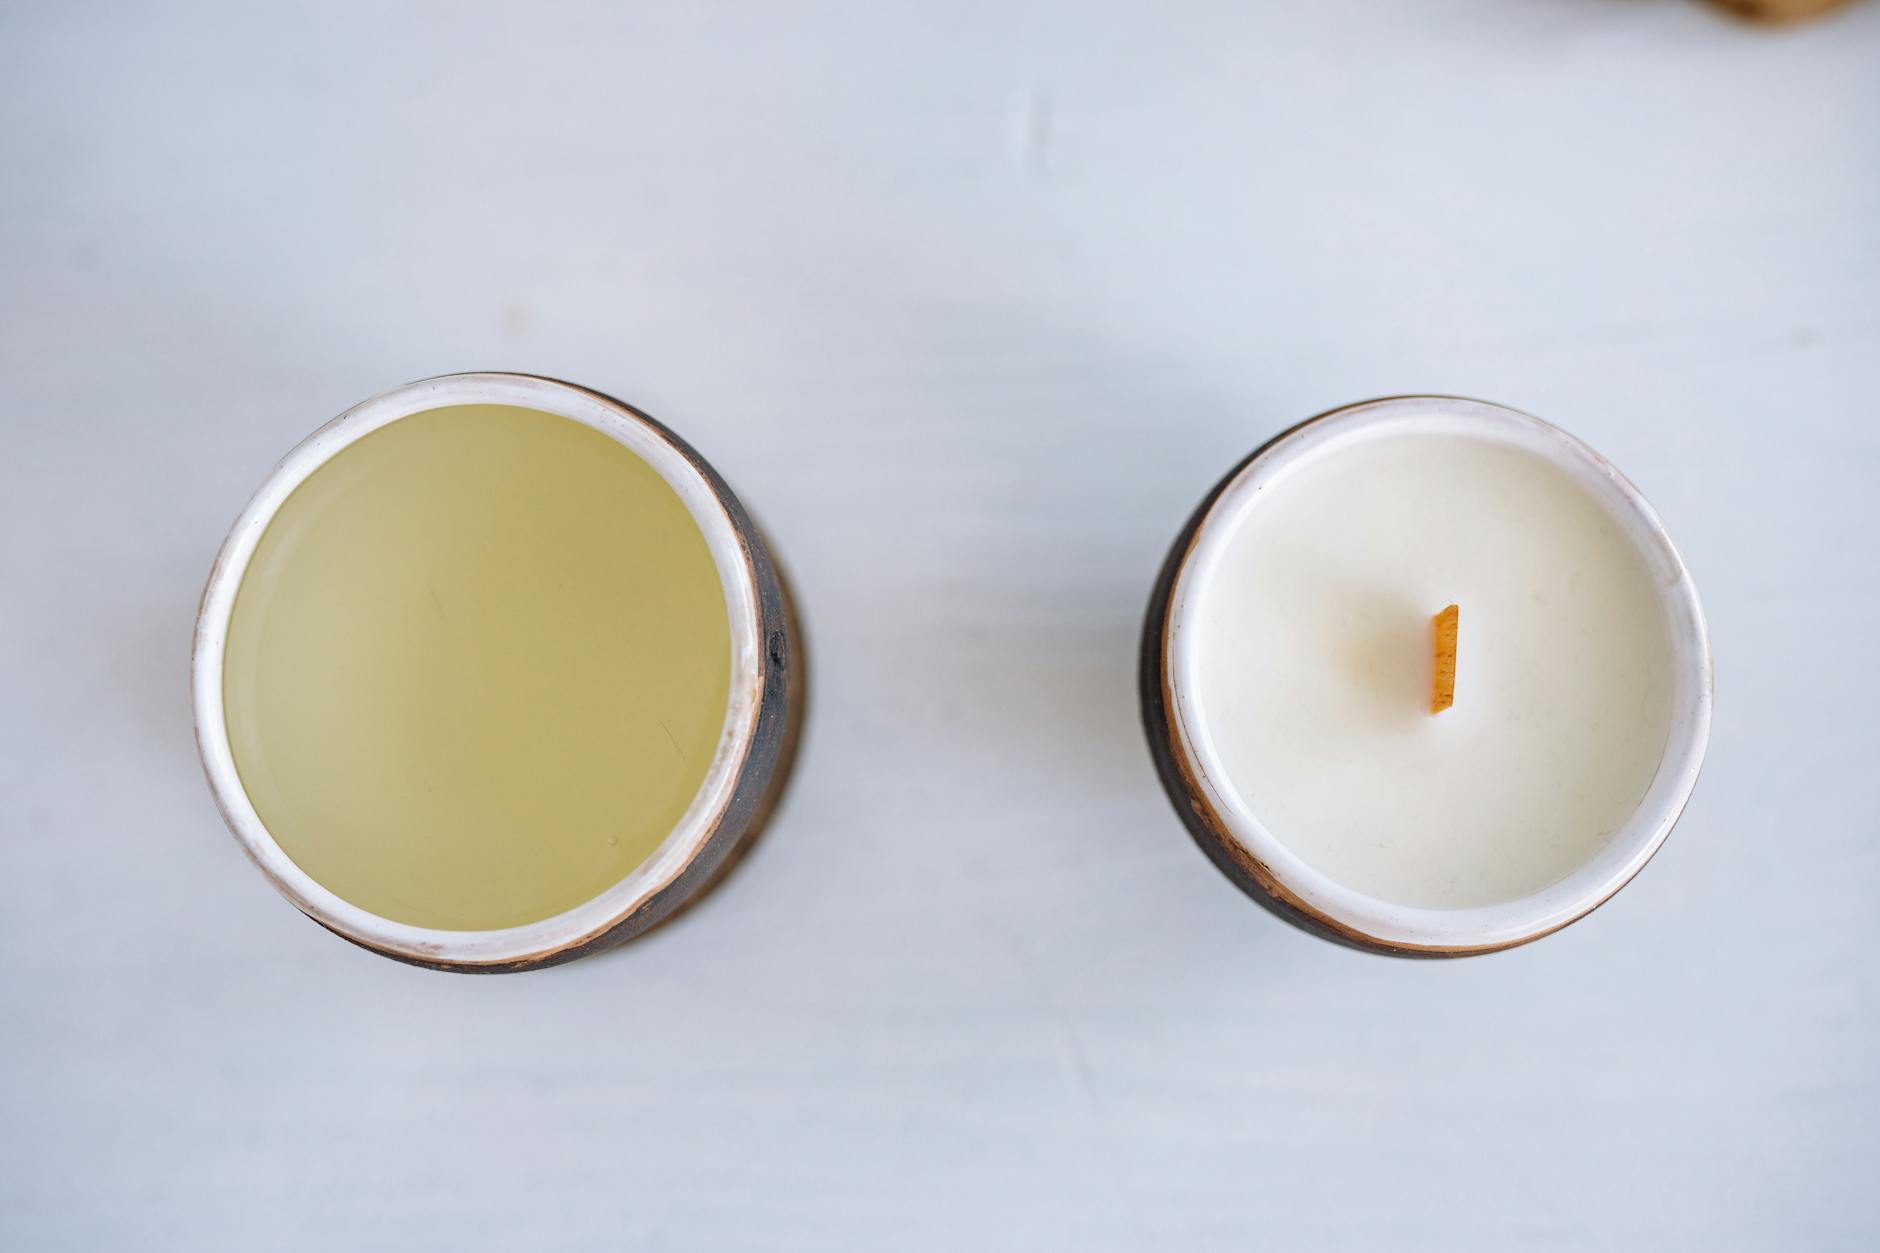
There is a particular kind of frustration that comes from pouring your first candle, waiting patiently for it to set, trimming the wick with great ceremony, and then watching it tunnel straight down the middle like a drill bit, leaving a thick wall of wax untouched around the edges. You light it again the next day, hoping for better results. Same thing. The wax pool never reaches the edge. The candle burns for a fraction of the time it should, and eventually you pour the whole thing out and start again, wondering where you went wrong.
Almost always, the culprit is the wick. Not the wax, not the fragrance load, not the vessel. The wick. Getting the wick right is arguably the single most important decision you will make in candle making, and yet it receives far less attention in beginner guides than it deserves. This article is an attempt to fix that.
Why the Wick Does So Much More Than You Think
Most people assume the wick is simply a delivery mechanism — something to hold a flame while the wax melts around it. In reality, the wick is an active participant in the entire burn process. It draws liquid wax upward through capillary action, feeds fuel to the flame, and directly controls how much heat is generated within the vessel. A wick that is too small starves the flame of fuel and produces a weak burn that never fully melts the top layer of wax. A wick that is too large generates excessive heat, causes the fragrance to burn off too quickly, produces thick black soot, and can, in more serious cases, cause the vessel to crack or overheat.
This is why wick selection is not simply about aesthetics or preference. It is a functional, technical choice with real consequences for safety, burn quality, and scent throw. The good news is that once you understand the logic behind it, making the right choice becomes far more straightforward.
Understanding the Variables That Affect Wick Size
There is no single universal wick that works for every candle. The correct wick for your project depends on several intersecting factors, and you need to consider all of them together rather than in isolation.
Vessel diameter is the most significant variable. The wider the container, the larger the wick needs to be in order to generate a full melt pool — one that reaches edge to edge across the surface of the wax. A standard rule of thumb is that a full melt pool should develop within two to four hours of lighting. If yours takes longer, or never arrives at the edges at all, the wick is likely undersized for the diameter of your vessel.
Wax type matters enormously. Soy wax, which is popular among UK hobby candle makers partly because of its cleaner burn and partly because it is widely available from suppliers like NI Candle Supplies, The Candle Lab, and Cosy Owl, behaves differently from paraffin or beeswax. Soy wax is denser and has a higher viscosity when melted, meaning it requires a more robust wick to draw fuel efficiently. Coconut wax, increasingly fashionable in the UK market, is even softer and can require yet another wick profile altogether. Paraffin, which burns at a lower viscosity, can often get away with a slightly smaller wick relative to its container size.
Fragrance oil load is another critical factor that beginners frequently overlook. Most candle wax formulations can hold between six and ten percent fragrance by weight, though some specialist waxes go higher. Fragrance oils, especially those with a high vanillin content or heavy base notes, thicken the wax slightly as they bind to it. This increased viscosity affects how easily the wick can draw fuel. A higher fragrance load often requires stepping up one wick size. Many UK suppliers sell fragrance oils with recommended usage rates on the product listing — always check these before you pour.
Dye can also have a minor effect. Heavily pigmented candles, particularly those made with dye blocks rather than liquid dye, can impede wicking slightly. If you are making deeply coloured candles and notice tunnelling, consider whether your dye load might be a contributing factor before you assume it is solely the wick.
The Main Wick Series Available in the UK
Walk into any candle making supplier in the UK — or browse the catalogues of online retailers like Candle Shack in Glasgow or Supplies for Candles — and you will find a bewildering array of wick series. Each series has its own characteristics, and understanding the broad categories will help you narrow down your options quickly.
CDN wicks (Cotton Double Nut) are among the most commonly used in the UK for container candles made with soy wax. They have a flat braid structure and are pre-waxed for easy handling. They burn cleanly, self-trim reasonably well, and are widely stocked by most UK suppliers. The numbering system runs from CDN 3 (very small, suitable for vessels under 5cm diameter) up to CDN 22 and beyond for larger vessels.
ECO wicks are another popular choice, particularly for soy and coconut wax blends. They have a slightly more rigid structure due to interwoven paper threads, which helps them stand upright during pouring — a genuine practical benefit when you are working alone and cannot hold the wick in place. ECO wicks tend to produce a slightly wider flame and are often recommended for fragrances with heavier scent loads.
LX wicks are flat-braided cotton wicks known for producing a stable, consistent flame. They work particularly well with paraffin-based waxes and paraffin blends, which makes them a good option if you are making traditional pillar candles or more formal taper styles rather than container candles.
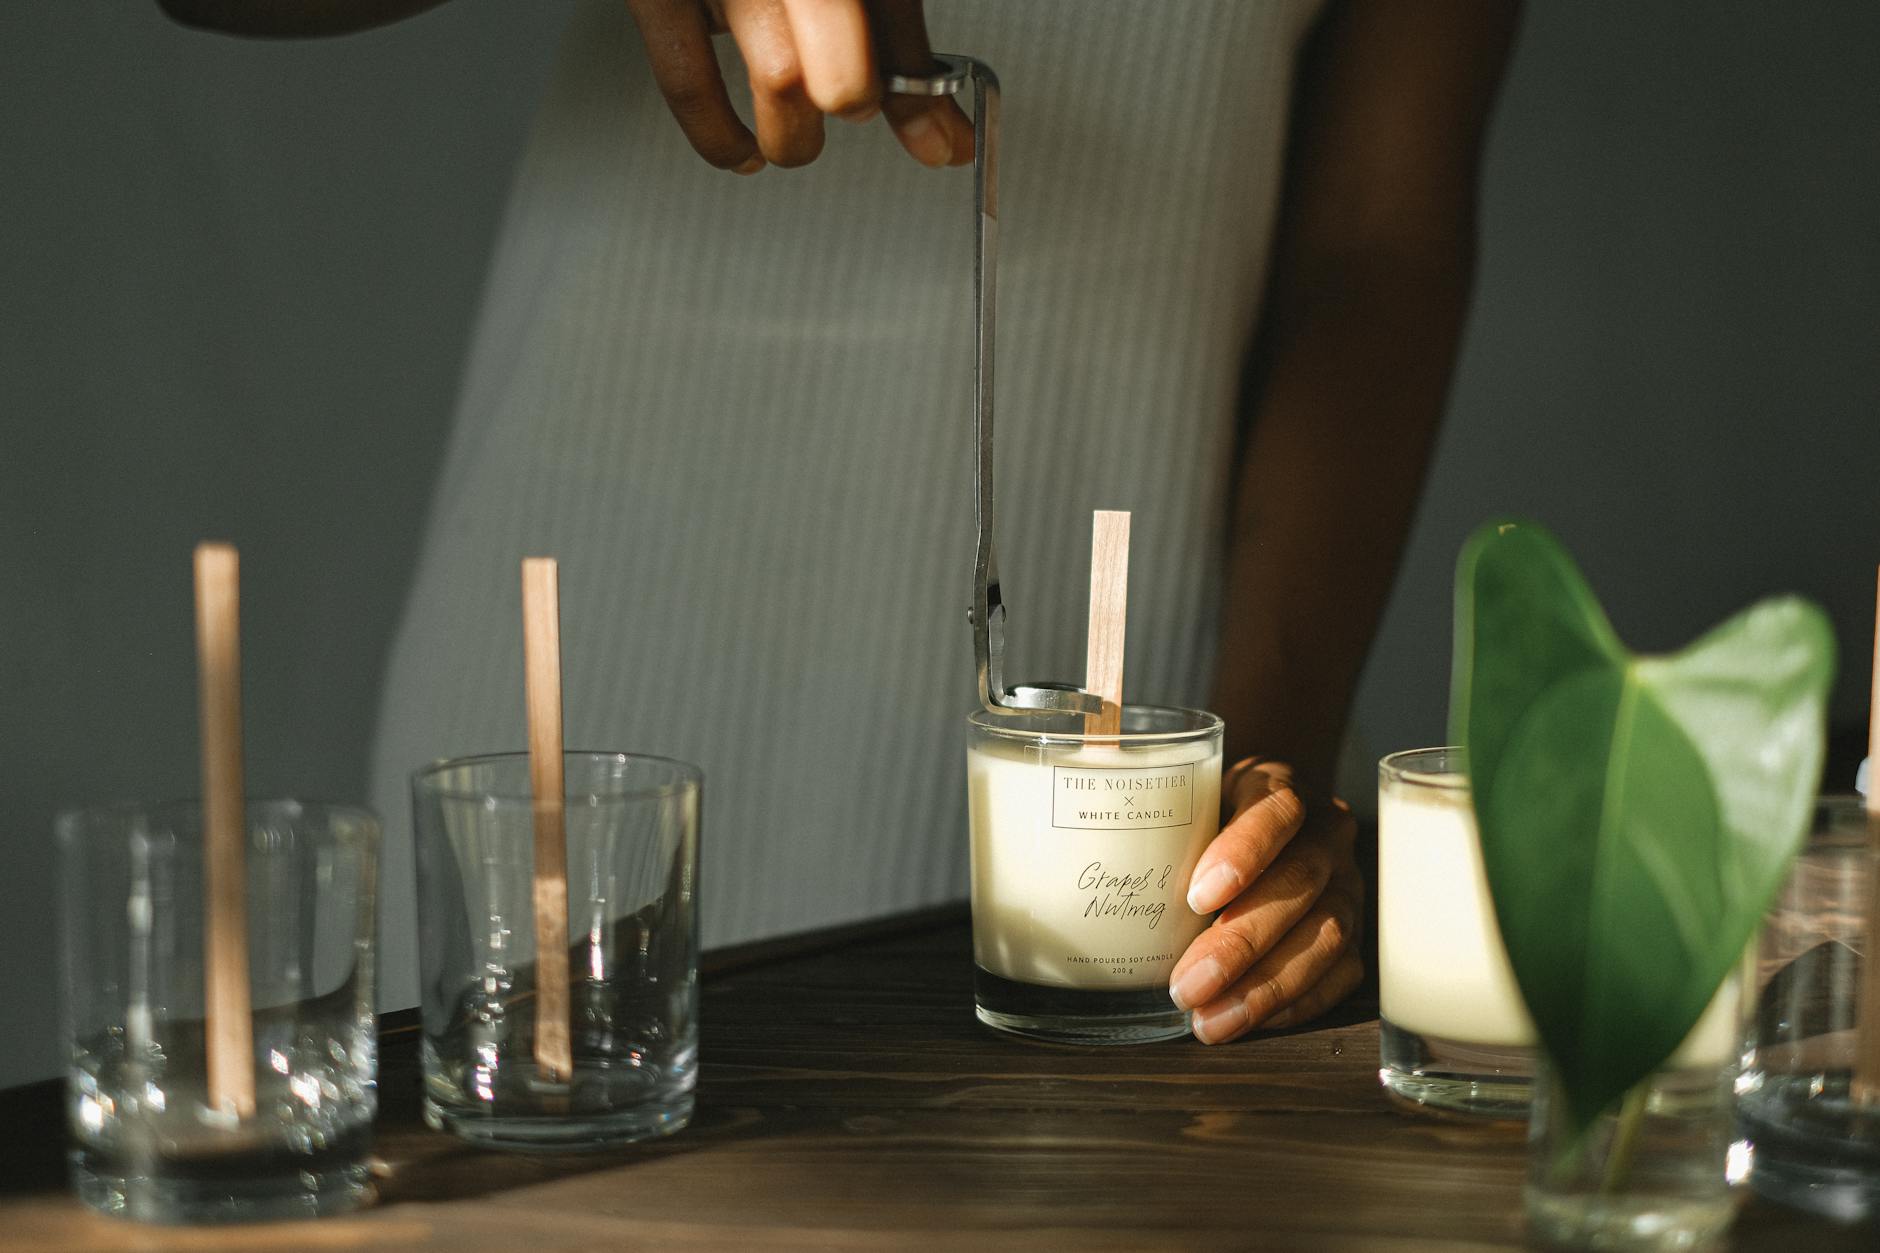
Wooden wicks have become fashionable in recent years, partly for their crackling sound and partly for the aesthetic they lend to a finished candle. They require a different approach to sizing — width rather than diameter is the key measurement — and they tend to perform best with softer waxes. If you are using wooden wicks, allow extra testing time as they can be more sensitive to pour temperature and fragrance load than cotton alternatives.
How to Actually Test Your Wick
No amount of guidance from a chart or a supplier recommendation replaces proper burn testing. This is the part of candle making that requires patience, and it is the part that separates candles that perform reliably from ones that do not. Here is a straightforward process for testing your wick selection.
- Start with the supplier’s recommended wick size for your vessel diameter and wax type. Most reputable UK suppliers provide wick guides on their websites. Candle Shack, for instance, offers a detailed wick selector tool that cross-references wax type with vessel diameter. Use this as your starting point, not your final answer.
- Make three identical test candles — same wax, same fragrance load, same vessel — using three different wick sizes: your recommended size, one size smaller, and one size larger. Label them clearly. This gives you a comparison set from a single pour session, which reduces the number of variables.
- Cure your candles for at least 48 hours before testing. Soy wax in particular benefits from a longer cure of up to two weeks for optimal scent throw, but 48 hours is the minimum for a meaningful burn test.
- Trim all wicks to 5mm before the first burn. This is standard practice and ensures your results are not skewed by an overly long wick on the first light.
- Burn each candle for four hours on the first test, in a draught-free environment. Check the melt pool at the one-hour, two-hour, and four-hour marks. Note whether the melt pool has reached the edges of the vessel, whether the flame is steady or flickering excessively, and whether there is any black soot or mushrooming on the wick tip.
- Allow the candle to cool fully, then trim the wick again to 5mm and repeat the burn for a second session. Consistency across multiple burns is what you are looking for, not a single good result.
- Record everything in a burn testing log. Write down the date, the wax batch, the fragrance used and its load percentage, the vessel dimensions, the wick series and size, and your observations at each check point. This log will become invaluable as you refine your recipes over time and want to reproduce successful results.
Reading Your Burn Test Results
Once you have your test candles burning, you need to know what you are looking at. A good burn will show a full melt pool reaching edge to edge within three to four hours of lighting, a steady flame roughly 1.5 to 2cm tall, minimal mushrooming on the wick tip, and no excessive soot on the inside of the vessel. The candle should smell noticeable — a reasonable hot throw — without smelling overwhelmingly chemical or sharp.
If your melt pool is tunnelling and not reaching the edges, go up one wick size. If your flame is very tall and flickering wildly, producing soot or a strong smoky smell, go down one size. If you are seeing mushrooming — a carbon build-up on the wick tip that looks like a small bulb — this can indicate either too large a wick or too high a fragrance load. Try reducing your fragrance percentage slightly before you change the wick, as mushrooming is often a fragrance issue rather than a wick issue.
One thing worth noting is that seasonal conditions in the UK do affect burn behaviour. A candle tested in a centrally heated living room in Manchester in January will burn slightly differently from the same candle tested in a cooler, damper cottage in the Scottish Highlands in October. If you are selling candles or giving them as gifts, test them in conditions that approximate how they will be used, rather than only in optimal workshop conditions.
Multi-Wick Candles: When One Is Not Enough
Larger vessels — think the kind of wide, squat containers that have become popular in home interiors — often cannot be effectively served by a single wick, regardless of how large you go. If your vessel is wider than approximately 9 to 10 centimetres in diameter, you should strongly consider using two or even three wicks arranged symmetrically across the surface.
Multi-wick candles require their own testing
Symmetrical placement is not just an aesthetic consideration. If your three wicks are unevenly spaced, one may sit too close to the vessel wall and cause localised overheating, or two may sit so close together that they create a superheated central pool while the edges remain solid. A simple trick is to use a ruler and a light pencil mark on the base of the vessel before pouring. For a two-wick arrangement in an oval or rectangular vessel, divide the length into thirds and position each wick at the one-third and two-thirds points. For three wicks in a round vessel, space them equidistantly around a circle that sits roughly halfway between the centre and the edge of the container.
It is also worth noting that different wax types respond differently to multi-wick arrangements. Softer waxes such as coconut or blended container waxes tend to pool more readily and may require smaller wicks than you expect, even in a wide vessel. Harder paraffin blends, by contrast, often need more heat to achieve a clean melt pool and may demand larger or more numerous wicks. If you are working with a wax you have not used before, start conservatively and work upward through sizes rather than risking tunnelling or, at the other extreme, an overpowered burn that overheats the container.
Conclusion
Choosing the right wick is rarely a matter of following a single chart or rule. It is a practical discipline that rewards patience, careful observation, and methodical record-keeping. Keep a burn log for every test, noting the wax type, fragrance load, vessel dimensions, ambient temperature, and burn duration alongside your observations on flame height, melt pool depth, and any issues with smoke or residue. Over time, this log becomes an invaluable reference, shortening the testing process each time you introduce a new wax, vessel, or fragrance. The right wick will reward you with a candle that burns cleanly, throws scent evenly, and performs consistently from the first light to the last — and that consistency is what separates a well-made candle from one that merely looks the part.